How to set up Google Ad Conversion Actions and Google Adwords Action
Follow these steps to use the Conversion List for Google Ads with your Workflows:
Step 1: Adding the Conversion action to your Google Ads account
- Within your Google Ads account, navigate to Tools & Settings from the menu.
- Click “Conversions” under the Measurement menu.
- Click “+New Conversion Action” to add.

- In the Older version, Select "CRMs, files, or other data sources." Also, under Data Source, select "Skip this step and set up a data source later."

- In the New version, select "Track conversions from clicks."

- NOTE: Choose what you want to import and select the right button (Google Analytics UA, Google Analytics 4 properties, third-party app analytics, salesforce, or other). If you wish to track clicks on a page or calls initiated by the user, be sure to choose those options from the selectable choices:

Step 2: Set Up the Goals
- Select "Converted Lead" as the Primary option for the Goal and action optimization section below.


- The UI may look different for some users. You can choose the conversion goal here as "Converted Lead"

Step 3: Name the Conversion and Select the Value
- Please type in the name of your conversion. In this example, we are calling it "Click".

Note: The conversion name will need to be spelled EXACTLY the same when setting up your Google AdWords action in the Workflow builder (last step). Once you have completed this step, please copy and paste your conversion name somewhere close. This will be used in a workflow trigger in the last step of this guide.
For users with the new UI, the user needs to click on "Settings" for the conversion created and choose "Conversion action settings"

- Select a Value. You can use the same or different, or don’t use any value.

- Determine the count, either “every” or “one.” We always recommend choosing one.

- Determine the Click-through conversion window.
- Set this to 90 days and set the Attribution Model as “First click.”

- Refer to the image below for the new UI screen.

- Click on Done.
Step 4: Setting up the Workflow Action
Workflow can be created for Form Submission, Order Purchases, Number Pool Calling, Survey Submission, and Chat Widget.
Important Reminder:
Whenever you set up a new campaign in Google, be sure to choose "Other" as the Google Ads option in your new workflow.
It typically takes about 15–20 minutes after receiving contact with a UTM source and either gclid, wbraid, or gbraid for the workflow trigger and Google Ads Conversion list to populate.
Support for wbraid and gbraid IDs is added alongside gclid to ensure accurate attribution and seamless conversion tracking for Paid Search campaigns. All three IDs (gclid, wbraid, gbraid) are saved in attributions and contacts.
Form Submission, Order Purchases, or Survey Submission
- Create the Workflow:
- Select the trigger: Form Submission, Order Form Submission, or Survey Submission.
- Add filters to specify the form, order form, or survey, and save the trigger details.
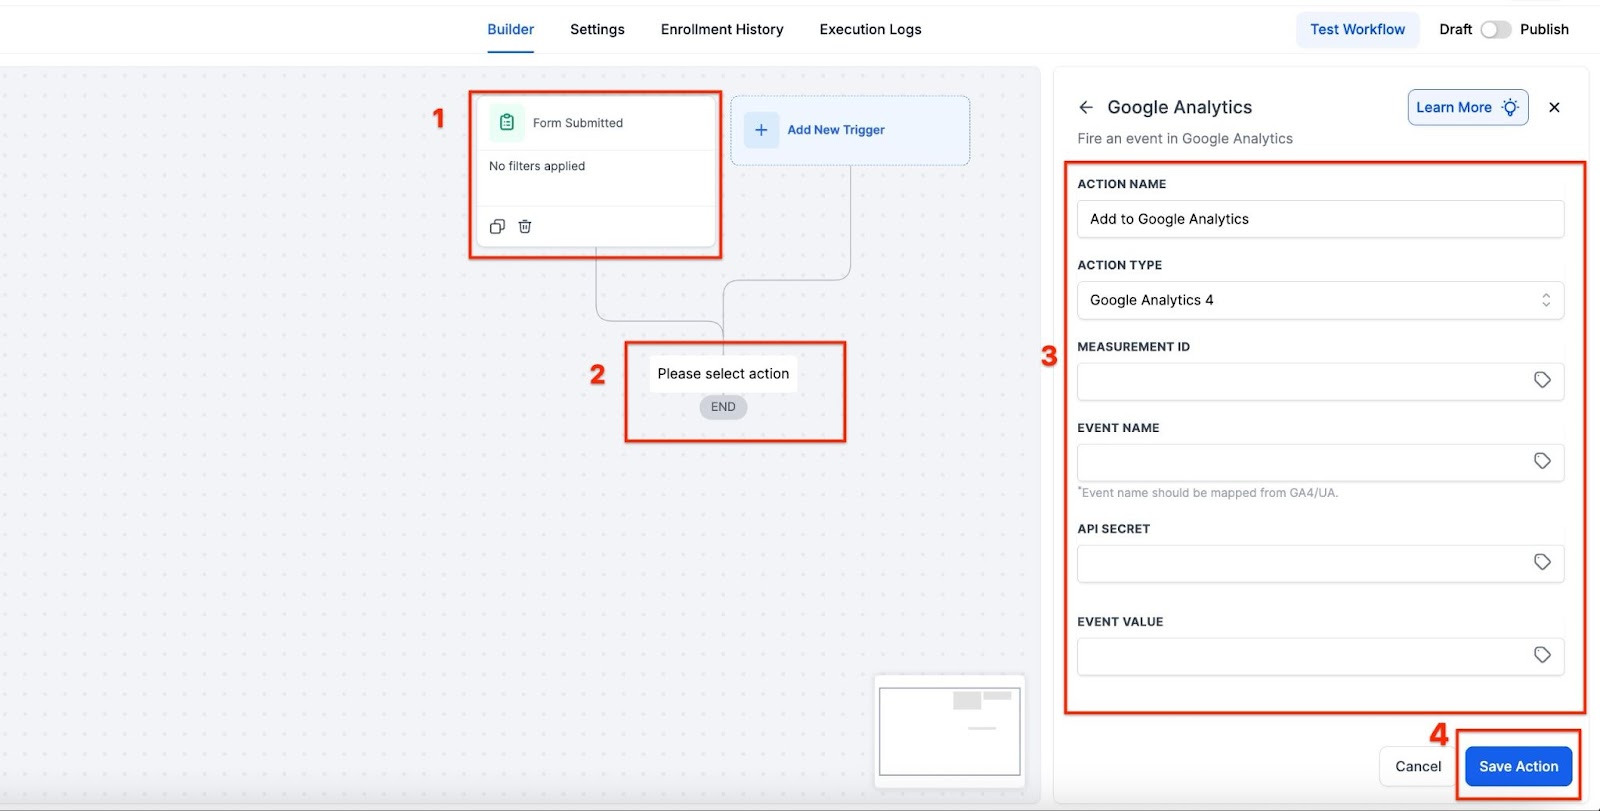
- Click the plus icon to add an action and select "Add to Google Adwords."
- Choose "Other" and enter the exact "Conversion Name" from Google Adwords.
Important: A validation check will ensure users enter the correct conversion name before scheduling AdWords uploads from workflows, preventing workflow failures due to incorrect naming. Below is an example of the error that occurred when Users were entering the conversion name with either the wrong casing, a spelling mistake, or a different name altogether as it was a basic text field.

- Custom mapping for tracking fields: You can send custom values for key parameters, boosting tracking accuracy and providing more detailed insights for ad optimization. By including custom identifiers, you can ensure that the right conversion data is sent back to Google and Facebook, which helps optimize ad campaigns.

- After you have finished editing save and publish your workflow.
Number Pool Calling
- Create the Workflow:
- Select the trigger: Call Status.
- Add filters: Set Call Direction to "Incoming" and select the appropriate Pool Number.
- [Ensure the pool number script is added to the funnel/website in the header settings.]
- Click the plus icon to add an action and select "Add to Google Adwords."
- Choose "Other" and enter the exact "Conversion Name" from Google Adwords.
- Save and publish your workflow.
Chat Widget
- Create the Workflow:
- Select the trigger: Customer Replied.
- Click the plus icon to add an action and select "Add to Google Adwords."
- Choose "Other" and enter the exact "Conversion Name" from Google Adwords.
- Save and publish your workflow.

NOTE: Every time you create a new campaign in Google, you will need to select "other" as your Google Adwords option in your new workflow.
For the conversion to pass through to Google Ads, the contact record/opportunity must have been created from a URL with a gclid, wbraid & gbraid parameter.
Important: The time taken to upload AdWords conversions has been reduced from 24 hours to just 5 minutes for all locations. This significantly shortens the time to see results on Google, as conversions will now be visible within approximately 10 minutes after the workflow is executed. The reduced time gap enhances efficiency, helps quickly analyze campaign performance, and minimizes support tickets and potential issues caused by integration switches.
Google Ads Conversion Action Flow in Ad Manager
The Google Ads Conversion Action flow in Ad Manager allows you to create, manage, and edit offline conversion actions directly within the Mastermind platform. This simplifies the setup of offline conversions for Google Ads campaigns, making it easier to track key offline events like leads, purchases, and sign-ups without leaving the platform.
To use it, navigate to Marketing → Ad Manager → Settings → Google Ads → Conversions, then create or edit conversion actions. Note that this feature currently supports offline conversion actions.

Dataset Support for Meta Conversions
The dataset support for conversions allows you to create multiple datasets under the Meta Conversions tab, removing the previous single conversion pixel limitation.
To use this feature, go to Ad Manager > Settings > Meta > Conversions tab. Click “+ Create new dataset,” enter a name, select your goal type (Lead Event or Funnel Event), and click Create. The system will automatically generate a Dataset ID and Pixel Code that you can embed for tracking.

FAQs
Question: I have set up my conversions now. How do I know it's working?
Answer: Currently, there is no way to test this event. You can always check your workflow action and check out the history tab. It should show the execution for Google Adword Action.
Question: How does the reduced time for AdWords conversion uploads impact my campaign performance tracking?
Answer: The reduction in upload time from 24 hours to 5 minutes allows conversions to appear on Google within approximately 10 minutes after workflow execution. This enables faster performance tracking, efficient optimization of campaigns, and reduces the risk of issues related to integration switches.
Question: Does this work with all triggers?
Answer: It only works for Form Submission, Order Purchases, Incoming Phone Call, Number Pool Calling, Survey Submission, and Chat Widget.
Question: How can I verify that my Google Ads workflow action is working?
Answer: Check the workflow history tab in your platform to see execution logs for the Google Ads action. Currently, there is no live test feature for the event.
Question: What are gclid, wbraid, and gbraid, and why do I need them?
Answer: These are special tracking IDs that Google attaches to your URL when someone clicks your ad. They act like a "digital fingerprint." For this workflow to work, the lead must arrive
Question: Can I manage my Google Ads offline conversion actions without leaving the Mastermind platform?
Answer: Yes. You can use the Google Ads Conversion Action flow in Ad Manager to create, manage, and edit offline conversion actions directly within the platform. To access this, navigate to Marketing > Ad Manager > Settings > Google Ads > Conversions. This simplifies tracking for offline events like lead sign-ups or purchases.