How to Create A New Ad Campaign in Ad Manager: A 101 Guide
Ad Manager enables you to run ad campaigns on Facebook with complete control. You can design your ad content, set a monthly budget, and define a precise target audience based on location and interests. The following article discusses creating carousel ads in detail.
Carousel ads allow you to include multiple images or videos in a single ad, creating an interactive, swipeable experience that captures attention and engages users. Here’s a step-by-step guide on how to set up your Carousel ad and optimize it for better reach and engagement.
Step-by-Step Guide to Creating Carousel Ads
Step 1: Creating a Campaign
- Navigate to Marketing & Sales > Email & Social Media on the left > Ad Manager at the top.
- Click Create Campaign to choose between starting from scratch or using a template.

Step 2: Set Your Campaign Objective
Start by defining your campaign goal, which will determine how your ad functions and what actions it promotes.
- Lead Generation: Perfect for collecting customer details directly through forms within the ad. You can use built-in forms or create new ones tailored to your campaign.

-
Website Traffic: Directs users to a specified landing page or website, ideal for driving clicks to external sites.
- Engagement: Allows businesses to improve interactions with customers through messaging apps such as Facebook Messenger, Instagram Direct, and WhatsApp.

For more details, see the article “Ad Manager: Meta Engagement or Click to Direct Ads”

- Sales: Allows advertisers to maximize the effectiveness of their ad campaigns by selecting either a Website or a Messaging app as the conversion location.
For more details, see the article “Ad Manager: Sales Objective for Meta Ads”

Note: If your ad content falls under regulated categories (employment, housing, credit, etc.), be sure to select the appropriate “Special Ad Category” for compliance.

After adding the objective, it allows the user to select the button from the dropdown.

Step 3: Select Ad Placements
Choose where your ad will appear:
- Automatic Placement: This option optimizes placement across the platform based on your budget, adjusting automatically for the best results.

- Manual Placement: Provides control over specific placements, letting you choose where your ad will appear for better brand alignment.

Step 4: Add Content to Your Carousel Ad
This is where you upload your visuals and craft engaging headlines.
-
Upload Media
Click "Upload Media" and select up to 10 images or videos from your library. Multi-select and insert them into the Carousel. Rearrange them in the desired order to guide the viewer’s attention.
- Add Headlines and DescriptionsEach image or video frame can have a custom headline and description, allowing you to tailor messages to specific frames. Headlines are required for each frame, helping to capture attention right away.
- Primary TextWrite a brief (125 characters recommended) primary text message that sets the context for your ad. This optional text appears above the Carousel and introduces the content.
-
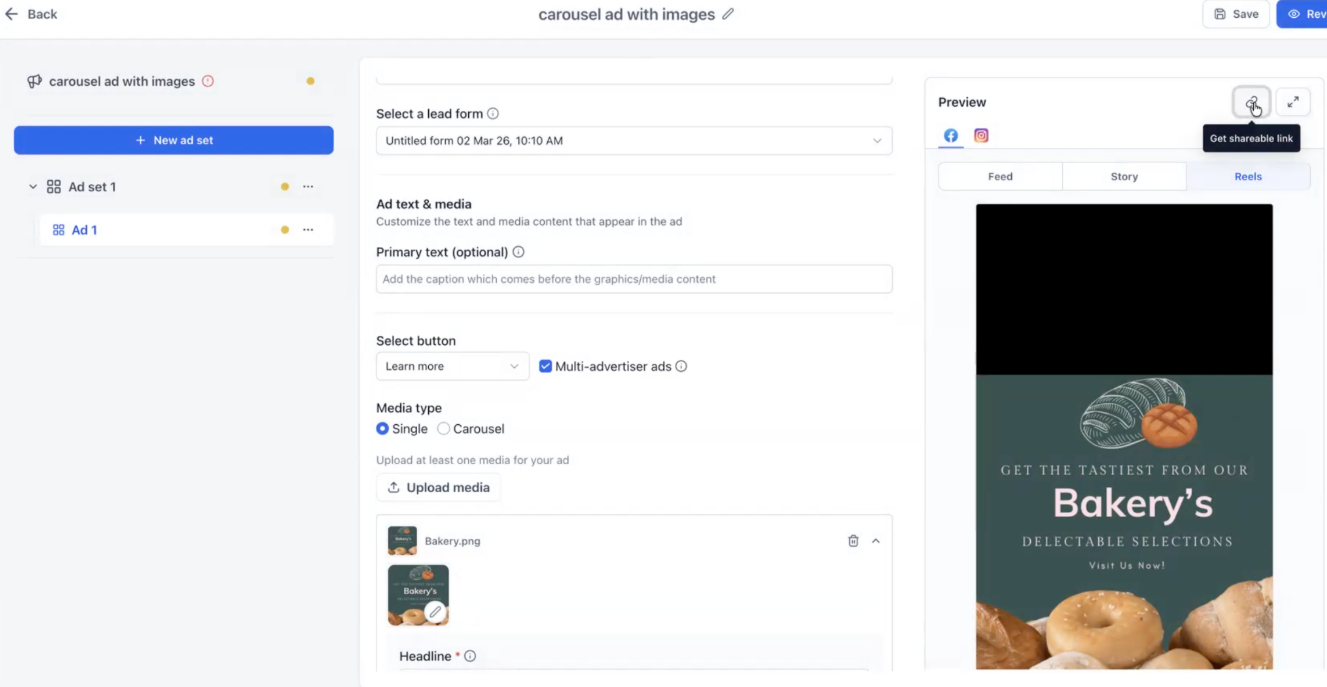
Advanced Preview
Once your creative is set, click the Advanced Preview icon in the preview section. This allows you to see exactly how the ad renders across multiple specific placements such as Feeds, Stories, and Reels.

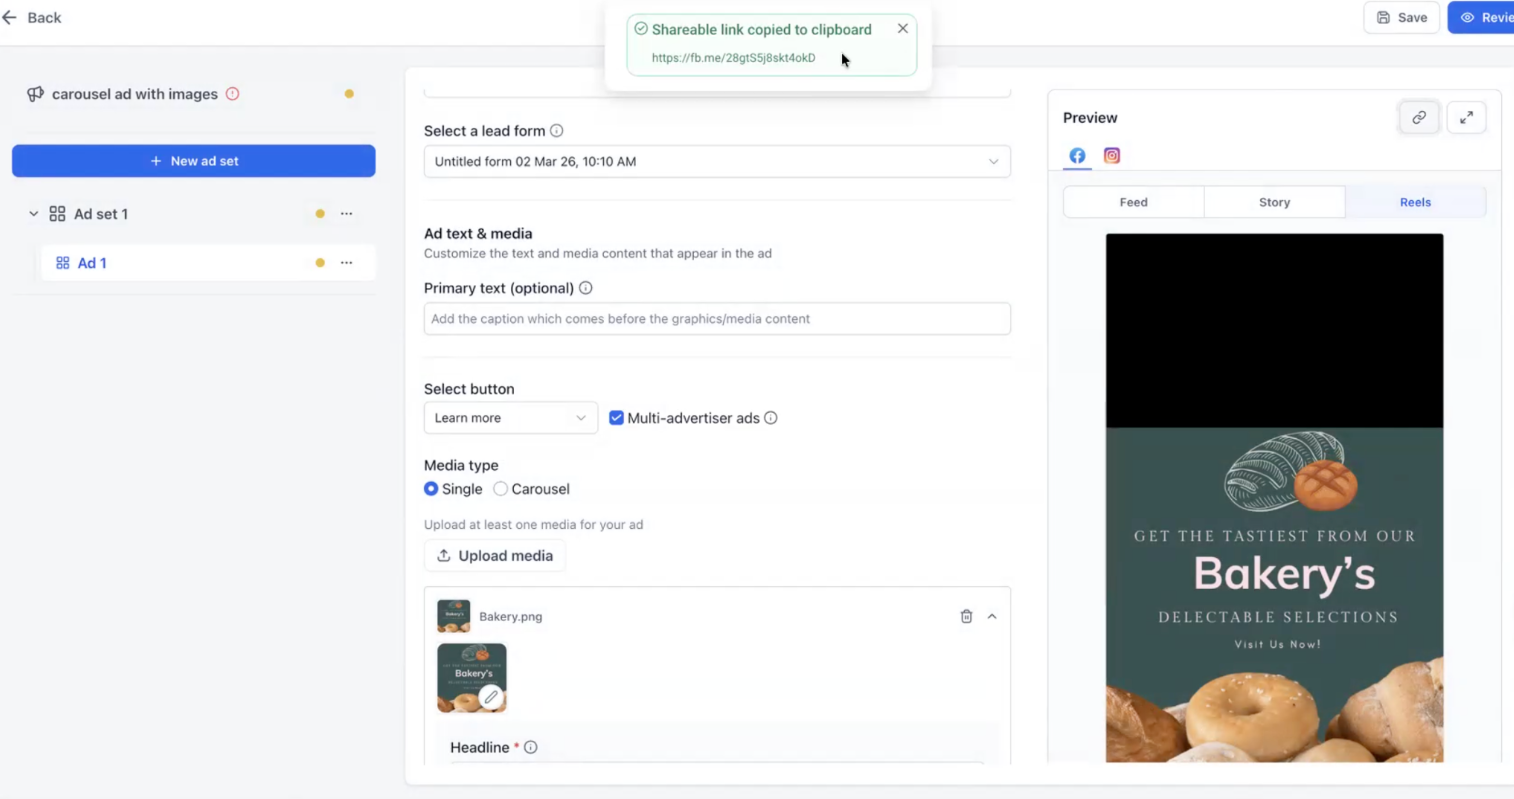
5. Shareable Preview Link
After the campaign is published, you can click the link icon next to the Advanced Preview button. This automatically copies a URL to your clipboard. You can share this link with teammates or stakeholders so they can view the live ad rendering in a hosted interface without needing direct access to the software backend.
6. Technical Specifications
Images can be up to 8MB, and videos up to 1 GB. This helps maintain load speed and quality across devices.

Step 5: Define Budget and Audience
Budget and audience targeting are crucial to reaching the right viewers and maximizing ROI.
- Monthly Budget: Set a monthly budget to control your ad spend. The budget is divided per day based on the total, and any monthly cap increases over time as you scale campaigns.

- Geography and Audience Specifics: Adjust location settings to target or exclude specific regions. Narrow down further with interest, gender, language, and age group filters to align with your target audience demographics.


Step 6: Review and Publish
Double-check all details before finalizing your ad. You can save it as a draft or proceed to publish.

Multiple Ad Sets & Ads for Meta Campaigns:
You can create up to 10 ad sets within a single campaign, with each ad set supporting up to 10 ads. This provides enhanced flexibility for testing different audience segments, placements, and creative strategies all within one campaign.
The hierarchy structure—Campaign > Ad Set > Ad—improves the organization and control of your campaigns. Additionally, performance can be tracked not only at the campaign level but also by individual ad set and ad, providing deeper insights for optimization.
How to Use:
- Create a campaign, and the system will auto-generate 1 ad set and 1 ad by default.
- To add more, click the ellipsis (⋮) menu and select "Create Ad Set" to add up to 10 ad sets.
- You can also use the same menu at the ad set level to create up to 10 ads per set.

- To monitor performance, go to the Ad Manager > Statistics screen for detailed metrics.

Note:
Campaigns must have at least one ad set and one ad. Use ellipsis menus to duplicate or delete ad sets or ads
Important Notes on Previews
Publication Required: Shareable links are not generated for ads in "Draft" or "Paused" status.
Permission Logic: Access to the shared preview link follows the host platform's security model. Only users with the appropriate permissions for the ad account will be able to view the content via the link.
Placement Errors: If a specific placement does not support your uploaded file (e.g., an incorrect aspect ratio for Reels), the preview will display the platform’s specific error message to help you troubleshoot.
Key Features of Carousel Ads
- Multi-Frame Visuals: Combine up to 10 images or videos, each with a unique headline and description.
- Higher Engagement: The swipeable format encourages interaction and holds user attention.
- Mobile Optimization: Designed for mobile, making it ideal for capturing mobile audience clicks.
- Cost Efficiency: Consolidate multiple messages into a single ad, reducing CPC compared to separate ads.
Use Case: Promoting a Product Line with Carousel Ads
Imagine you’re launching a new collection for Mastermind’s fitness apparel. Here’s how you could create a Carousel ad to showcase the line:
1. Set the Campaign Objective
Choose “Website Traffic” to drive viewers to your online store’s product page.
2. Select Placements
Opt for Automatic Placement to maximize reach across devices and platforms within your budget.
3. Upload Media
Add images of various products in the collection—think leggings, sports bras, jackets, and accessories. Arrange the visuals in an order that flows logically, like head-to-toe outfits or seasonal themes.
4. Verify Rendering:
Use the Advanced Preview to ensure your "Breathable Running Jacket" image looks correct in both the square Feed format and the vertical Stories format.
5. Collaborate:
Generate a Shareable Preview Link and send it to your marketing manager for final approval before the ad spend begins.
6. Add Headlines and Descriptions
For each item, write a specific headline like “Breathable Running Jacket” and descriptions highlighting features or materials, such as “Designed to keep you cool and comfortable.”
7. Preview the Ad
Check the preview to ensure each item looks appealing and aligned with the product messaging. Adjust any media order or text as needed.
8. Set Your Budget and Audience
Target fitness enthusiasts, ages 18-45, and set geographic targeting to reach areas with a high interest in fitness products.
9. Review and Publish
Once satisfied, publish your ad. It will go live after a review period, reaching an engaged audience interested in fitness apparel.
Pro Tips for Effective Carousel Ads
- Start with the Most Eye-Catching Image: Place the most visually appealing image first to capture viewers’ interest.
- Use Concise Headlines: Keep headlines clear and focused to quickly convey the message.
- Test and Optimize: Regularly review ad performance and adjust frames, text, or placement for best results.
FAQs
Question: How many images or videos can I use in a Carousel ad?
Answer: You can use up to 10 images or videos in one Carousel ad.
Question: Is a headline required for each image?
Answer: Yes, each frame needs a unique headline for the ad to be complete.
Question: Why am I seeing an error message in the preview for a specific placement?
Answer: If your creative format (like dimensions or file type) isn't supported by a specific placement, the preview tool will display the relevant error message from the platform to help you correct it.
Question: Who can view the ad through the Shareable Preview Link?
Answer: The link follows the platform's native permission model. Only individuals with the appropriate access levels to the specific ad account will be able to view the preview.
Question: Can I mix images and videos in a single Carousel?
Answer: Yes, you can combine both types of media for a dynamic experience.
Question: What happens if I exceed my monthly budget?
Answer: The ad will pause until the budget is renewed or increased.
Question: How long does ad approval take?
Answer: The review process generally takes between 10 minutes and 72 hours.
Question: What happens if my ad is rejected?
Answer: You’ll receive a notification with the reason for rejection. Review the feedback, make necessary adjustments (such as removing prohibited content or fixing formatting), and resubmit your ad for approval.
Question: What file sizes should I follow for the best quality?
Answer: Images can be up to 8MB, and videos up to 1GB. Staying within these limits ensures smooth loading across devices.
Question: How many ad sets and ads can I create within a single campaign?
Answer: You can create up to 10 ad sets within a single campaign, and each of those ad sets can support up to 10 individual ads.
Question: What are the different campaign objectives I can choose for a Carousel ad?
Answer: You can choose from Lead Generation (to collect customer details), Website Traffic (to drive clicks to a site), Engagement (to encourage messaging), or Sales (to maximize conversions via website or messaging apps).
Question: What is the recommended length for the "Primary Text" that appears above the Carousel?
Answer: It is recommended to keep your primary text brief, ideally around 125 characters. This text sets the context for your ad and appears before the user begins swiping through the individual cards.