Getting Started with WordPress | Client-side setup guide
If you are setting up a new WordPress website, migrating an existing one, or adding additional domains, you need to configure your domain's DNS to point to your WordPress instance. This article will guide you through the setup process and share some best practices.
- Setting up a New WordPress Site
1. To set up your WordPress site, you must have purchased the WordPress hosting feature under the Sites tab. Once this is done, you can get started by clicking the "+ Create WordPress" button.

2. Fill in the Site and User details

3. Wait for 10-15 minutes till the installation is complete

4. After the installation is complete, you will have access to the following:
- The WordPress Dashboard
- Access your site and admin portal
- Manage additional domains and the primary domain
- Import an existing WordPress site using the All-in-One WP Migration plugin
- Refresh the cache for your WordPress site

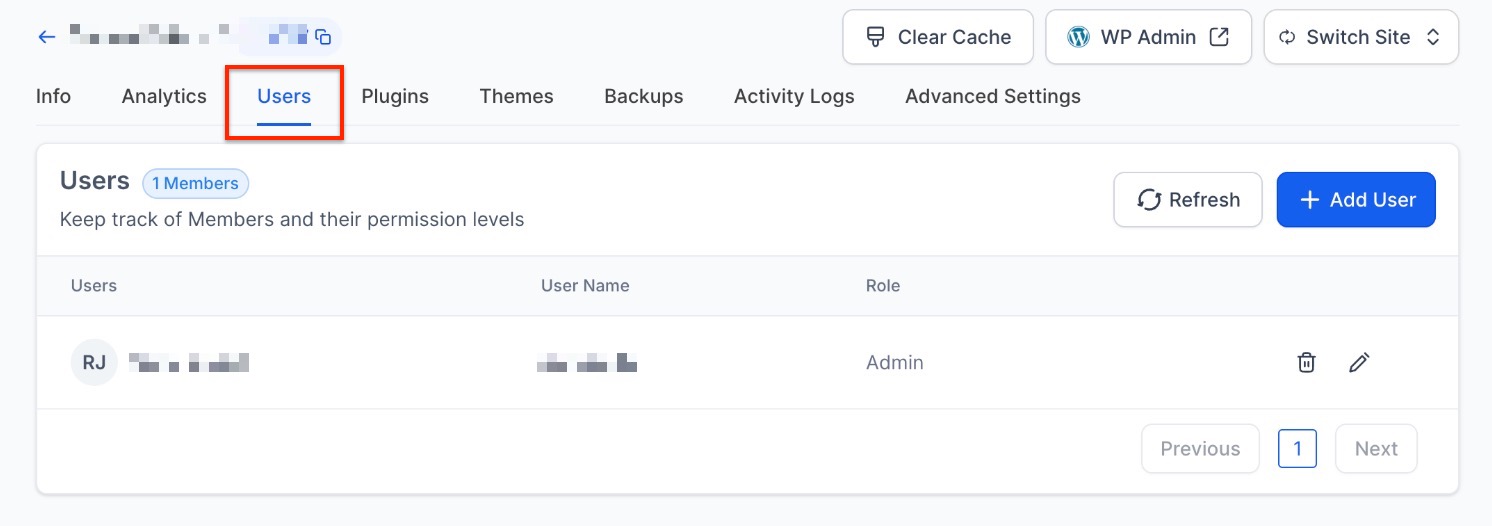
2. User Management
Here you can manage all users for the site in Marketing & Sales > Funnels & Pages > WordPress.
3. Backup & Restore
Here you will see the backups for the last three days
Backups happen daily at 05:00 AM CST

4. Advanced Settings
You will be able to manage SFTP Access and Communication Settings here. More information can be found in the article titled “How to Use SFTP to Connect to Your WordPress Site”.
Adding an Additional Domain
Once your site is ready to publish, you can connect your domain to the WordPress site.
Please follow the article titled “How To Point A Domain or Sub-Domain To WordPress” for instructions on connecting and pointing your domain with the WordPress site.
Supporting Multiple WordPress Site Installs Under the Same Account
How to Use It:
- Access the Dashboard: Navigate to Marketing & Sales > Funnels & Pages > WordPress > All Sites to open the updated dashboard.
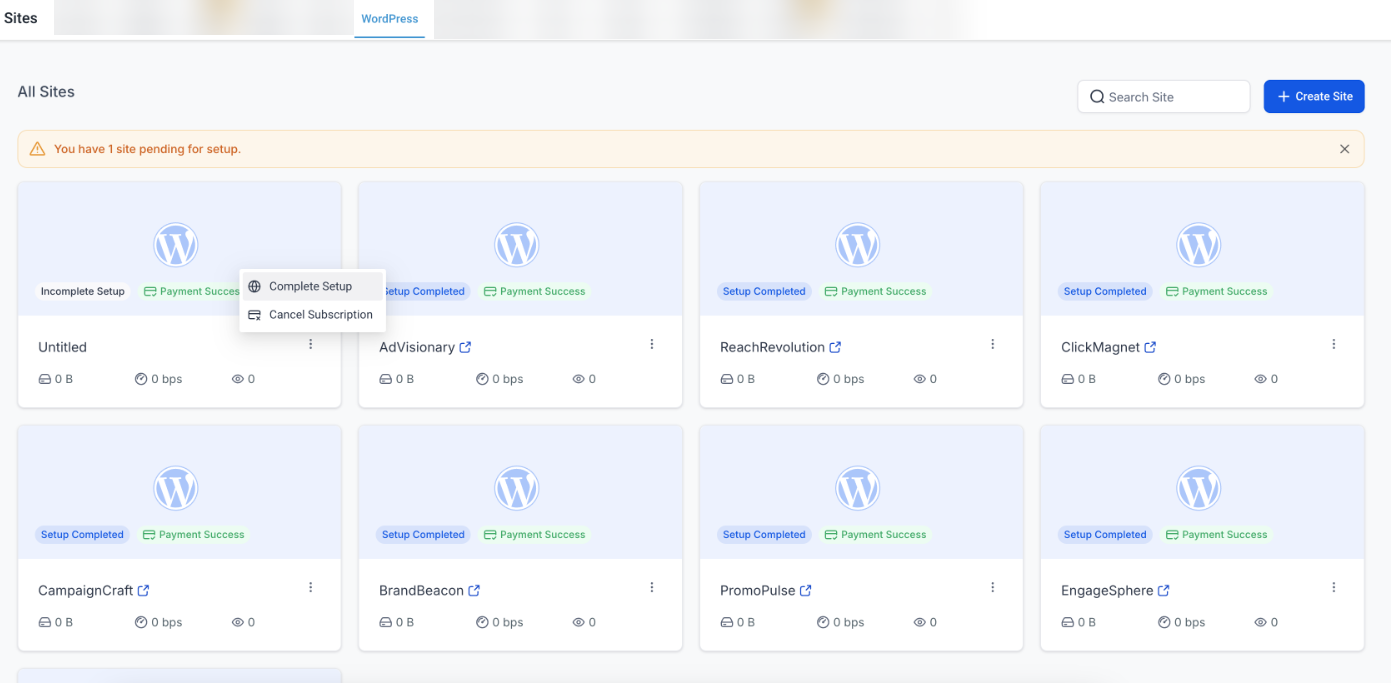
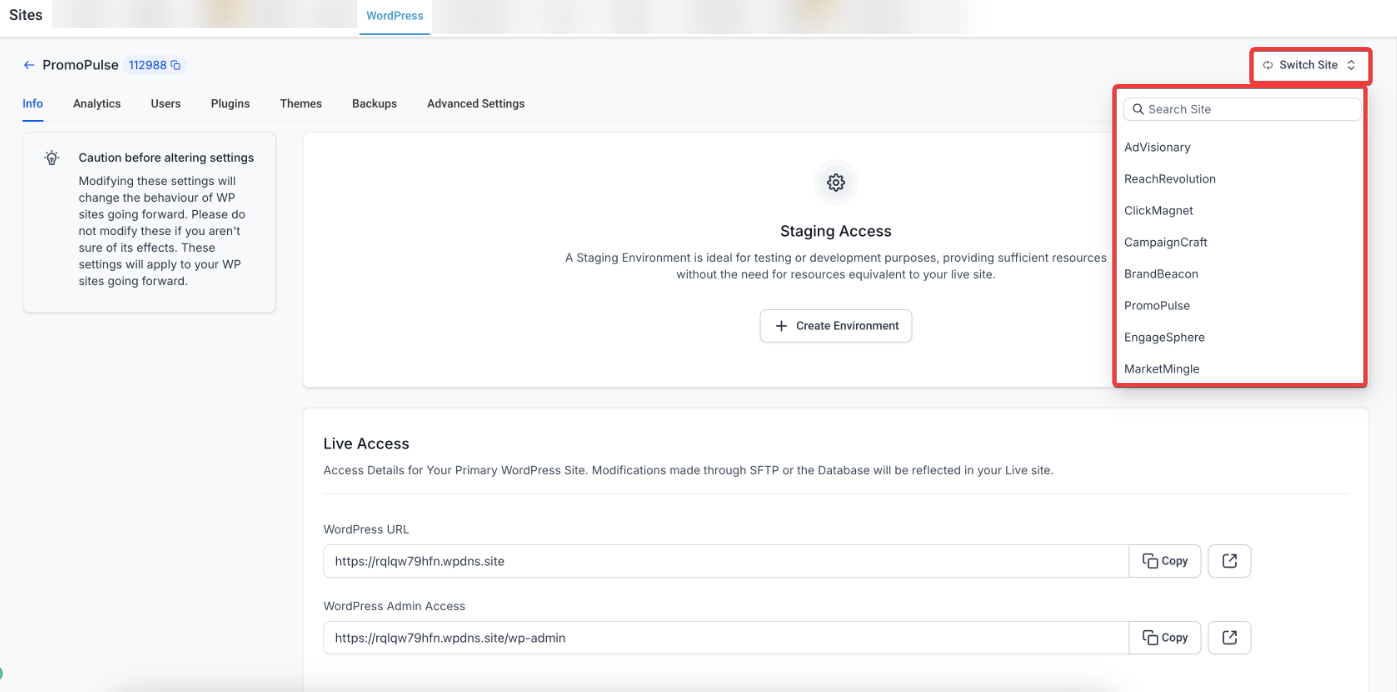
2. Create & Manage Sites: To add a new site, enter the required details and complete the payment. To switch between sites, use the site info screen to toggle easily.
Benefit: This consolidates site management into one interface, making it easier to oversee and navigate your WordPress sites.
FAQs
Question: What do I need to do before setting up a new WordPress site?
Answer: Ensure you have purchased the WordPress hosting feature under the Sites tab. Once done, you can start by clicking the "+ Create WordPress" button.
Question: How long does it take to set up a new WordPress site?
Answer: The installation process typically takes 10-15 minutes. After that, you'll have access to your WordPress Dashboard and other management tools.
Question: What can I do after my WordPress site is installed?
Answer: You can access the WordPress Dashboard, manage domains, import an existing site using the All-in-One WP Migration plugin, and refresh your site's cache.
Question: How do I manage users on my WordPress site?
Answer: User management is available under the "User Management" section, where you can add, remove, or modify user roles.
Question: How often are backups performed, and where can I find them?
Answer: Backups are performed daily at 05:00 AM CST. You can view and restore the last three days' backups in the "Backup & Restore" section.
Question: Can I refresh my site’s cache manually?
Answer: Yes. Use the “Refresh Cache” option available in your WordPress management panel to clear cached data and ensure changes reflect immediately.
Question: Is my site secure?
Answer: Our managed hosting includes server-level security and firewalls. Additionally, every domain you connect through our system is automatically provisioned with an SSL Certificate, ensuring your visitors see the "Secure" padlock icon in their browser and that their data is encrypted.
Question: How do I switch between different WordPress sites in my dashboard?
Answer: Once you have multiple sites set up, you can use the site info screen to toggle between them, making it easy to oversee all your installations from one interface.
Question: How can I access the backend files of my WordPress site for advanced management?
Answer: You can manage technical file access through the Advanced Settings section of your WordPress dashboard. From there, you can configure SFTP Access, which allows you to connect to your site's server securely to manage files.