Using the Inline Forms, Surveys Element in Email campaign
This article provides a comprehensive guide on utilizing the feedback elements within your communication builder to capture valuable insights from your audience. These tools allow you to embed interactive rating systems and surveys directly into your messages, facilitating a seamless data collection process for better business intelligence.
Key Features and Benefits
The feedback elements are designed to transform standard outbound messages into two-way conversations. Key benefits include:
- Versatile Scoring Models: Choose from various pre-built feedback types, including Net Promoter Score (NPS) from 1–10, 5-star rating systems, and simple Like/Dislike binary choices.
- Direct Interaction: Contacts can submit their feedback with a single click inside the message, significantly increasing response rates compared to external links.
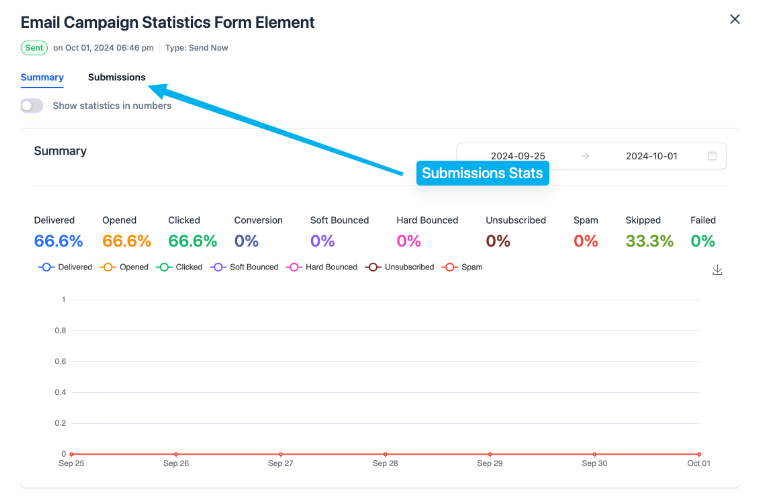
- Integrated Analytics: All responses are automatically captured and displayed within your campaign dashboard for real-time monitoring.
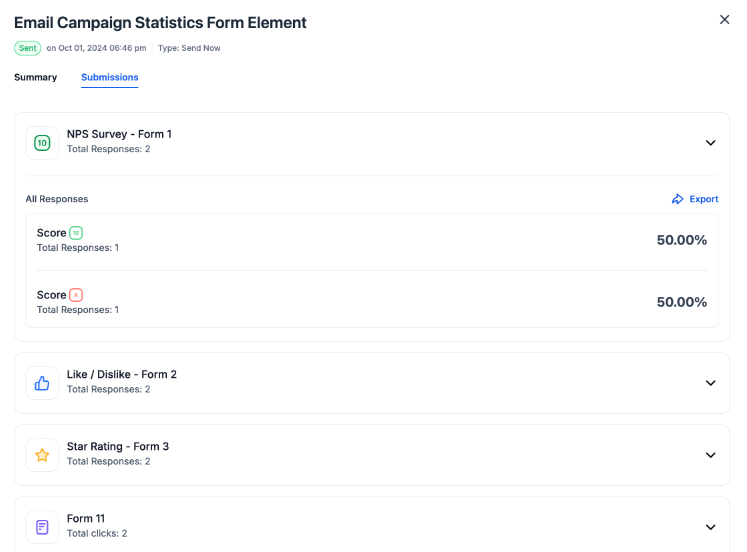
- Data Portability: Easily export submission data to identify high-value advocates or address concerns from users with lower ratings.
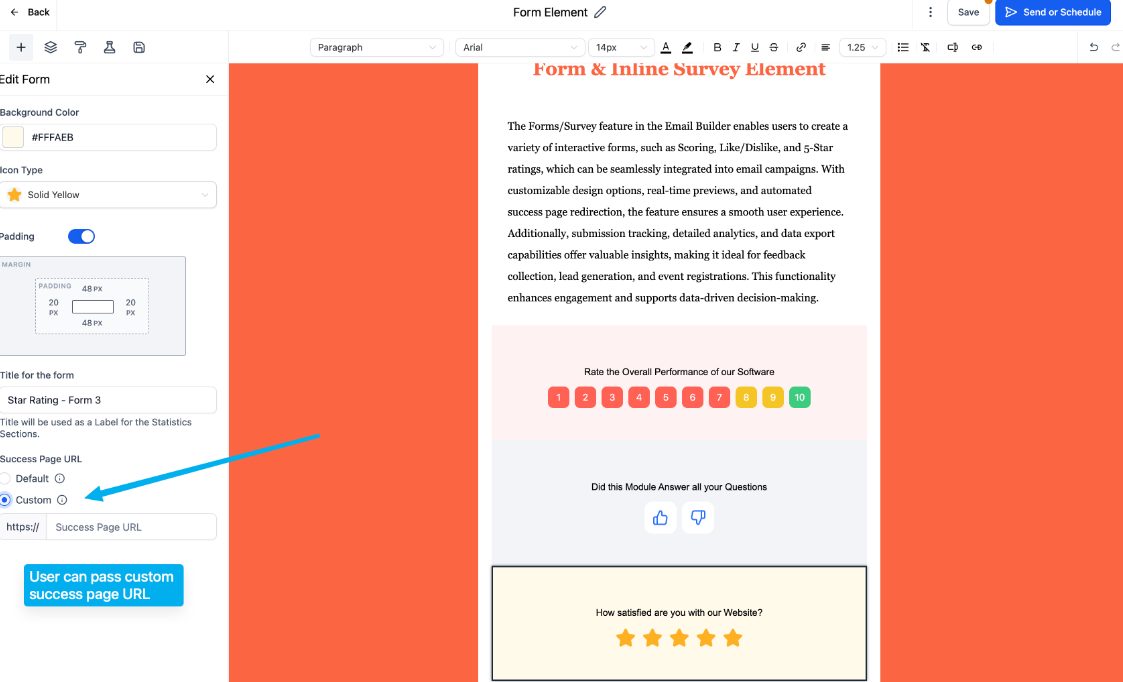
- Custom Success Redirects: Direct users to a specific landing page or personalized thank-you message immediately after they submit their feedback.
How to Use the Feedback Element
Follow these steps to incorporate surveys or forms into your campaigns:
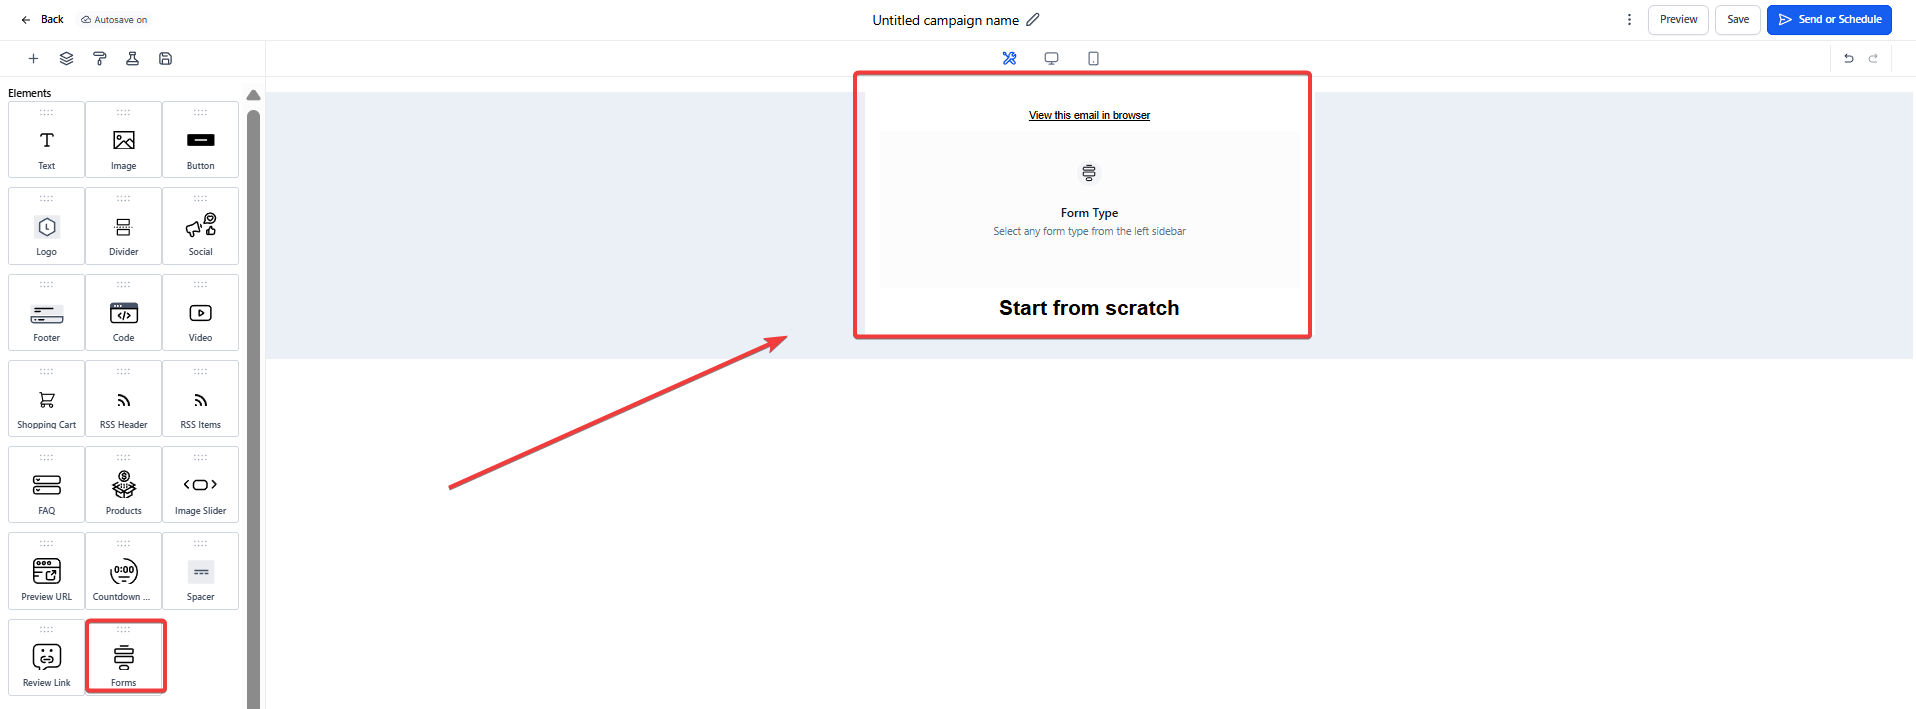
- Access the Builder: Navigate to the Marketing & Sales > Email & Social Media section of the Hub and start a new email campaign or template.
- Insert the Element: Drag and drop the Form/Survey Element into your message layout.
3. Select Feedback Type: In the element settings, choose the specific format you wish to use (e.g., Star Rating, 1-10 NPS, or Thumb Up/Down).

4. Customize Design: Adjust the colors, sizing, and alignment to ensure the element matches your brand aesthetics.

5. Assign a Unique Title: Enter a specific name in the Title field. This name is crucial for identifying the specific form's data in your reports later.
6. Configure Success Settings: (Optional) Enter a URL in the success page field to redirect users once they have interacted with the form.
7. Monitor Results: Once the campaign is sent, navigate to Campaign Statistics and select the Submissions tab to view and analyze individual responses.
Frequently Asked Questions
Question: Do I need a custom success URL for form responses to be tracked in email campaigns?
Answer: No. Form submissions, including ratings, Like/Dislike, and scoring, are tracked as soon as a contact clicks on the element inside the email. A custom success URL is completely optional and is only used to control where the user is redirected after clicking.
Question: Where can I see the results of my survey?
Answer: You can view all responses by navigating to your campaign statistics and clicking on the "Submissions" tab. This will show you a breakdown of which contacts gave which specific rating or score.
Question: Can I change the scoring type after the email has been sent?
Answer: No. Once a campaign is sent, the element is locked into the version that was dispatched. Any changes to the form type must be made in a new campaign or template before sending.
Question: Is it possible to see which specific person gave a low rating?
Answer: Yes. The submissions report correlates the feedback with the specific contact record in your database, allowing you to reach out directly to individuals to resolve any issues.
Question: Can I use these forms in SMS campaigns?
Answer: These specific interactive elements are designed primarily for email builders. For SMS feedback, it is generally recommended to link to a hosted survey page or use a keyword-based reply system.
Question: What are the three specific feedback models available to choose from in the element settings?
Answer: You can choose from Net Promoter Score (NPS) 1–10, a 5-star rating system, or a simple Like/Dislike binary choice.