How To Use Product Themes
Using Membership Themes allows you to enhance your members’ experience while honing your brand identity. You can customize your product pages by section, and choose between handpicked, customized themes.
Step 1: Choose A Theme
- When you create a Product, the default theme will be the “Classic” theme. However, you may choose other options to match your digital product to your brand.
- Choose the Product you wish to apply a theme for by navigating to Your Products on the left > Courses at the top > From the dropdown select Products.
.jpg)
Step 2: Customize The Theme
- Within the gallery, click “Customize” to open the builder for customization.
- Choose your theme settings.
.jpg)
.jpg)
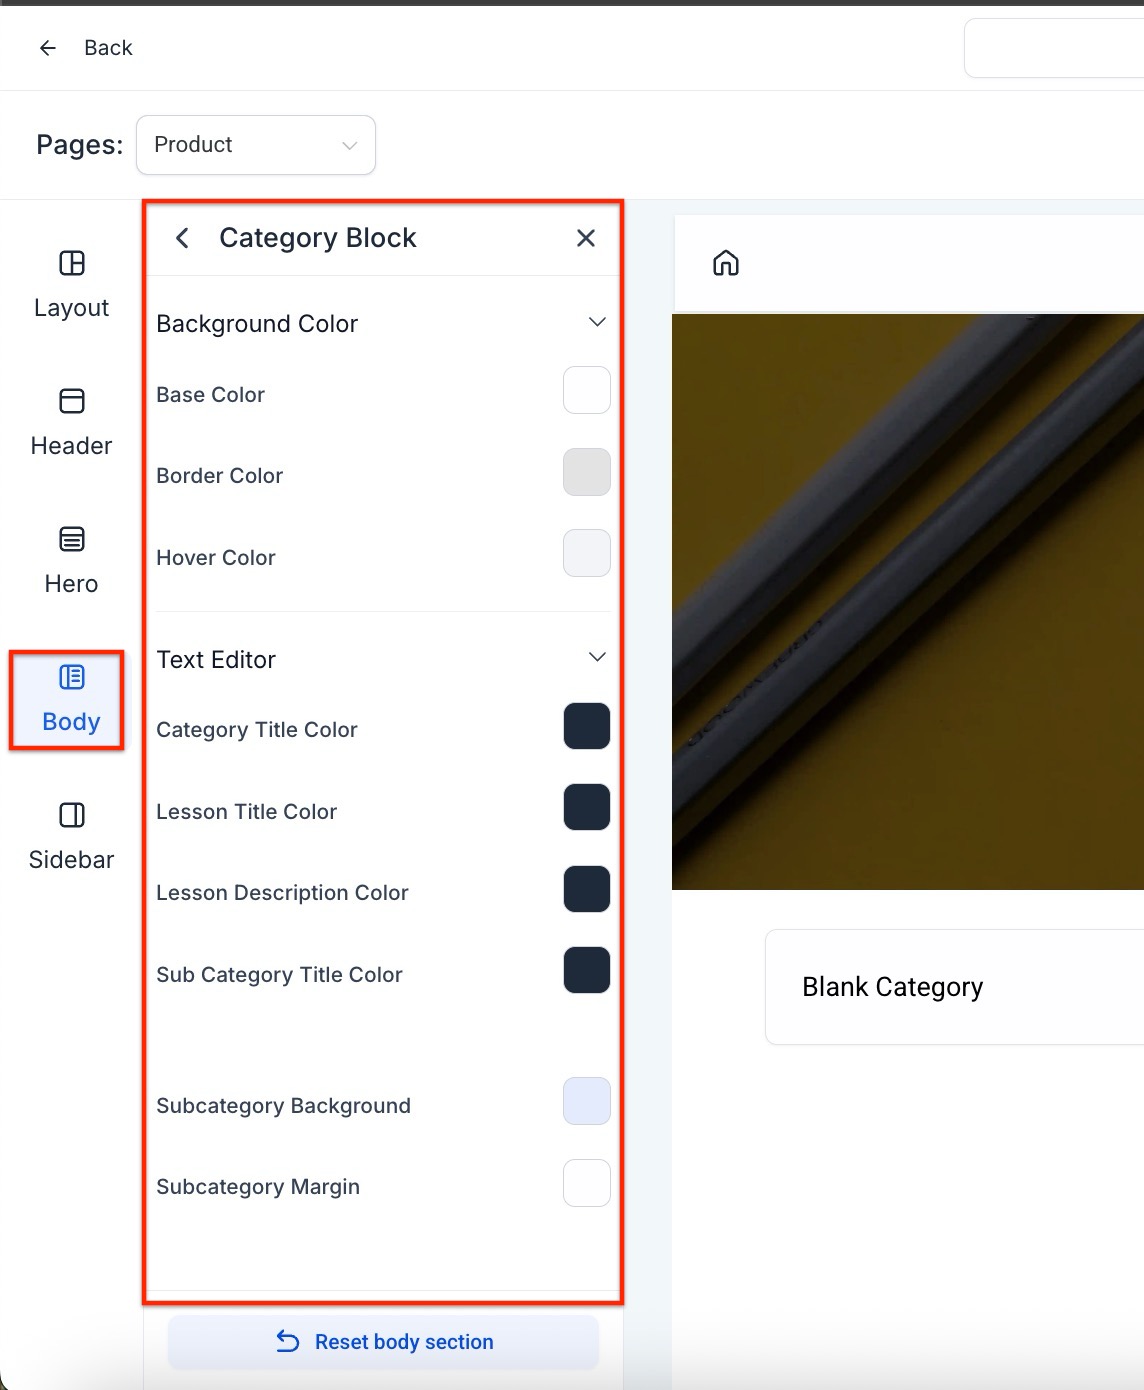
If you wish to customize a specific section of the page, click on the Section in the sidebar editor on the left-hand side. Within the Section, you can see all the customization options.
- Here are some of the things you can change under theme settings:
- Primary color: buttons, top icons, lesson progress, titles
- Secondary color: instructor name, descriptions, button text
- Primary font: buttons, top icons, lesson progress, titles
- Secondary font: instructor name, descriptions, button text
- Logo placement: whether the logo will be placed in the “header” or “hero” section
.jpg)
- Here are some of the things you can change:
- Header: background (color), alignment
- Hero: size, course title, description, background, button
- Lesson Progress: background (color), font, progress color
- Course Body: category and subcategory fonts, description and lesson fonts, background
- Instructor: background, fonts
.jpg)

Keep in mind that if a section is customized after the theme setting is changed, the section customization will override the theme setting.
NOTE: If you click “Save Changes” then the changes will be reflected in the preview. “Reset to default” will change all settings back to the default values of the chosen theme.
Step 3: Apply and Save Your Theme
- Once you’ve chosen a theme and made any customizations, you will need to save and apply the changes.
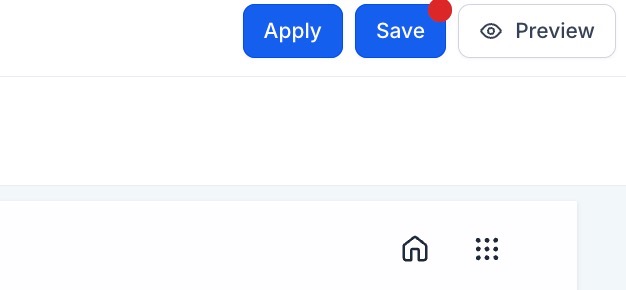
- Click “Save Theme” or “Apply Theme” in the top right corner for your customizations to take effect.
- “Save Theme” allows you to save the theme for global use (think of it as a template you can reuse for other products in Mastermind). If you click “Save Changes” the changes will only be saved in the Product you are working on at the time.
- “Apply Theme” allows you to apply a theme to the product.

NOTE: Here are a few notes about saving themes and customizations:
- If you customize a template and save it for global use, it won’t retroactively save other products already using that theme. When you apply that theme again to a product moving forward, the new changes will start reflecting.
- By clicking “Save Changes” for a theme not applied to a product, that theme will be updated with the changes and can be used in that same product later. It will not change the global properties of the theme.
- When you use the “Apply” button for a theme, it will be applied to the selected product, and any other customization you’ve done within that product won’t automatically save globally.
- You may save a customized theme at the product level. When customizing the theme, you can save it as a draft without actually applying it to a product. By clicking “Save Changes” the theme will be stored as a draft, which can be applied later to the particular product.
FAQs
Question: What is the purpose of Membership Themes?
Answer: Membership Themes allow you to enhance your members' experience and strengthen your brand identity by customizing product pages with handpicked, customizable themes.
Question: How do I choose a theme for my product?
Answer:
- When you create a product, the default theme will be “Classic.”
- To change it, choose the product you want to apply a theme to.
- Select a new theme from the gallery that best matches your brand.
Question: What’s the difference between customizing a theme and customizing a section?
Answer:Customizing a section overrides the general theme settings. For example, if you adjust a specific section’s background after changing the theme, that section's customization will take precedence over the theme settings.
Question: How do I save and apply my customized theme?
Answer:
- Click “Save Theme” to save your customizations for global use as a template for other products.
- Click “Apply Theme” to apply the changes to the current product.
- Use “Save Changes” to apply and save the customizations only within the product you’re working on.
Question: What happens when I reset the theme?
Answer: Clicking “Reset to default” restores all settings to the default values of the selected theme, discarding any customizations made.
Question: Can I save a customized theme without applying it to a product?
Answer: Yes, you can save a theme as a draft without applying it. Later, you can apply it to a product when ready.
Question: If I update and save a theme for global use, will it automatically update my other products already using that theme?
Answer: No. Saving a theme for global use does not retroactively update other products that are already using that theme. The new changes will only be reflected when you apply that updated theme to a product moving forward.
