How to Invite New Members to Your Community Group
Introduction
Building a community is essential for collaboration, sharing knowledge, and creating a sense of belonging among members. Our platform offers an efficient way to grow your community by inviting members via email and link. This guide walks you through the process of inviting individuals to your community using the email and link invitation feature.
Inviting Members via Email
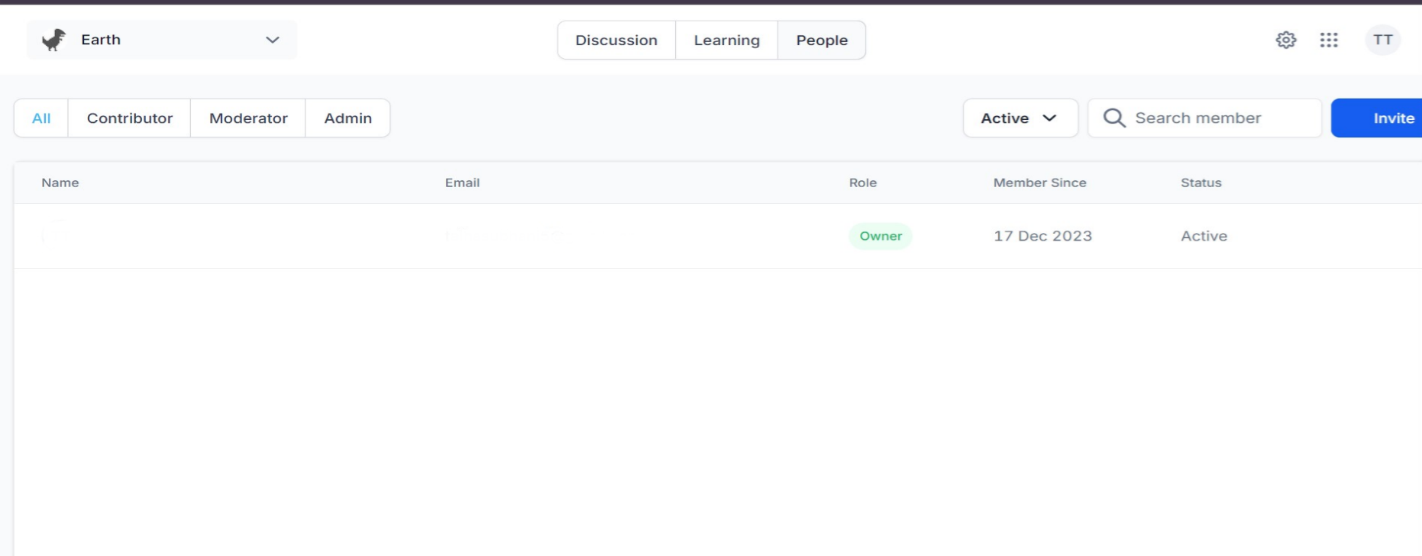
Step 1: Access the 'People' Tab
- Log into your account and navigate to the Build Your Product > Communities > Groups tab.
- Choose a community group that you want to invite a member to.
- Login to the community group.
- Now access the 'People' tab within your community. This is where you manage your community members.
Step 2: Initiate the Invitation Process
Look for the 'Invite Member' button in the 'People' tab. This is your gateway to adding new members.
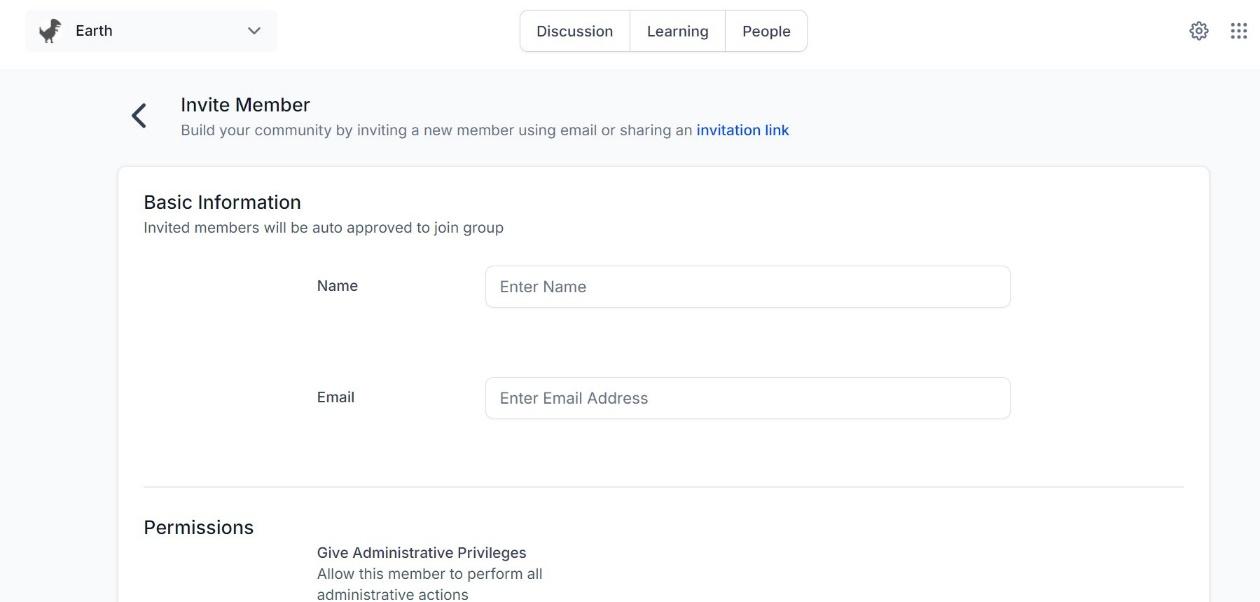
Step 3: Enter Invitation Details
Upon clicking 'Invite', you'll be prompted to enter the invitee's name and email address. These details are crucial as they personalize the invitation.
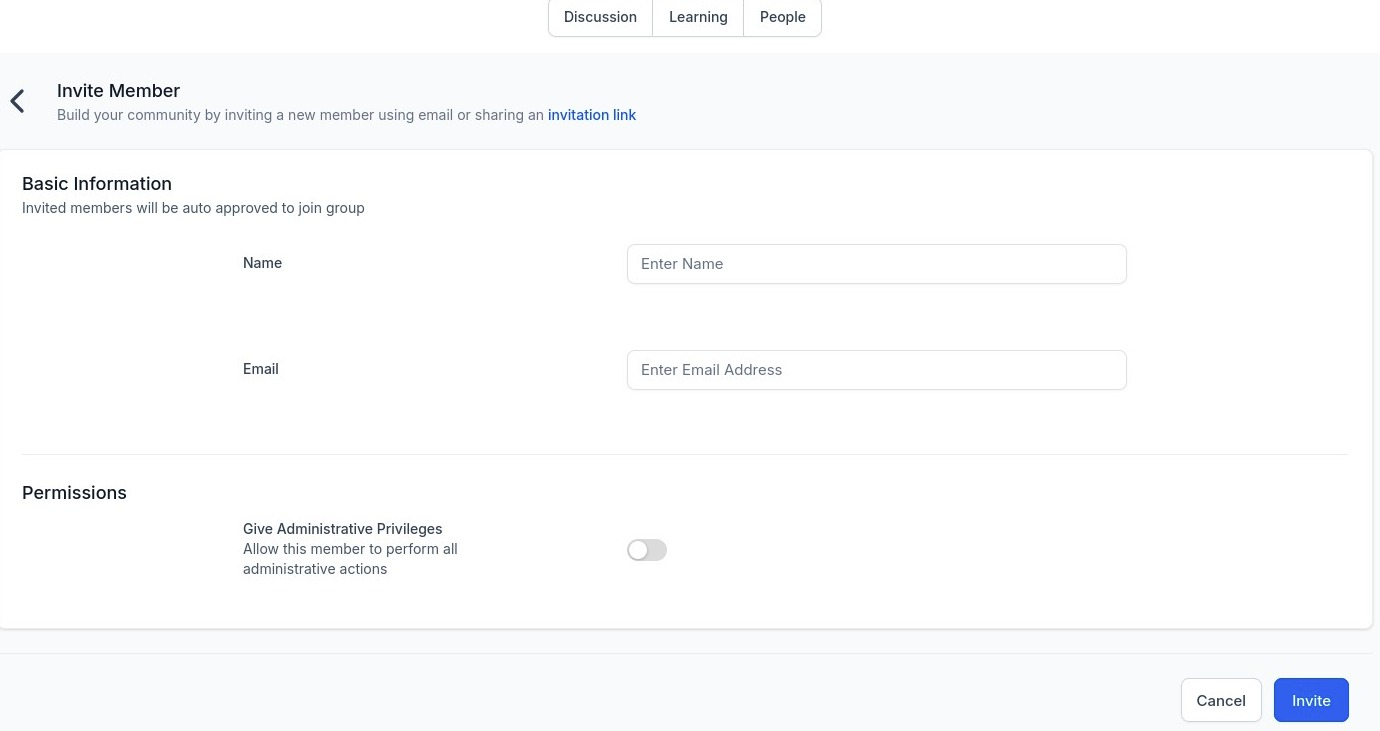
Step 4: Grant Admin Privileges (Optional)
You have the option to grant admin privileges to the new member. This grants them greater access and control within the community.
Step 5: Send the Invitation
After filling out the necessary information, hit the 'Invite' button to dispatch the email invitation.
Invitation Flow and Scenarios
Scenario A: New Users
If the invitee hasn’t signed up for the platform, they'll receive an email with an "Accept Invite" button. Clicking this will direct them to create an account.
Scenario B: Existing Users
Existing members will be redirected to the community via a magic link after clicking the "Accept Invite" button.
Note: Email invitation links expire after 30 days for security reasons.
Inviting Members via Link
Step 1: Navigate to the 'People' tab in your group.
Step 2: Click on the 'Invite' option.
Step 3: Choose 'Invitation link' to generate a unique link.

Once you've generated the invite link, you can easily share it with potential members. Here's how:
Step 1: Copy the generated invite link.
Step 2: Share the link through various communication channels, both within and outside the system. This means you can send it through email, messaging apps, social media, or any other preferred method.

Invited Members
For members who receive an invitation via an invite link, here's what to expect:
Step 1: Click on the invite link you received.
Step 2: A personalized pop-up modal will appear.
In this modal, you have the following options:
Option 1: Sign up for a new account if you are not already a member.
Option 2: Log in with your existing credentials if you are a registered member.
Note: It's important to note that even when using invite links, the standard approval process still applies for private groups. This ensures that only approved members gain access to the group, maintaining its security and integrity.
Frequently Asked Questions (FAQs)
Q: Who can use the email invitation feature?
A: Admins and Owners of the community have access to this feature.
Q: Is it possible to invite multiple people simultaneously?
A: Yes, you can enter multiple email addresses sequentially in the invitation process.
Q: How can I revoke an invitation?
A: The system doesn’t support revoking invitations. You should follow up with the invitee to request they ignore the invitation if necessary.
Q: What if the invitation isn't accepted within 30 days?
A: The invitation link will expire. You will need to resend the invitation.
Q: Can the invitation email be customized?
A: The invitation message is standardized and cannot be customized at this time.
Q: Can I later grant admin privileges if not done initially?
A: Yes, you can update member roles and grant admin privileges at any time after the invitation is accepted.