How to Create a WhatsApp Template
Setting Up a WhatsApp Template
If you wish to offer a different rate to certain clients, you can do so by following these two steps:
Step 1 : Go to Settings -> WhatsApp -> Template tab -> Click on Create Template

Step 2 : A new section will open where you will need to fill in the Template Name, Category, Language, and Header the information
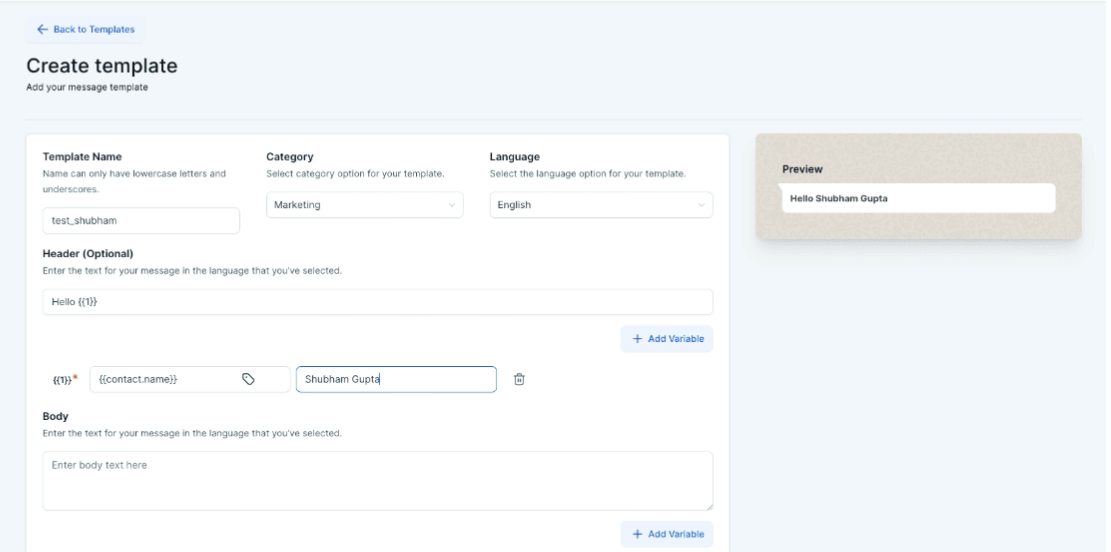
Details around the fields available
Template Name - The name of the template should be set using lowercase characters.
Category - Slecet between the Marketing and Utility Category.
Language - Select from the list of all the languages available.
Header (Optional) - You can add a static or a variable header. Only 1 custom variable is allowed in the header.
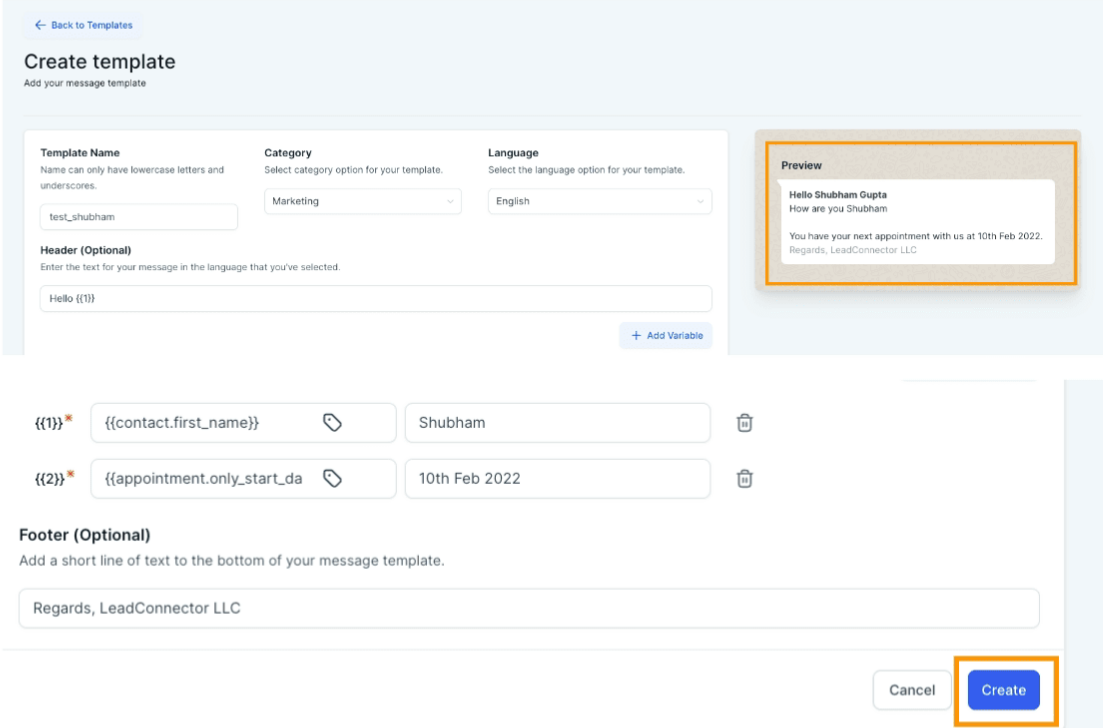
Step 3 : Fill in additional details Body and Footer

Details around the fields available
- Body - The message that would be sent to the customer. You can add multiple custom variables while creating the template by clicking on Add Variable.
- Footer (Optional) - You can add a static footer.
NOTE: Please fill sample value for all the custom variables added as Meta needs examples to be sent while submitting the Template.
Step 4 : Verify the template message and hit on Create
Step 5 : Now we will send this template to Meta for approval and you can track the status in the Template Tab.
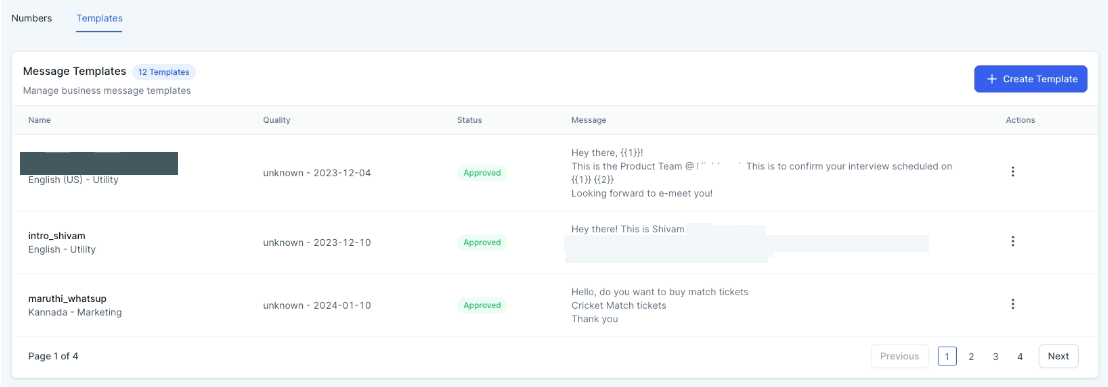
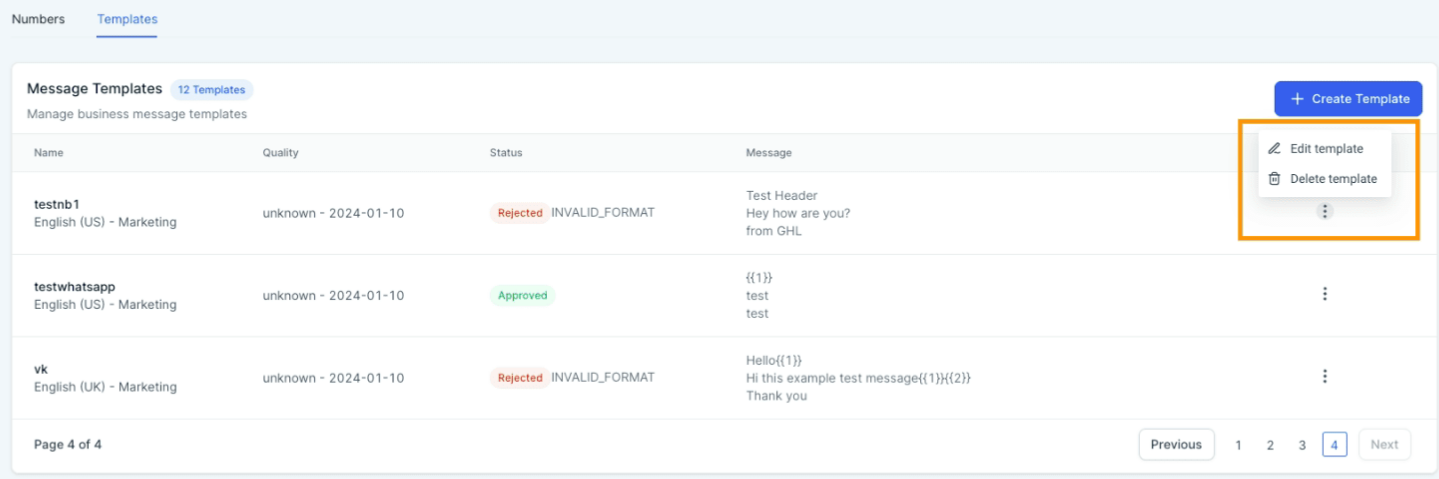
Statuses for Templates
- Pending - Template successfully submitted and sent to Meta for approval.
- Approved - The template is successfully verified and can be used for seeing messages to the customers.
- Rejected - The template was rejected by Meta and needs to be resubmitted. Read FAQ for re-submission.
What's next?
- Once you have a registered template, you can start using the below and product areas to send/receive WhatsApp messages.
- If you still have not added a number that can be used inside WhatsApp, refer below:
Frequently Asked Questions
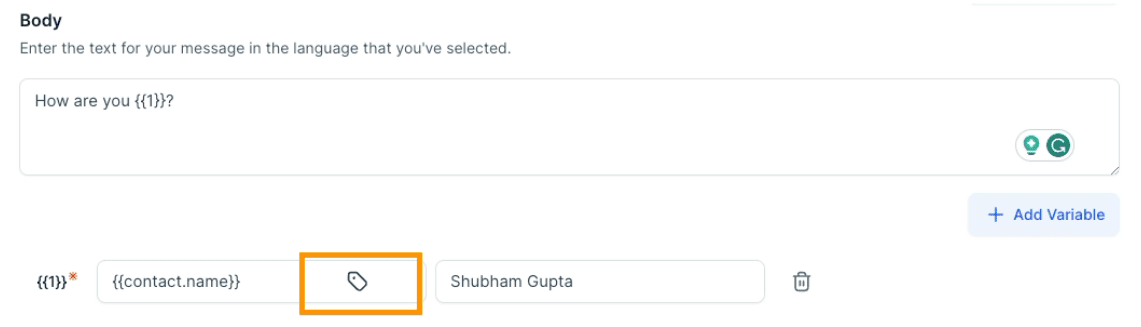
How do we add custom variables in the Header and Body of a Template?
Step 1 - Click on Add variable available under Header or Body.

Step 2 - Click on tag icon and select the custom variable(as in this case, it is the contact name) and a sample text(Shubham Gupta in this case).
How do you submit a rejected template or edit a previously approved template?
Step 1 - Click on the accordion icon and hit Edit template.
Step 2 - Fill in all the information again and hit Create.