Blogging 101
Using the Blog feature, you can create and optimize blog posts. The easy-to-use feature allows you to focus on content marketing and SEO optimization, and you can distribute your blog anywhere to attract readers to your blog!
Step 1: Creating Blog Posts with Settings and SEO Details
- Navigate to “Marketing & Sales” Tab > “Funnels and Pages” on the left > "Blogs" at the top
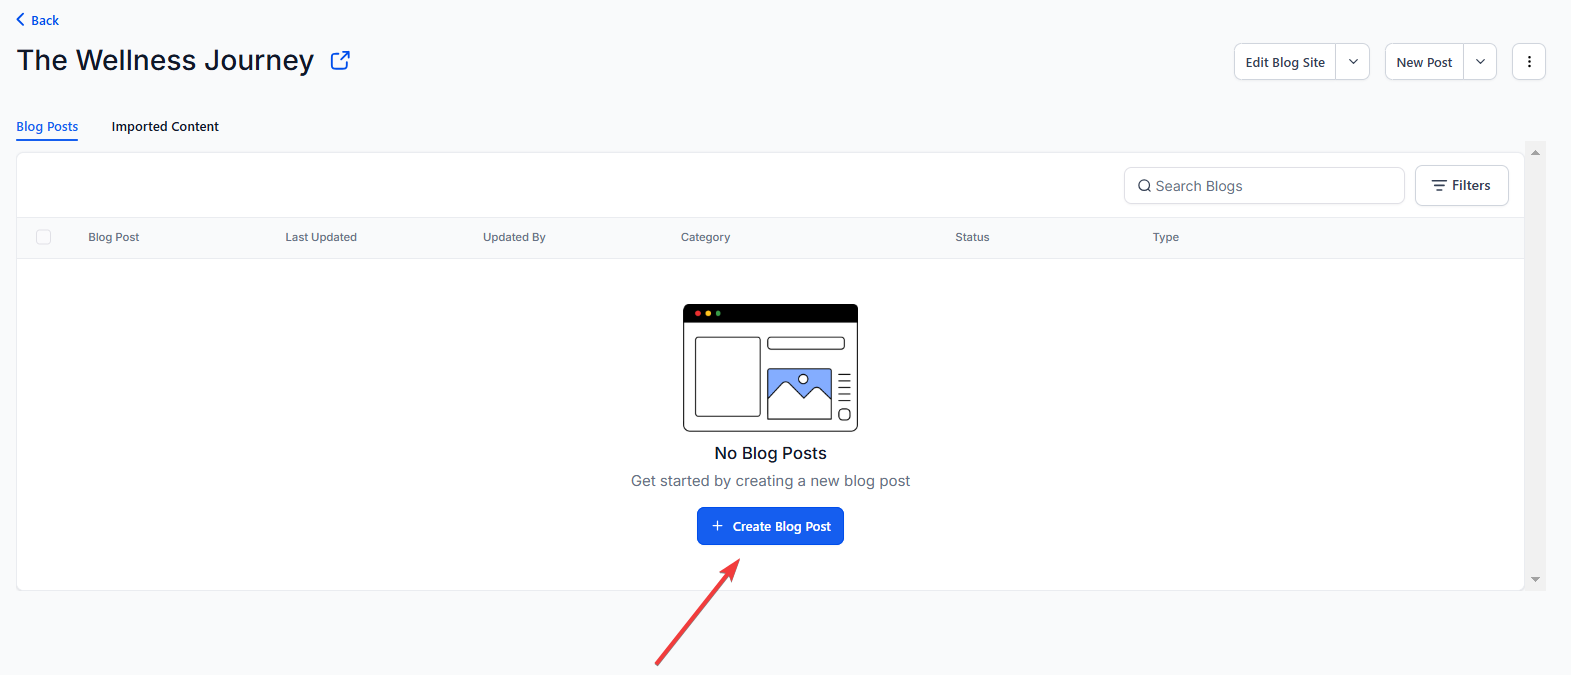
- Create a new blog from scratch or create from a template.

- If creating a new Blog from scratch set up the following:
Add the name of the Blog
Select the domain and add a slug (optional)
Add the description (approx. number of characters is 250 for SEO purposes)
Note: Please add the domain.
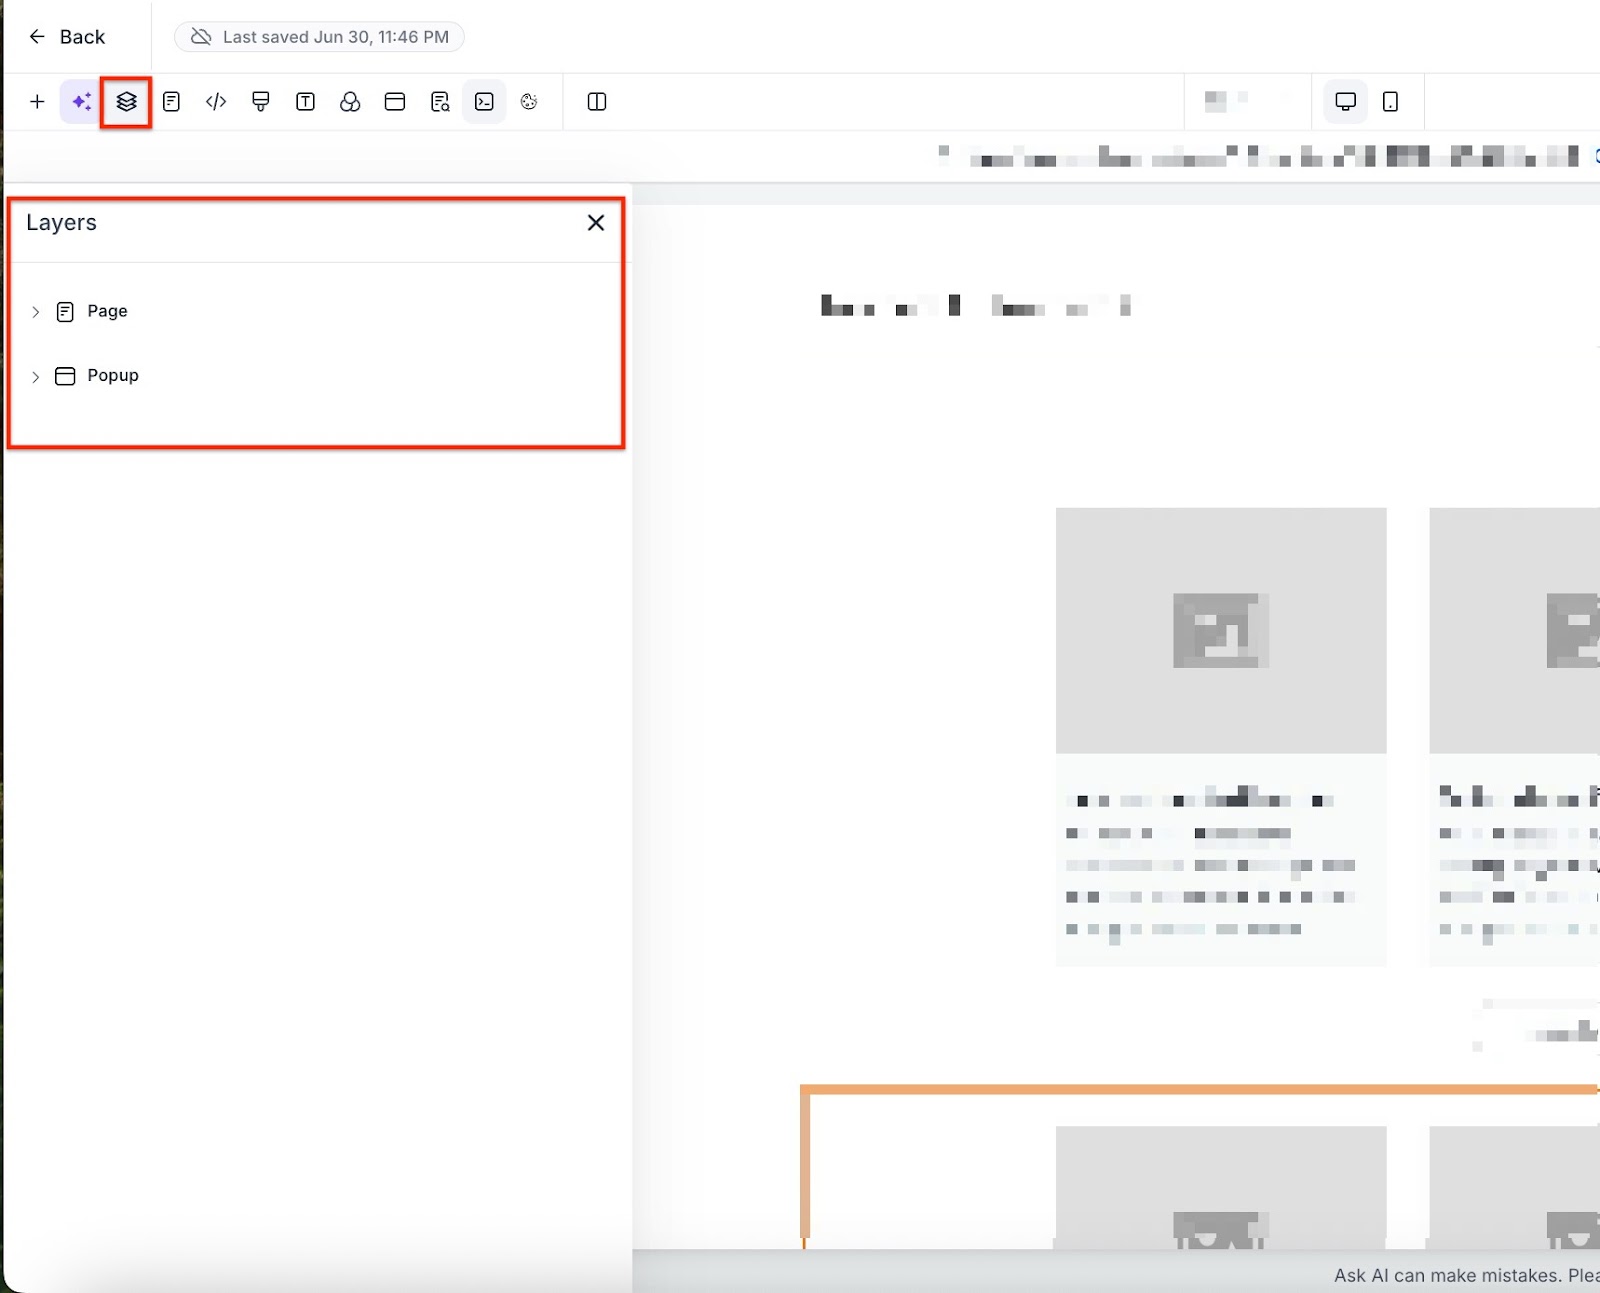
After adding the details, you will land on the list view to create new blog posts and edit the blog site (this will take you to the blog builder similar to the funnel/website).
To edit the blog site layout, list view, card details, and blog post page, customize the Blog Home and Blog Post page.
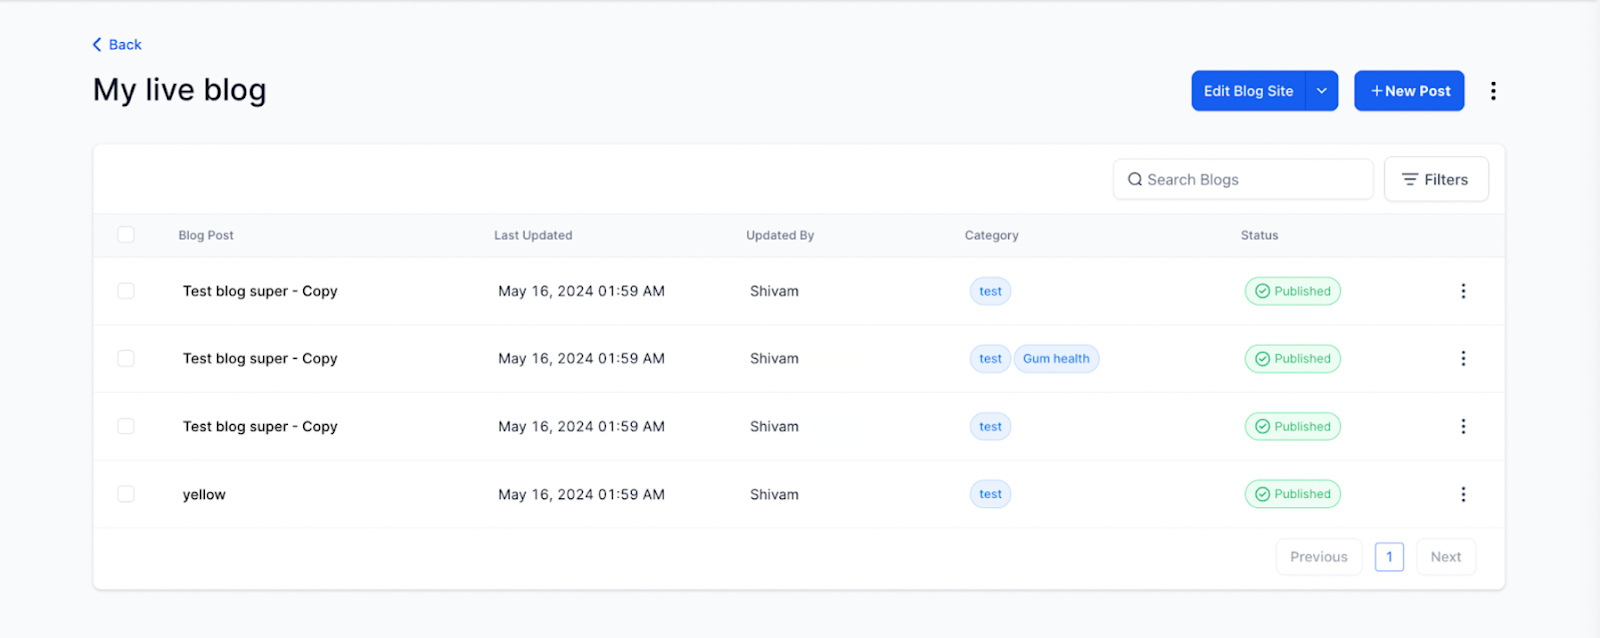
- Click on + New Post.
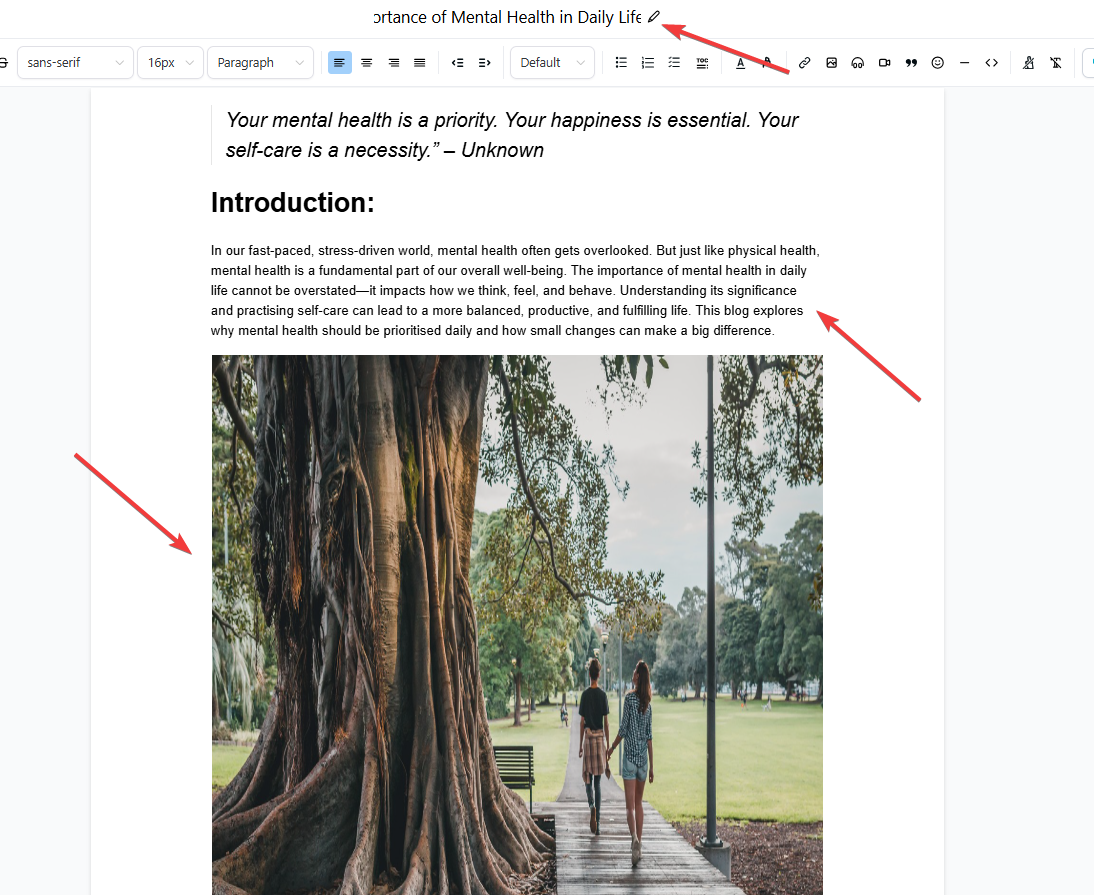
- Give it a Title, Description, and Blog Post image.
The Blog Site Builder supports various elements, including Custom Code, SVGs, and Maps, enhancing the customization and functionality of your blog.
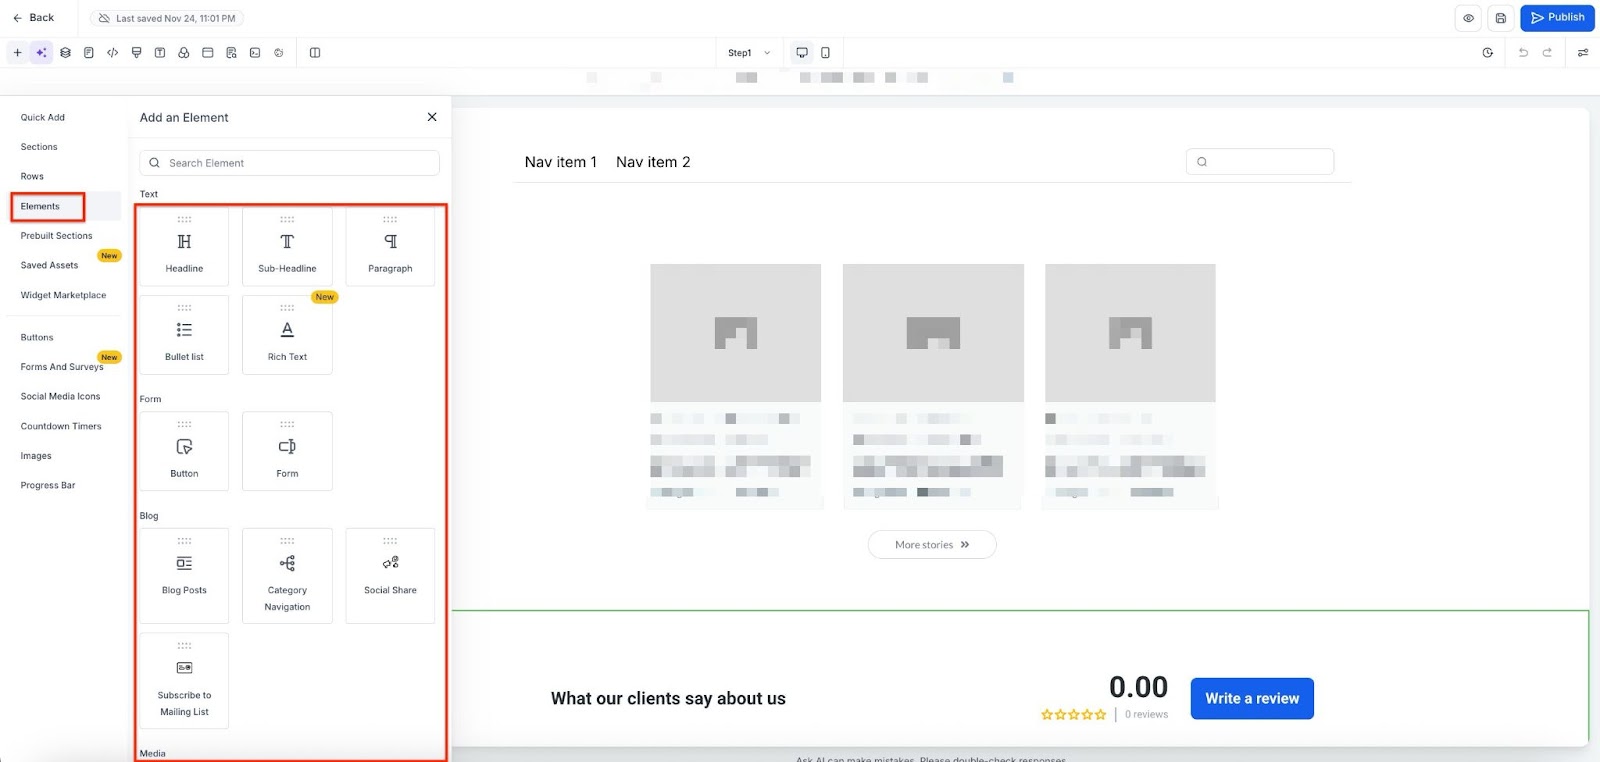
The Blog Site Builder supports various elements, ie, Text, Form, Blog, Media, Custom, Countdown, Blocks, and Social Element. They are further categorized as follows:
Text Element:
1- Headline
2- Sub-Headline
3- Paragraph
4- Bullet list
5- Rich text
Form:
1- Button
2- Form
Media:
1- Image Slider
2- Video
3- Image
4- FAQ
5- Photo Gallery
6- Logo Showcase
7- Testimonials
Custom:
1- Custom Code
2- Survey
3- Calendar
4- Map
5- SVG
6- Reviews
7- Number Counter
8- QR Code
9- Pricing Table
Countdown:
1- Countdown
2- Minute Timer
3- Day Timer
Blocks:
1- Navigation Menu
2- Divider
3- Progress Bar
4- Image Feature
Social:
1- Social Icons
- Using the editor toolbar, add your category and customize buttons, etc.
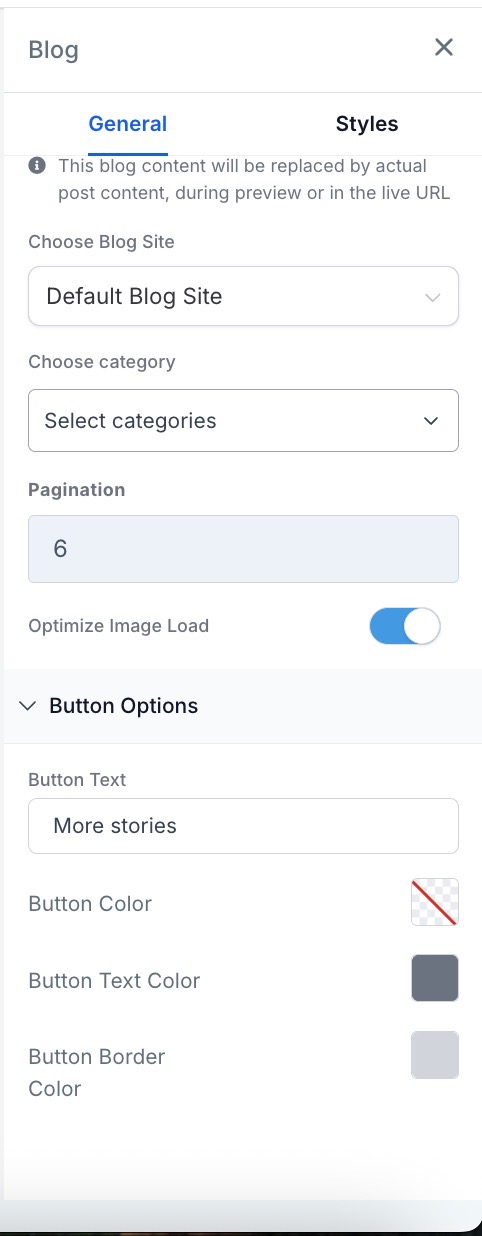
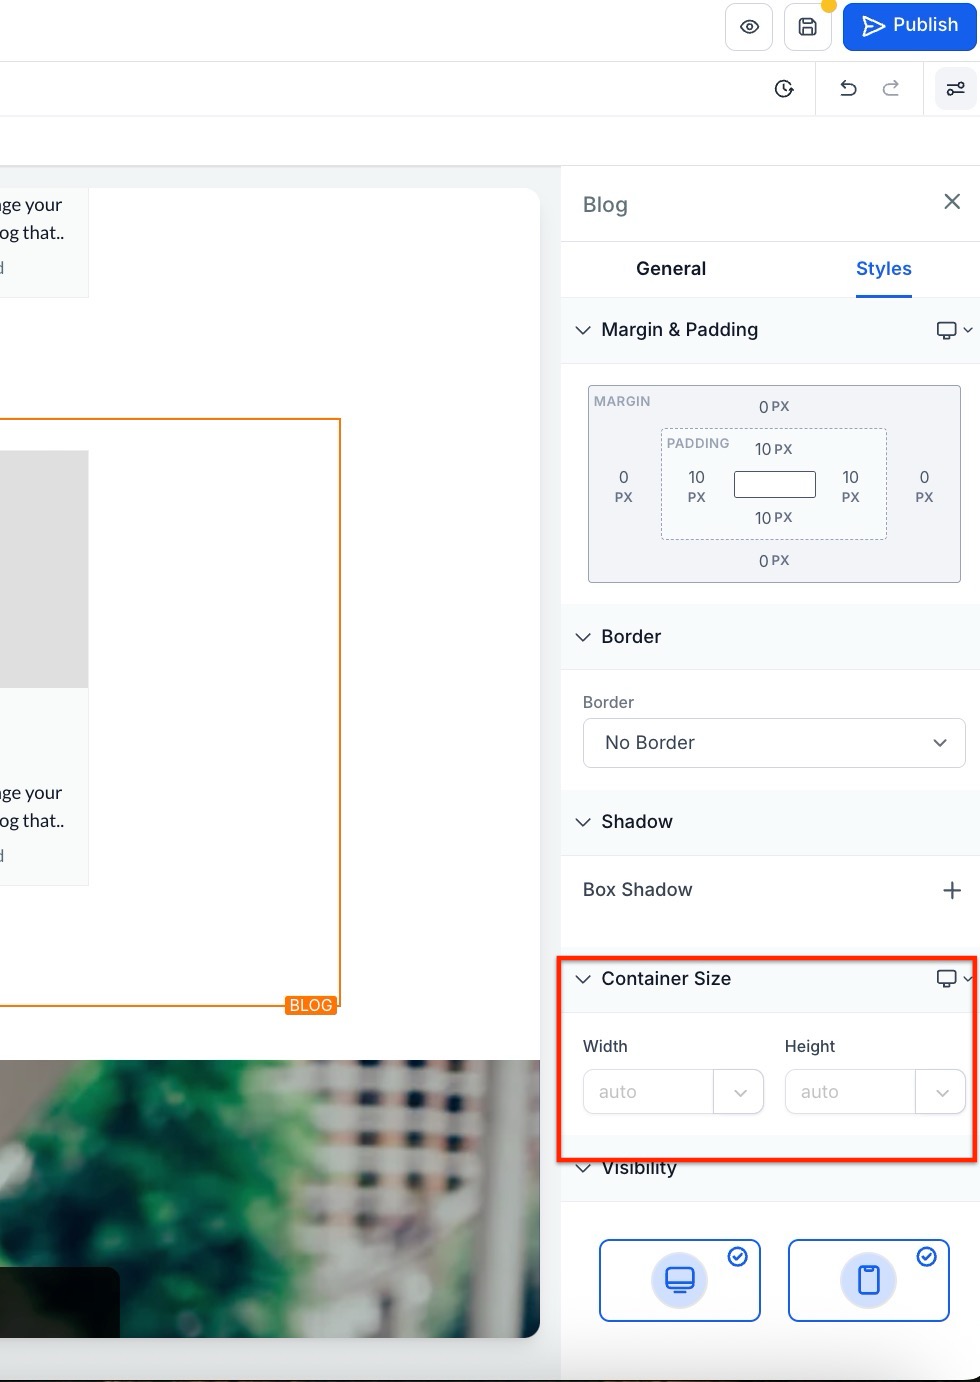
- Users can customize the height and width of the cover image that appears on the blog post page.
- Basic editing options are available, such as category, pagination, button color, button text color, and background color.
- Save your changes.
- Once you’ve added the content, you will need to set up the details for your blog. You will need to click “Continue” if the blog post is new, or click “Update Settings” if you are updating an already created Blog Post. This includes:
- URL Slug: the path for your post
- Category (determined from blog settings)
- Keywords
- Author (determined from blog settings)
- canonical tags to suggest to Google which version of the page it should index


- After setting up the details, you can publish them right away, schedule them for a certain day and time to post, or keep them saved in draft mode.
How to Add a Featured Post to Your Blog
Add a featured post to your blog to highlight important content and increase engagement with your audience.
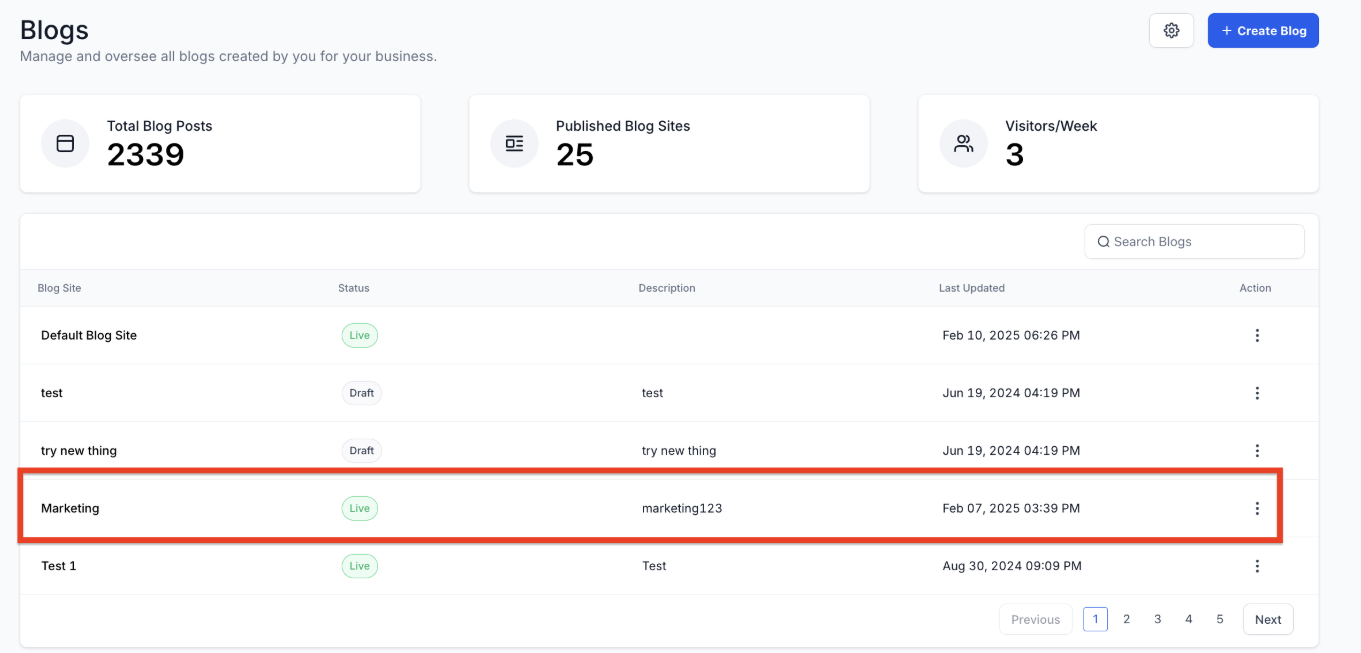
1- Navigate to Marketing & Sales > Funnels & Pages > Blogs:
2- Select the Blog: From the list view of blogs, click on the blog name you want to edit.
3- Edit the Blog Site: Go to the section where you can edit the blog site.
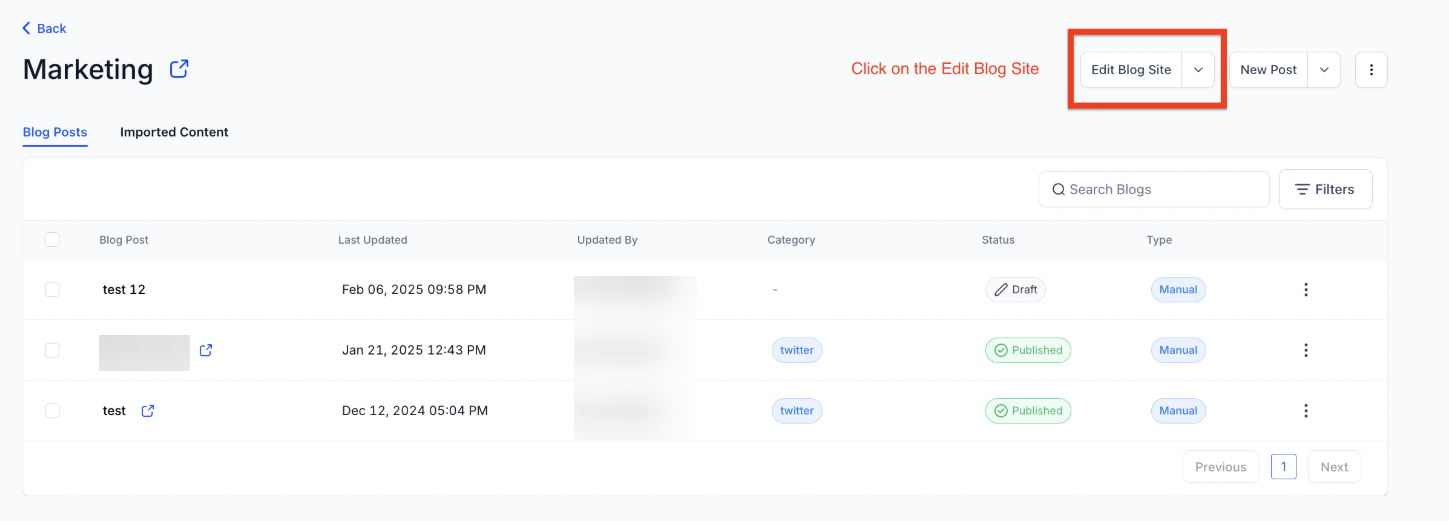
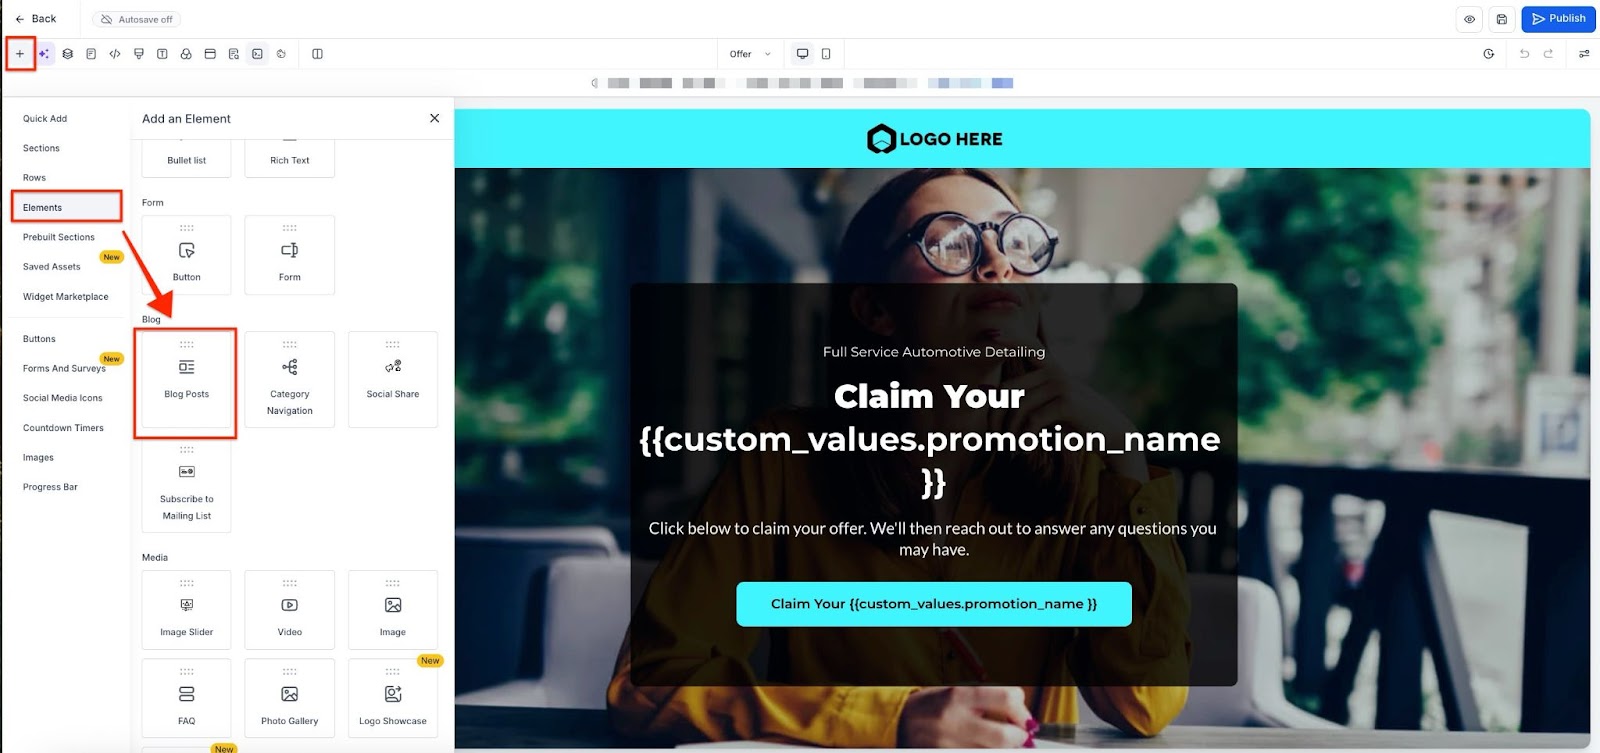
4- Add Blog Post Element: Add the "Blog Post" element to the page.
5- Select Blog Post: Select the Blog Site and choose the category from the General Settings.
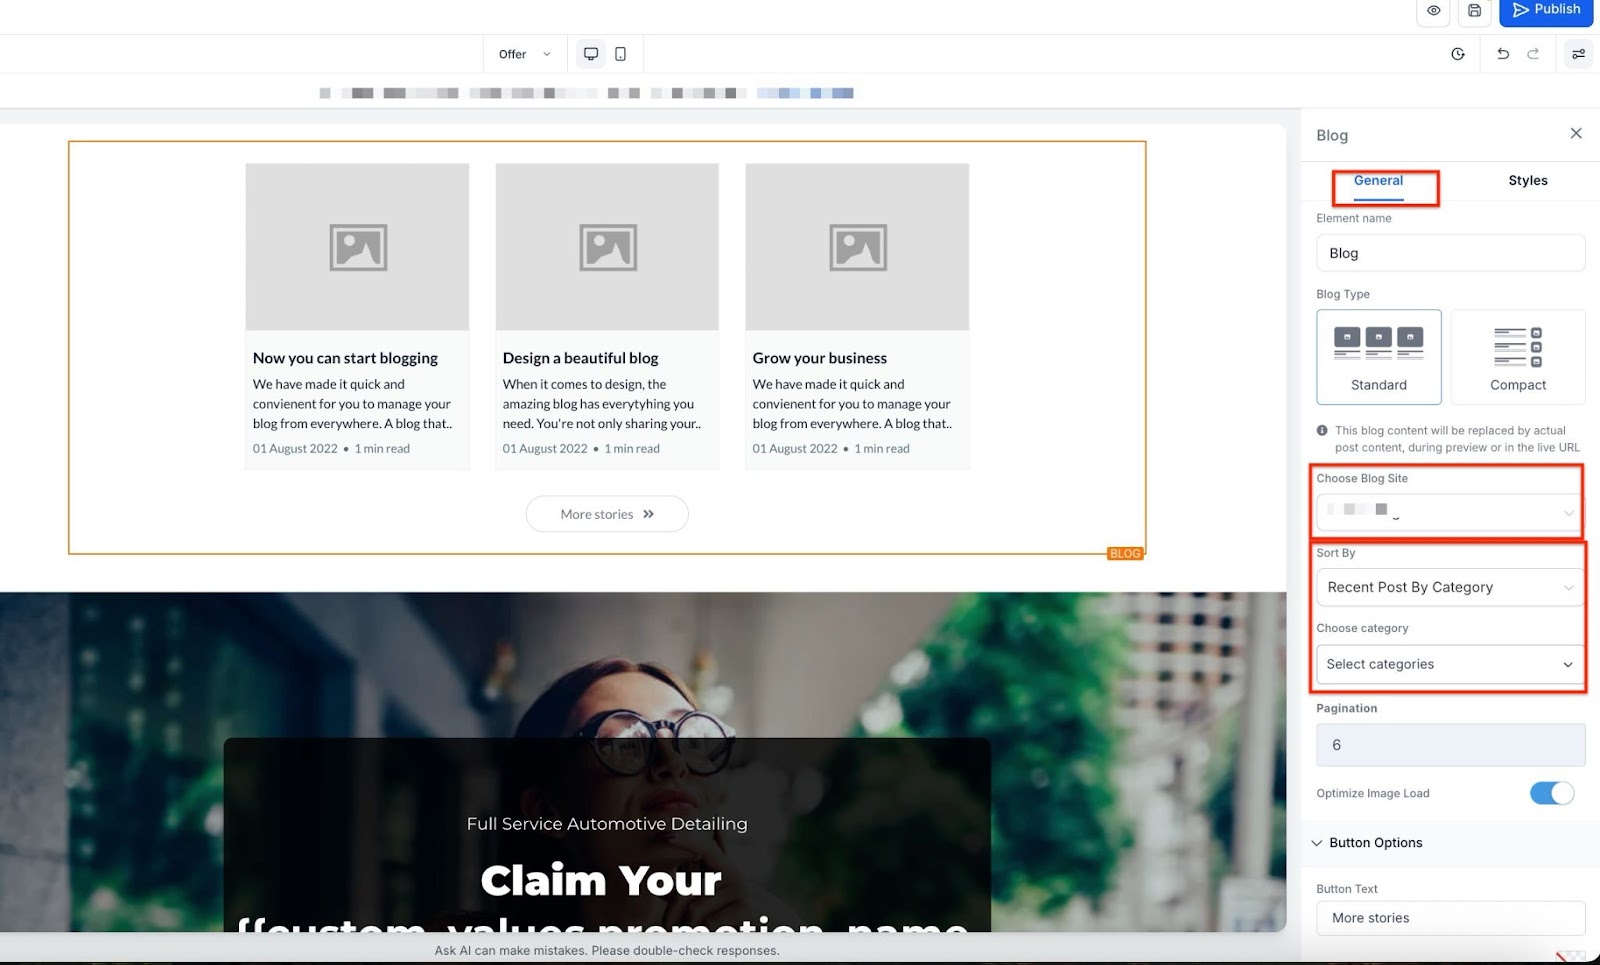
6- Choose Layout: Select your preferred layout and decide what to display in the featured post.
7- Publish: Once you're satisfied, publish the blog site.
Step 2: Adding a Website or Funnel with the Blog Post List Element
NOTE: This funnel or website page will be your main Blog page with all your blog posts.
- Create a new Funnel / Website, or you can add a step/page to an existing one
- Within the step, go to the edit button.
- Click on the element titled “Blog Post”
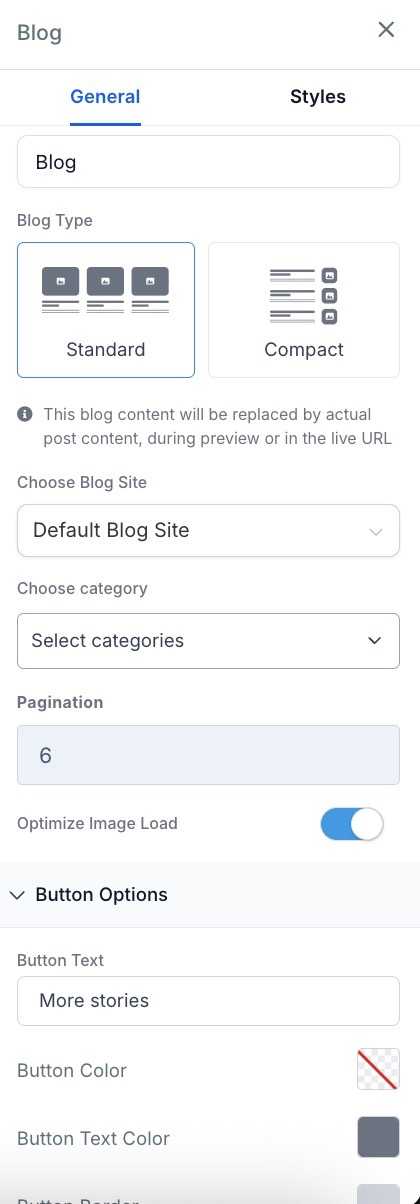
- Choose the element and type of layout - either Standard or Compact
- Make any additional customizations you wish to set up

- Add the domain to the site within Funnel / Website Settings.
- If you want the blog page to open when you enter your domain without any path, you can navigate to Settings > Domains & URL Redirects > Manage the Domain > Select the blog page as the default page. You can set it up so that the blog opens at blog.thedemoaccount.com instead of blog.thedemoaccount.com/home
Step 3: How do domains work within the blog?
You add the domain to the Funnel or Website where the blog element is added. Here is a Blog URL format example:
- Domain: XYZ.com
- Slug of the post: b/sample-demo
- Final URL: XYZ.com/b/sample-demo
Pro Tips:
- Categories: Blog Post details will require a Category. You can add multiple categories.
- Category details such as name, slug, and SEO details can be customized within Blogs Settings.
- Blog Author and Keywords are optional. Author details can be customized in Blogs Settings with a name, photo, and social media information. Keywords can be set from the “publish” section.
FAQs
Question: How do I customize the blog site layout and individual blog posts?
Answer: You can edit the layout of the blog site, list view, card details, and individual blog post pages by navigating to the Blog Builder. Use the customizable Blog Home and Blog Post pages to design your layout.
Question: Can I schedule blog posts for a specific time?
Answer: Yes, after adding your blog content and setting up the details, you can choose to publish the post immediately, save it as a draft, or schedule it to go live at a specific date and time.
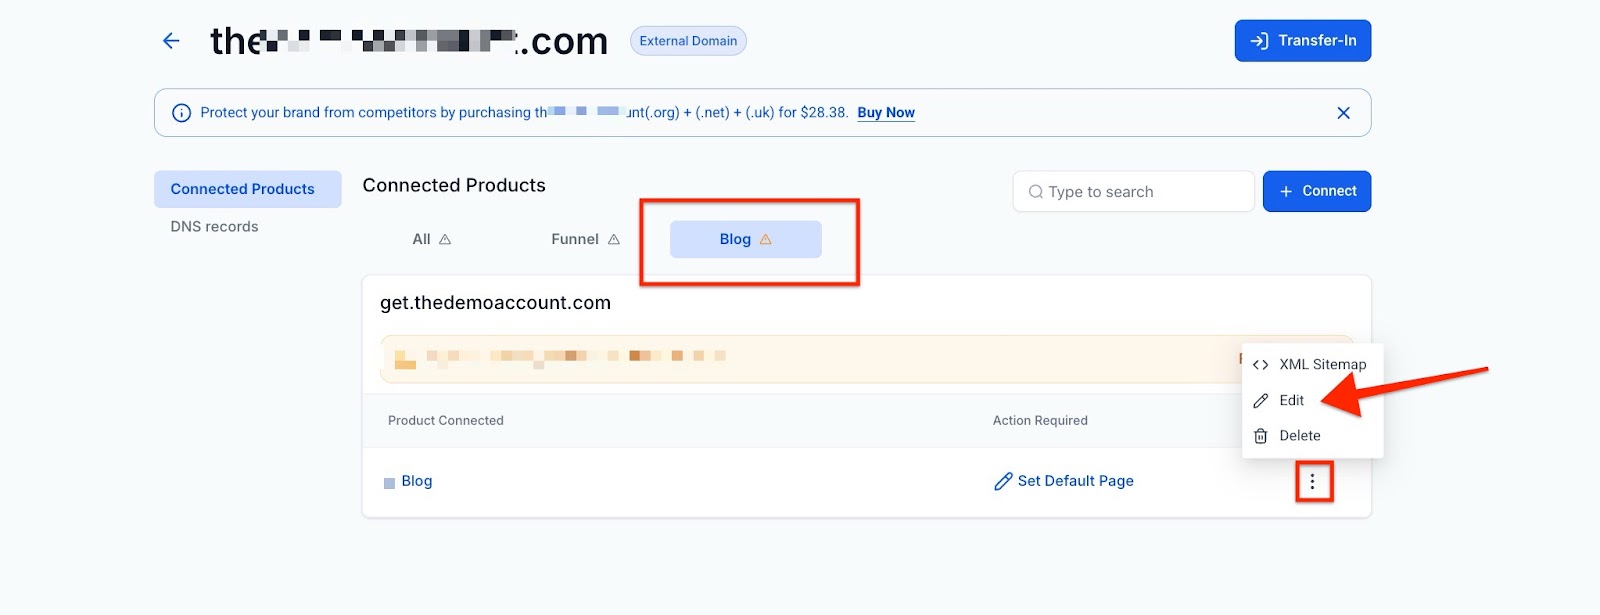
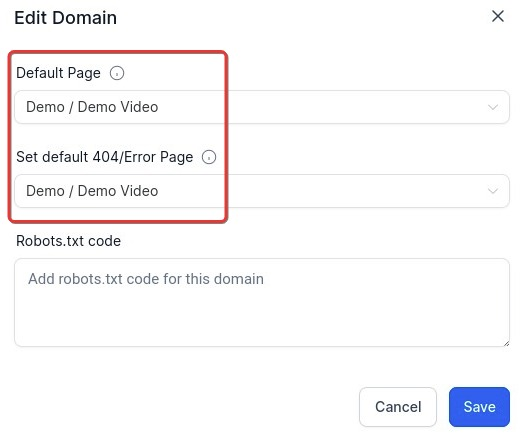
Question: How do I ensure my blog opens directly from my domain?
Answer: Navigate to Settings > Domains > Edit Domain, and set the blog page as the default page. This allows the blog to open directly at yourdomain.com instead of requiring a specific path like /home.
Question: What is the recommended character length for the blog description to ensure it is optimized for SEO?
Answer: For SEO purposes, it is recommended that the blog description be approximately 250 characters in length.
Question: Can I change the URL slug after a blog post has been published?
Answer: Yes, but with caution. If you change the slug (e.g., from /old-title to /new-title), any existing links to the old URL will break. If you must change it, we recommend setting up a 301 Redirect in your Domain Set
Question: What happens to my blog posts if I delete an author profile?
Answer: The blog posts themselves will remain on your site, but the author attribution will typically disappear or revert to a default setting. It is best practice to edit those posts and assign a new author before removing the old profile from your settings.