How To Setup a Class Calendar
Class Booking Calendars are specifically designed to manage events where multiple participants attend a single session. This setup is ideal for scenarios such as webinars, workshops, training sessions, and sports events.
In this article, you will learn the benefits of using the Class Booking Calendar and how to use it.
Key Features Exclusive to Class Booking Calendars:
1. One-to-Many Scheduling:
- Allows a single appointment owner, like a trainer or host, to conduct sessions with multiple attendees simultaneously.
2. Customizable Attendee Capacity:
- Set a specific number of available spots per time slot, accommodating up to 9,999 attendees per session. Note that actual capacity may be limited by the chosen conferencing tool; for instance, some Zoom licenses support up to 500 participants.
3. Display Available Seats:
- Option to show or hide the number of available seats per slot on the booking widget, providing transparency for potential attendees. This feature is enabled by default for new Class Booking Calendars.
- Seats per slot are displayed on the booking widget only when the "Seats per class" setting is set to more than one.


4. Centralized Management:
- Efficiently organize and oversee one-to-many events through a centralized platform, simplifying the booking, cancellation, and rescheduling processes.
5. Enhanced Communication:
- Facilitates clear communication with attendees by providing comprehensive event details, such as date, time, and location, reducing confusion and minimizing no-shows.
6. Time-Saving Automation:
- Automates the booking process and offers options for attendees to cancel or reschedule their appointments, saving time for both organizers and participants.
Setting Up a Calendar For Class Bookings
Step 1: Add your Calendar
- Navigate to Settings, then Calendars
- Click on + New Calendar
- Select Class Booking as the Scheduling Type.

- Select a Team Member. At least one team member must be added before the calendar can be saved.

In the case of a class or a training session, the appointment owner would be the trainer. You can add the appointment owner by clicking Add User and selecting the User from the dropdown list.
Note: You can only have one Appointment Owner for a Class Booking Calendar.
- Enter a Name for your Calendar
- Enter a Calendar URL Slug

Note: This must be a unique slug (or path) that is not being used for another calendar
- Select your availability
- Click on Confirm

Important: The meeting location for Class Booking, as of now is restricted to Custom.
Click advanced settings for more options. We have an article titled “Calendar Setup 101” that is a great resource for all settings.
Important Calendar Features to Know About:
1. Calendar: Email Notifications & In-App Notifications
Users can fully customize their email and in-app notifications related to appointments. This allows users more control over notification content and recipients, with six types of notifications available, including Appointment Booked, Cancellation, and Follow-Up.

- In-App Notifications: Notifications can be sent through the web app and mobile app, offering flexibility for businesses to choose between sending to the assigned user or any specific users.

- Notifications can be set up for each calendar on an individual level.
- For Event Calendars, the account admin is the default recipient for in-app notifications, while for other calendar types, the assigned user is the default recipient.
- Email Notifications: Enable Email Notifications by toggling them on, and customize the content for different recipients.

- You can select an existing email template or create a new one with a custom subject line and message body. Set the timing for Reminder and Follow-Up emails, and send a test email if necessary.


- Click Save to confirm your changes.
2. Cancellation & Reschedule Policy:
Enabling this setting means businesses can set specific time frames after which the cancellation or reschedule links are disabled, requiring bookers to contact the business directly for any changes. (Note: Keeping the value blank means the link will never expire, and the booker can access it anytime.)


- After the appointment has been rescheduled, a "Rescheduled" tag will appear in both the appointment list view and appointment modal. It will also display the previous date and time for easy reference. To use, simply review your appointment list or details to see any marked rescheduled appointments.


Note: In case you have third-party calendars like Google Calendar or Outlook integrated with the CRM's calendar then in that case, the class booking would show each appointment separately in your Google or Outlook calendar.
Example: If you have created a class booking with a capacity of 5 attendees then on the Google or Outlook calendar they would appear as 5 separate events at the same time.
3. Manually Rescheduling/Cancelling Booked Appointments
To cancel or reschedule the appointment for a particular attendee, click on the options next to the attendee from the list to see the Cancel and Reschedule option, which would cancel or reschedule the appointment for that specific attendee.

4. Troubleshooting Tool for Calendars
This tool provides users with detailed insights into unavailable time slots, helping to quickly identify and resolve issues that may be affecting calendar bookings. By showing the reasons behind unavailable slots, the tool enhances scheduling efficiency for businesses and administrators, making it easier to manage calendars without guesswork.
To use, simply go to Calendar Settings, select your calendar, and choose the "Troubleshoot Calendar" option from the icon shown below to view available and unavailable slots along with explanations.


FAQs
Question: How can I cancel or reschedule a class appointment?
Answer: To cancel or reschedule the class booking, you can go to calendars, click on the class booking you want to modify, and you will be able to see the option to edit/change the appointment.
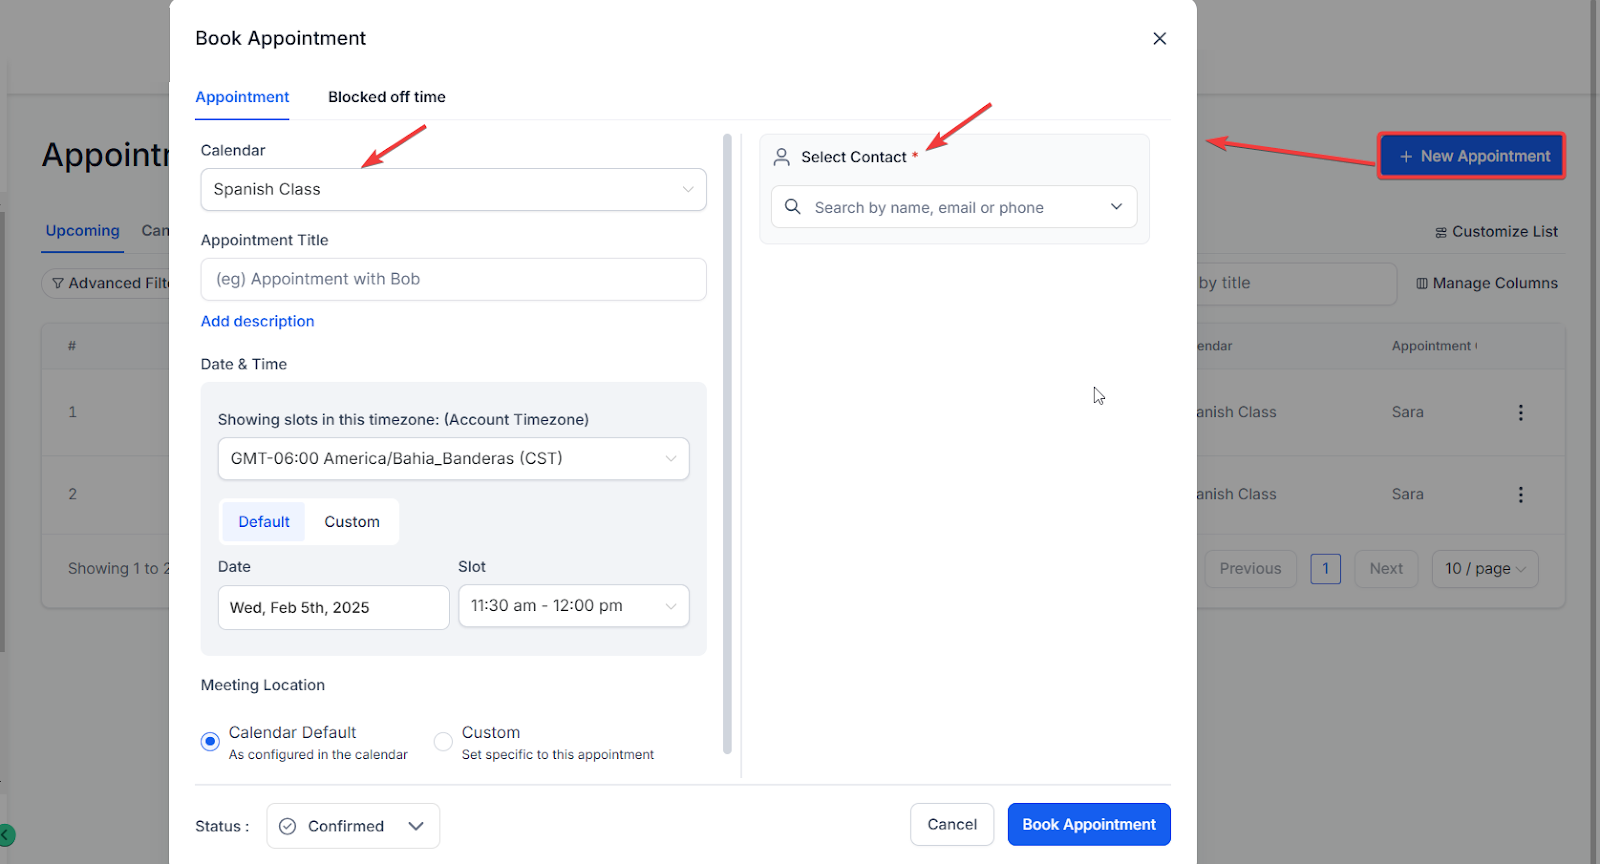
Question: Can I book a class appointment with contacts directly?
Answer: Yes, you can do that; click on the "book appointment" button and select the contact you want to book the appointment with. Then select the calendar (choose the class booking calendar here), select the slot, and then proceed to book the appointment.
Question: Can attendees cancel/reschedule a Class Booking appointment?
Answer: To allow attendees to cancel/reschedule the class booking appointment, enable the option for "Allow Cancellation" and "Allow Reschedule" in the Confirmation Tab in Calendar Settings.
Question: Why are some time slots unavailable on my calendar?
Answer: The Troubleshooting Tool provides a detailed explanation for unavailable time slots, helping users understand why certain times cannot be booked. By using the tool, you can identify specific issues such as conflicting appointments, user availability, or calendar settings that may be blocking these slots. To view the reasons, navigate to Calendar Settings, select your calendar, and use the "Troubleshoot Calendar" option.
Question: Can I customize the content of email and in-app notifications for appointments?
Answer: Yes, you can fully customize both email and in-app notifications, allowing you to control the content and choose specific recipients. You can create custom messages for notifications such as Appointment Booked, Cancellation, and Follow-Up.
Question: Who receives the default notifications for different calendar types?
Answer: For Event Calendars, the default recipient for in-app notifications is the account admin. For other calendar types, the assigned user is the default recipient for notifications.
Question: Is there a tool to help identify scheduling issues?
Answer: Yes, the Troubleshooting Tool in Calendar Settings shows available and unavailable slots and explains why certain times cannot be booked, helping you quickly resolve scheduling conflicts.
Question: If I delete one of those events in my Google Calendar, does it cancel the class?
Answer: No. Deleting a single synced event in Google Calendar may only affect that specific attendee's sync. To cancel the entire class or a specific attendee properly, always use the Appointments list inside your dashboard.
Question: Is it possible to have multiple trainers or hosts assigned as appointment owners for a single Class Booking Calendar?
Answer: No. While you must select a team member to save the calendar, you can only assign one unique Appointment Owner for each Class Booking Calendar.