How to Import/Export Contacts using a single CSV file
The ability to import Contacts from a single CSV file is a powerful feature that simplifies data management. Whether you're managing a large set of leads or organizing your contact list, this process enables seamless bulk updates, reducing manual input and ensuring data accuracy. This article will guide you through how to use this feature efficiently, highlight its key benefits, and provide useful tips to enhance your experience.
Key Features and Benefits
- Simultaneous Import: Import all your Contacts in one process, saving time and effort.
- Automatic Contact De-duplication: Contact de-duplication settings are applied automatically to prevent duplicate entries.
- Multiple Email and Phone Number Support: Import contacts with multiple email addresses and phone numbers, improving data accuracy.
- Real-Time Monitoring: Track the status of your imports with detailed progress reports and error logs for quick troubleshooting.
Note: Only admins have permission to import files into the system.
Use this Sample File importing or updating contacts.
Prepare Your Data
Supported File Types
Ensure the file is in .csv format.
File Preparation Requirements
- Sheet: Only one sheet should be included.
- File Size: Must be less than 30 MB.
- Headers: Include a header row with at least one column corresponding to a standard or custom field in the system. Custom fields should be created before the first import.
Important Notes
- Only new contacts imports can be reverted; updating contacts is not a reversible action.
Mandatory Fields
- For Creating Contacts: At least one of the following: Contact Name, Phone, or Email.
- For Updating Contacts: Contact ID, Name, Email, or Phone (as per the Duplicate Settings for the account).
Understanding Import Options
When importing objects, you can choose one of the following options:
- Create Contacts: Upload new records only.
- Update Contacts: Update existing records.
- Create and Update Contacts: Combine adding new records and updating existing ones.
Structuring Your File
- Field Formatting
- Date Picker: Acceptable formats: mm/dd/yyyy (e.g., 10/28/2020), yyyy/mm/dd (e.g., 2020/10/28), mm-dd-yyyy (e.g., 10-28-2020), yyyy-mm-dd (e.g., 2020-10-28).
- Multiple Options, Checkbox, Textbox List: Use comma, semicolon, or period as separators (e.g., Blue, Yellow, Green).
- Radio, Single Option: Use a single value (e.g., Blue).
- Contact Owner: Format as FirstName LastName (e.g., Logan Paul).
- Tags: Use comma, semicolon, or period as separators (e.g., Blue, Yellow, Green).
- Phone Number: Format in E.164 (e.g., +1 1234567890). US formats like 123-456-7890 or (123) 456-7890 are also acceptable.
- Numerical: Acceptable formats: 1.23, 1234, .123.
- Monetary: Acceptable formats: 1234, 1,234,234.33.
- Contact Followers: Format as FirstName LastName, FirstName2 LastName2 (e.g., Adam Smith, David Lee).
- Additional Email Addresses: Include an Additional email addresses column (e.g., abc@email.com, abc1@email.com).
- Additional Phone Numbers: Include an Additional phone numbers column (e.g., +1 7877123460, +1 7877123461).
How to Use the Import Feature
Here are the step-by-step instructions on how to import Contacts using a CSV file:
Step 1: Access the Import Option
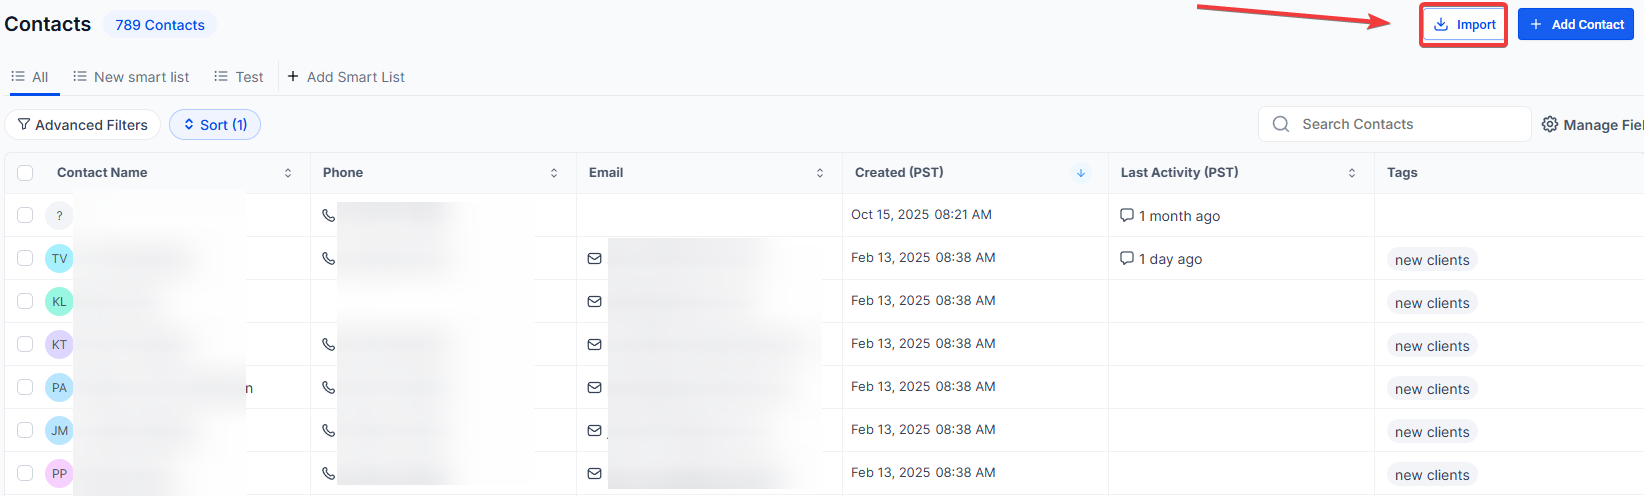
- Navigate to the Your Customers > Contacts section.
- Click and choose the Import option.
- On the import screen, select Contacts you wish to import.
- Click Next.

Step 2: Upload Your CSV File
- Upload the CSV file that contains your contact data.
- Choose whether you want to create new records, update existing ones, or both.
- If a Contact ID is provided in the CSV file, the contact will be updated; otherwise, a new one will be created.
- Click Next to continue.

Step 3: Map Fields
- Map the fields from the CSV file to the correct contact fields.
- Ensure accurate field mapping to avoid errors.
Here are a few important things to note:
- If you check the "Don't update Empty Values" box, any field with an empty value in the imported file will not be updated, even if the field already has a value for the contact.
- If you don't want to import certain fields, you can leave them unmapped and check the box at the bottom to continue. Just make sure all mandatory fields are mapped. If any fields are unmapped, either map them or select "Don't import data" for those columns to proceed.

Step 4: Verify and Import
- Review the field mappings to confirm accuracy.
- You may also choose to add a tag, create a smart list, or include the contacts in a workflow during this step.
- Once reviewed, confirm and proceed with the import.

Step 5: Monitor Import Status
- Monitor the progress of the import under the Bulk Actions page.
- You can check the status, download error logs, and troubleshoot any issues under the Error tab.

Troubleshooting Common Errors and Solutions
Error: Missing Required Fields for Contact Creation/Update
- Solution: Ensure that for creating new contacts, at least one of the following fields is present: Name, Phone, or Email. For updating contacts, ensure Contact ID, Name, Email, or Phone is included, according to your de-duplication settings.
Error: Duplicate Phone or Email Found
- Solution: Verify your de-duplication settings in Settings> Business Profile in "Allow Duplicate Contacts." If duplicates are restricted, either adjust the settings to allow duplicates or update the phone/email in your file to be unique.

Error: Invalid Contact ID or Not in Your Sub-Account
- Solution: Verify that the Contact ID in your file matches a valid contact in the current sub-account. If the contact has been deleted, retrieve the correct Contact ID for the record.
Error: Invalid Phone Number Format
- Solution: Ensure phone numbers are in the E.164 format (e.g., +1 1234567890). For US numbers, alternative formats like 123-456-7890, or (123) 456-7890 are also acceptable. For international numbers, verify using an appropriate tool like libphonenumber. Run your phone number format by the tool in conjunction with the country code to ascertain its appropriateness for upload.
Error: Invalid Date Format
- Solution: Ensure dates are in one of the supported formats such as YYYY-MM-DD, MM/DD/YYYY, or DD-MMM-YYYY. Correct the date format in your file before reattempting the import.
Supported Formats:
- YYYY-MM-DD (e.g., 2024-09-08 or 2024-9-8)
- YYYY/M/D (e.g., 2024/09/08 or 2024/9/8)
- YYYY.MM.DD (e.g., 2024.09.08 or 2024.9.8)
- M.D.YYYY (e.g., 09.08.2024 or 9.8.2024)
- M/D/YYYY (e.g., 09/08/2024 or 9/8/2024)
- M-D-YYYY (e.g., 09-08-2024 or 9-8-2024)
- YYYY/MM/DD (e.g., 2024/09/08)
- MM/DD/YYYY (e.g., 09/08/2024 or 9/8/2024)
- MM-DD-YYYY (e.g., 09-08-2024 or 9-8-2024)
- MM.DD.YYYY (e.g., 09.08.2024 or 9.8.2024)
- DD MMM YYYY (e.g., 08 Sep 2024 or 8 Sep 2024)
- MMM DD YYYY (e.g., Sep 08 2024 or Sep 8 2024)
- YYYY MMM DD (e.g., 2024 Sep 08 or 2024 Sep 8)
- DD-MMM-YYYY (e.g., 08-Sep-2024 or 8-Sep-2024)
- MMM-DD-YYYY (e.g., Sep-08-2024 or Sep-8-2024)
- YYYY-MMM-DD (e.g., 2024-Sep-08 or 2024-Sep-8)
- DD MMM, YYYY (e.g., 08 Sep, 2024 or 8 Sep, 2024)
- MMM DD, YYYY (e.g., Sep 08, 2024 or Sep 8, 2024)
- DDth MMM YYYY (e.g., 08th Sep 2024 or 8th Sep 2024)
- MMM DDth YYYY (e.g., Sep 08th 2024 or Sep 8th 2024)
- DDth MMM, YYYY (e.g., 08th Sep, 2024 or 8th Sep, 2024)
- MMM DDth, YYYY (e.g., Sep 08th, 2024 or Sep 8th, 2024)
- DD MMMM YYYY (e.g., 08 September 2024 or 8 September 2024)
- MMMM DD YYYY (e.g., September 08 2024 or September 8 2024)
- YYYY MMMM DD (e.g., 2024 September 08 or 2024 September 8)
- MMMM DD, YYYY (e.g., September 08, 2024 or September 8, 2024)
- DD MMMM, YYYY (e.g., 08 September, 2024 or 8 September, 2024)
Error: Invalid Email Address Format
- Solution: Ensure all email addresses in your file are correctly formatted, such as example@domain.com. Correct any errors and reattempt the import with the updated file.
How to Export Contacts
Follow these steps to export contacts into a CSV file:
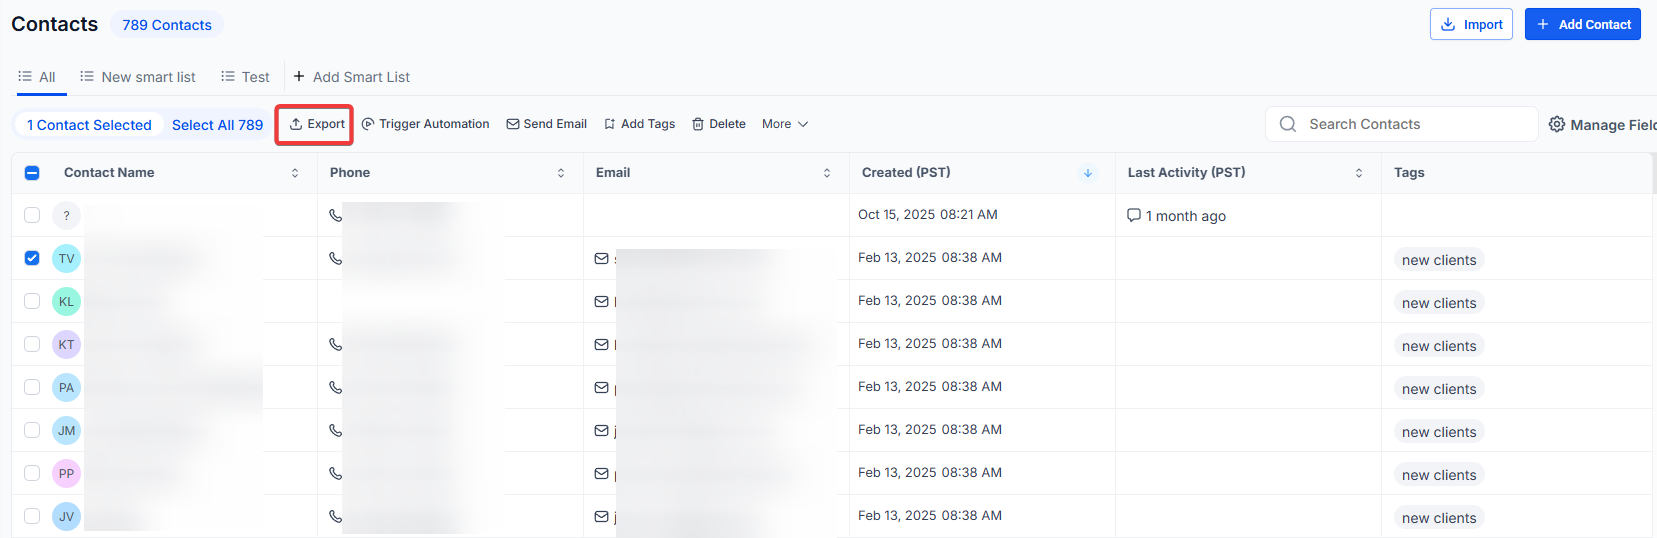
Step 1: Access the Export Option
- Click and choose the Export option.
Step 2: Select Filters (Optional)
- Apply filters to export specific contacts, such as by tags, lists, or date range.
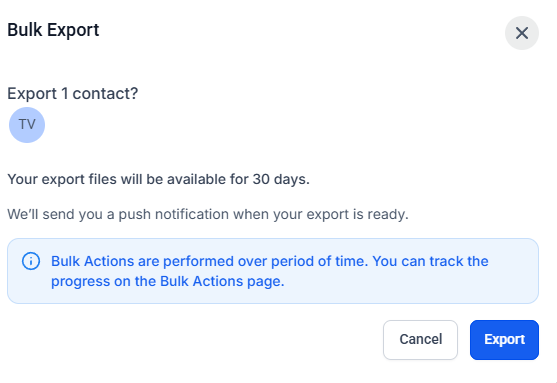
Step 3: Download the CSV File
- Once the export is initiated, the system will generate a CSV file.
Pro Tip: Ensuring Data Accuracy
Before starting the import process, make sure your CSV file is clean and well-organized. Always double-check field mapping and confirm that the data structure in the CSV aligns with the platform’s requirements to prevent unnecessary errors.
FAQs
Question: What file format should I use to import contacts?
Answer: You should use a .csv format for importing contacts.
Question: Can I import multiple contacts at once?
Answer: Yes, you can import all your contacts in a single process, saving time and effort.
Question: What happens if I have duplicate phone numbers or emails in my file?
Answer: If duplicates are found, they will be flagged based on your de-duplication settings. You can adjust these settings or update the details in your file to avoid errors.
Question: Can I update existing contacts during the import process?
Answer: Yes, you can update existing contacts by ensuring the correct Contact ID or other unique identifiers are included in your file.
Question: How do I ensure the correct fields are mapped during import?
Answer: You should map the fields from your CSV file to the correct contact fields. If certain fields are not mapped, choose "Don’t import data" for unmapped columns to proceed.
Question: Can I undo an import if there are mistakes?
Answer: Only new contact imports can be reverted. Updates to existing contacts cannot be undone.
Question: What is the best format for phone numbers during import?
Answer: Phone numbers should be formatted in E.164 format (e.g., +1 1234567890) for proper recognition and import.
Question: How do I export contacts from the platform?
Answer: To export contacts, navigate to the Export option, select any desired filters (like tags, lists, or date range), and initiate the export. The system will generate a CSV file for download.
Question: Can I filter the contacts I export?
Answer: Yes, you can apply filters to export specific contacts based on criteria such as tags, lists, or date range, ensuring you only export relevant contact data.
Question: Are there limits to file size or sheet structure?
Answer: Yes, the CSV must contain only one sheet and be less than 30 MB in size.
Question: Can I filter contacts during export?
Answer: Yes, filters can be applied to export specific contacts, ensuring you download only relevant data.
Question: Who has the authority to perform contact imports?
Answer: Only users with Admin permissions have the authorization to import files into the system.
Question: What is the maximum file size I can upload for a single import?
Answer: Your CSV file must be less than 30 MB and contain only a single sheet.
Question: Can I import contacts and automatically assign them to a specific "User" or "Sales Rep"?
Answer: Yes. To do this, include a column in your CSV labeled "Contact Owner" and format the data as FirstName LastName (e.g., John Doe). During the mapping stage, ensure this column is mapped to the Contact Owner field. The system will automatically assign the contacts to that user upon import.