How To Use File Upload Custom Field in Forms and Surveys
The File Upload Custom Field in Mastermind allows users to upload files directly within forms or surveys. This feature lets businesses collect documents, images, or other file types from clients or leads during the submission process, making it useful for tasks like applications, contracts, or photo submissions. The uploaded files are stored in the contact's record for easy access and reference.
This tutorial will show you how to create the custom file upload field and use it in forms and surveys.
Step 1: Adding the File Upload Custom Field
- Go to the Settings of your account, then to Custom Fields
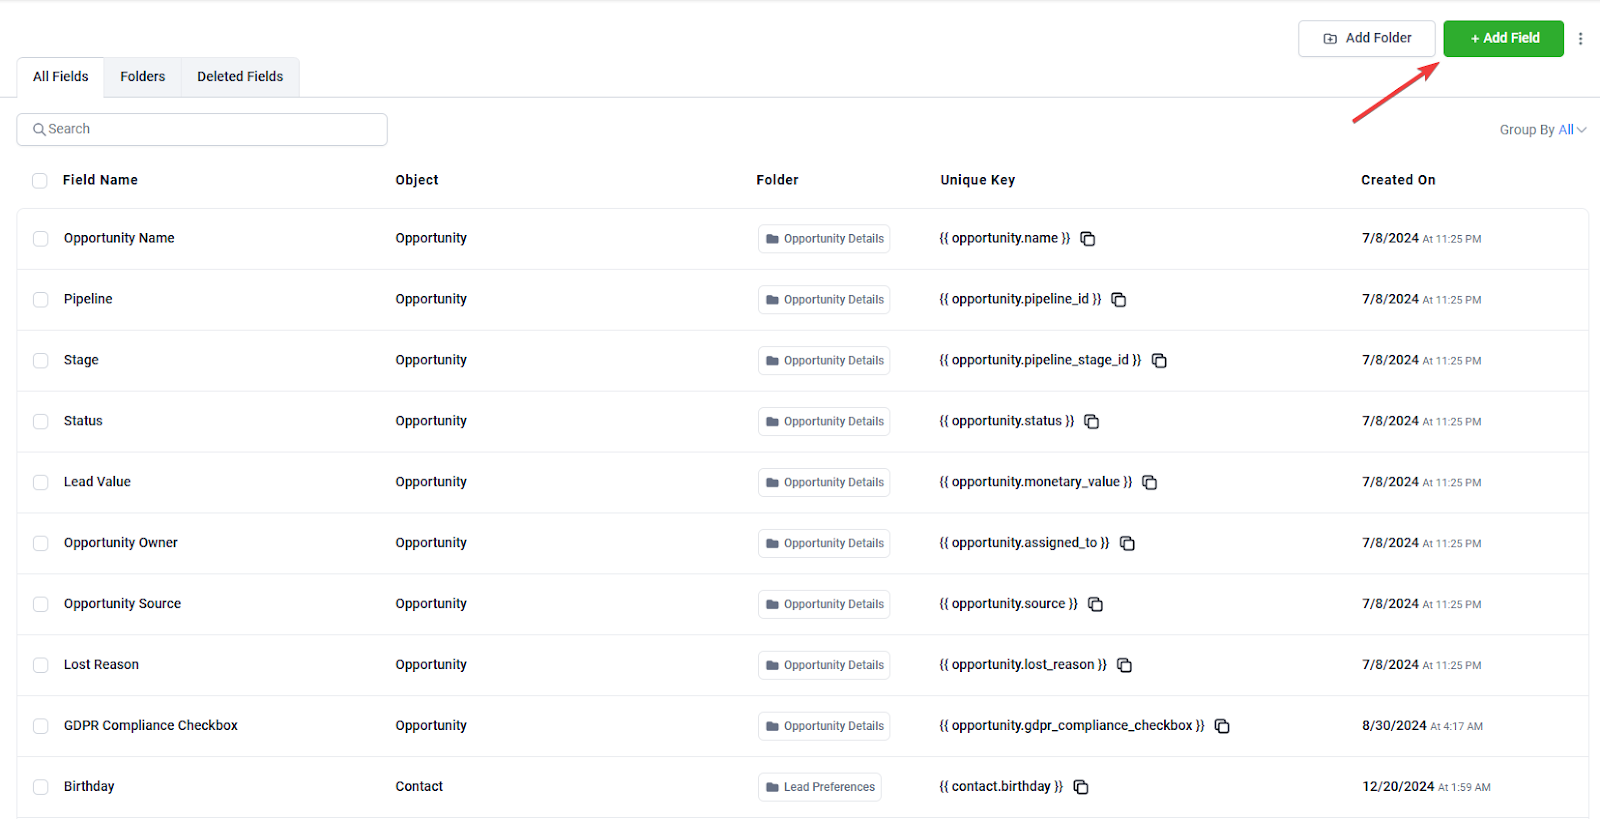
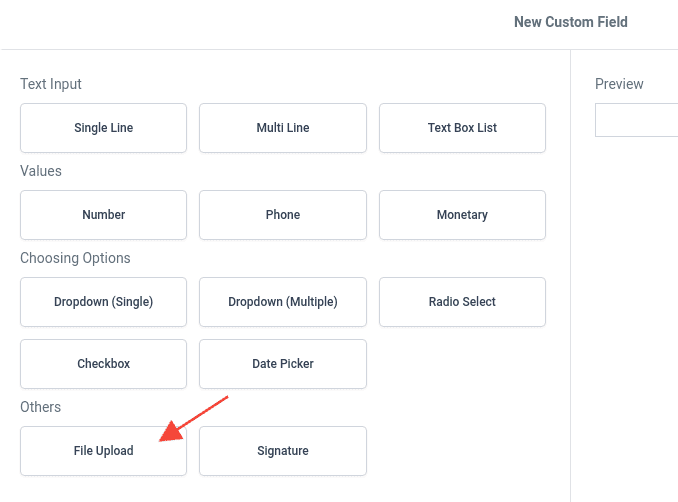
- Click on “+ Add Field” and select File Upload
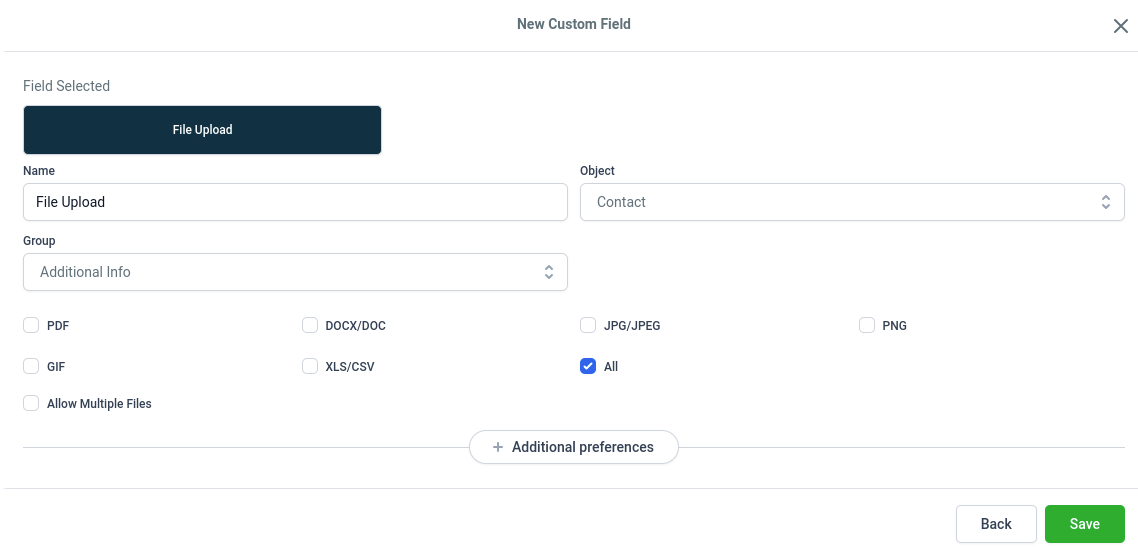
- Fill in all the data needed and save
Step 2: Add the File Upload field to your Form
- Navigate to “Marketing & Sales” Tab > “Funnels and Pages” > "Forms” > From the dropdown select "Builder"
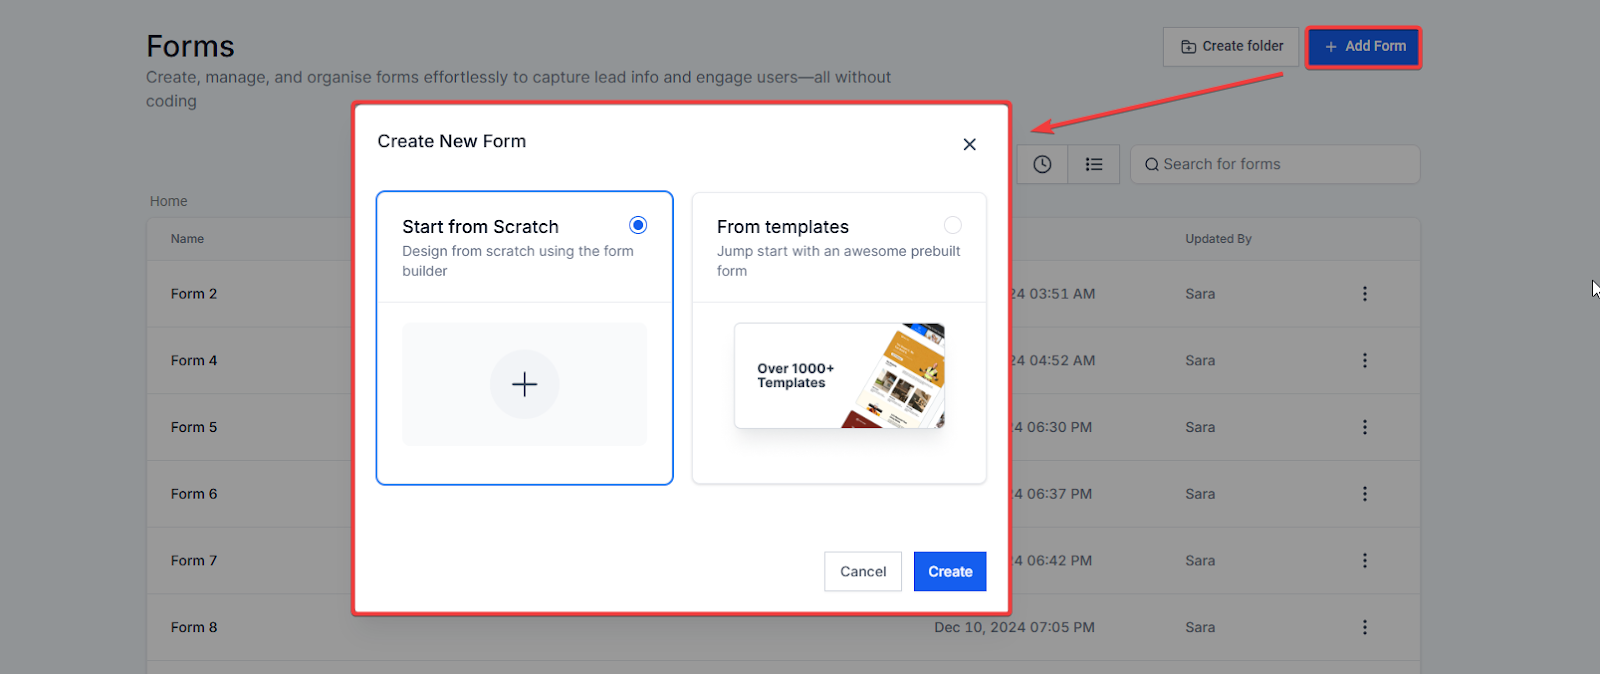
- Create a form or click on an existing form to start editing it.
- On the left side, you will see the Quick Add tab containing the most commonly used names, email, and phone. You will also see the Custom Fields you’ve created specifically for your business needs.

- This feature simplifies adding custom fields like File Upload by allowing you to drag and drop the fields directly into your form. You can quickly add fields like Radio Select, Single and Multi Dropdown, Checkbox, File Upload, Single Line, Multi-Line, Textbox List, Date Picker, Number, and Monetary fields without going through multiple steps. This applies to forms and surveys.
Draggable Custom Fields Available:
- Radio Select
- Single and Multi Dropdown
- Checkbox
- File Upload
- Single Line
- Multi-Line
- Textbox List
- Date Picker
- Number
- Monetary
Customization Options
You can customize dropdowns, radio buttons, and checkboxes, including setting file input options for file upload fields. Additionally, you can define the custom field name and unique key.

- Click Add Object Fields
- Utilize the search functionality to locate the “File Upload” custom field. In the sidebar, search for “File Upload” from the option.
- Drag and drop the File Upload field onto your form canvas.
- To edit, click on the feature field in your form, and the editor will appear in the right-hand sidebar.

- Field Locking Feature:
Once the form or survey is saved, the custom field name and unique key are locked. You can access these through the Custom Fields section in your account settings to edit them. This ensures consistency in field naming across all forms and surveys.
Customizing the File Upload Field
- Click on the File Upload field to access editing options.
- Modify the Title and set a Placeholder text if desired
- Toggle the Required option on or off based on your form’s needs
Save Your Configuration:
- Click Save Form.
- Click Integrate Form.

- Copy the link and paste it into the browser or wherever you use it.

Integration and Organization
You can also create a file folder and organize multiple files in one organized space.
To create a file folder:
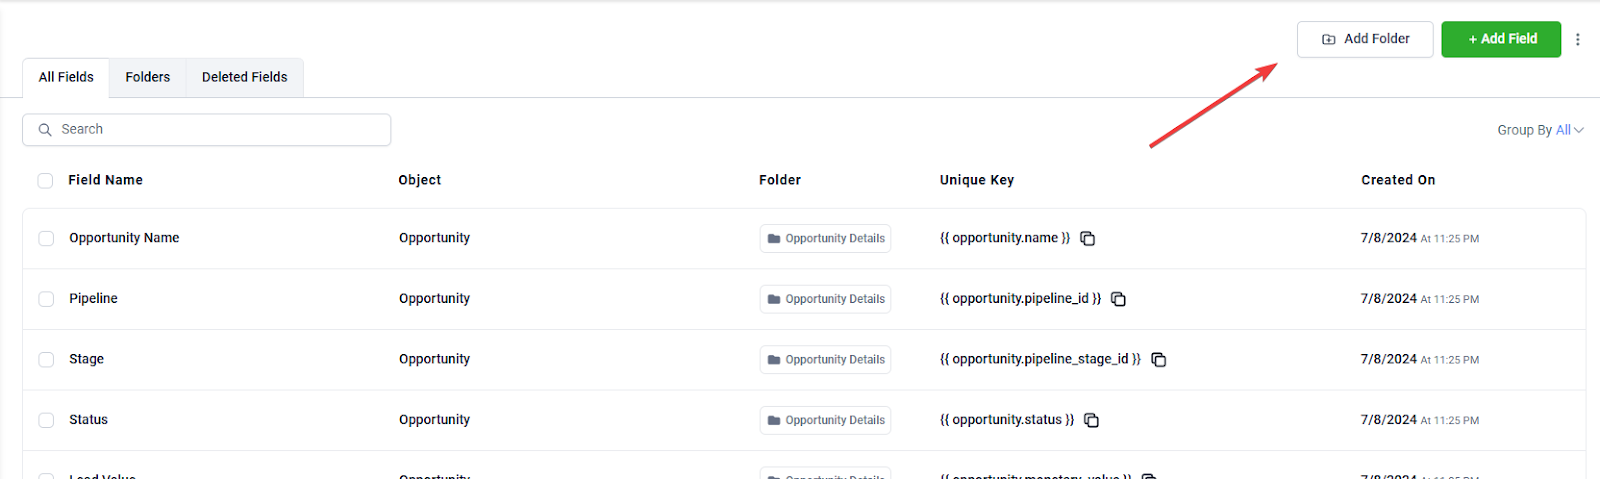
- Navigate to settings and custom fields.
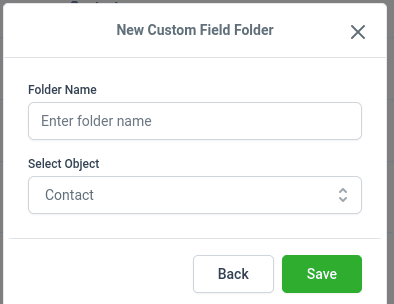
- In the top right corner, choose “Add folder”
- From here, name your folder “Files” and add the File Upload field to the folder
- Save your settings.
Use Cases
- Lead Qualification:
- During the lead qualification process, sales teams can request potential clients to upload relevant documents (e.g., financial statements or business plans).
- Client Onboarding:
- During the onboarding process, new clients can upload necessary documentation (e.g., contracts, identification, or proof of address).
- Support Ticket Management:
- Customers can attach files related to their support tickets (e.g., error logs and screenshots) to provide context and expedite resolution.
FAQs
Question: How can I ensure that users upload the correct file type?
Answer: You can specify accepted file types in the field settings to guide users on what they should upload.
Question: Is there a size limit for the files that can be uploaded?
Answer: Yes, check the platform's documentation for specific file size limitations.
Question: How do I view or manage uploaded files?
Answer: Uploaded files can be accessed in the designated folder under your custom fields or via the form responses.
Question: Can I edit the file upload field after adding it to a form?
Answer: Yes, you can click on the field in the form builder to make any necessary edits.
Question: What should I do if a file fails to upload?
Answer: Ensure that the file format and size meet the requirements, and check your internet connection. If issues persist, contact support.
Question: Can I organize uploaded files into folders for easier access?
Answer: Yes, you can create file folders in your account settings to organize uploaded files. Simply navigate to the Custom Fields section, select "Add folder," name your folder, and add the File Upload field to it for better organization.
Question: Can I change the custom field name or unique key after the form has been saved?
Answer: No. Once the form or survey is saved, the custom field name and unique key are locked to ensure consistency. However, you can still access and edit these specific settings through the Add Object Fields section in your account settings.
Question: Can I use the File Upload field to collect support documentation?
Answer: Absolutely. This is a common use case for Support Ticket Management. You can add the field to a support form so customers can attach error logs or screenshots, providing your team with the context needed to resolve issues faster.