Signature Custom Field in Forms and Surveys
This tutorial will show you how to create and use the Signature custom field, and how to apply it within forms or surveys. Additionally, you can also use the Signature element available in the Form Builder, which allows you to simply drag and drop a signature field directly into your form for quick setup.
Adding the Signature Custom Field
There are two ways to add a signature custom field to a form. You can either drag and drop the signature element directly into the form. From the sidebar, search for “Signature” and select it from the available options.
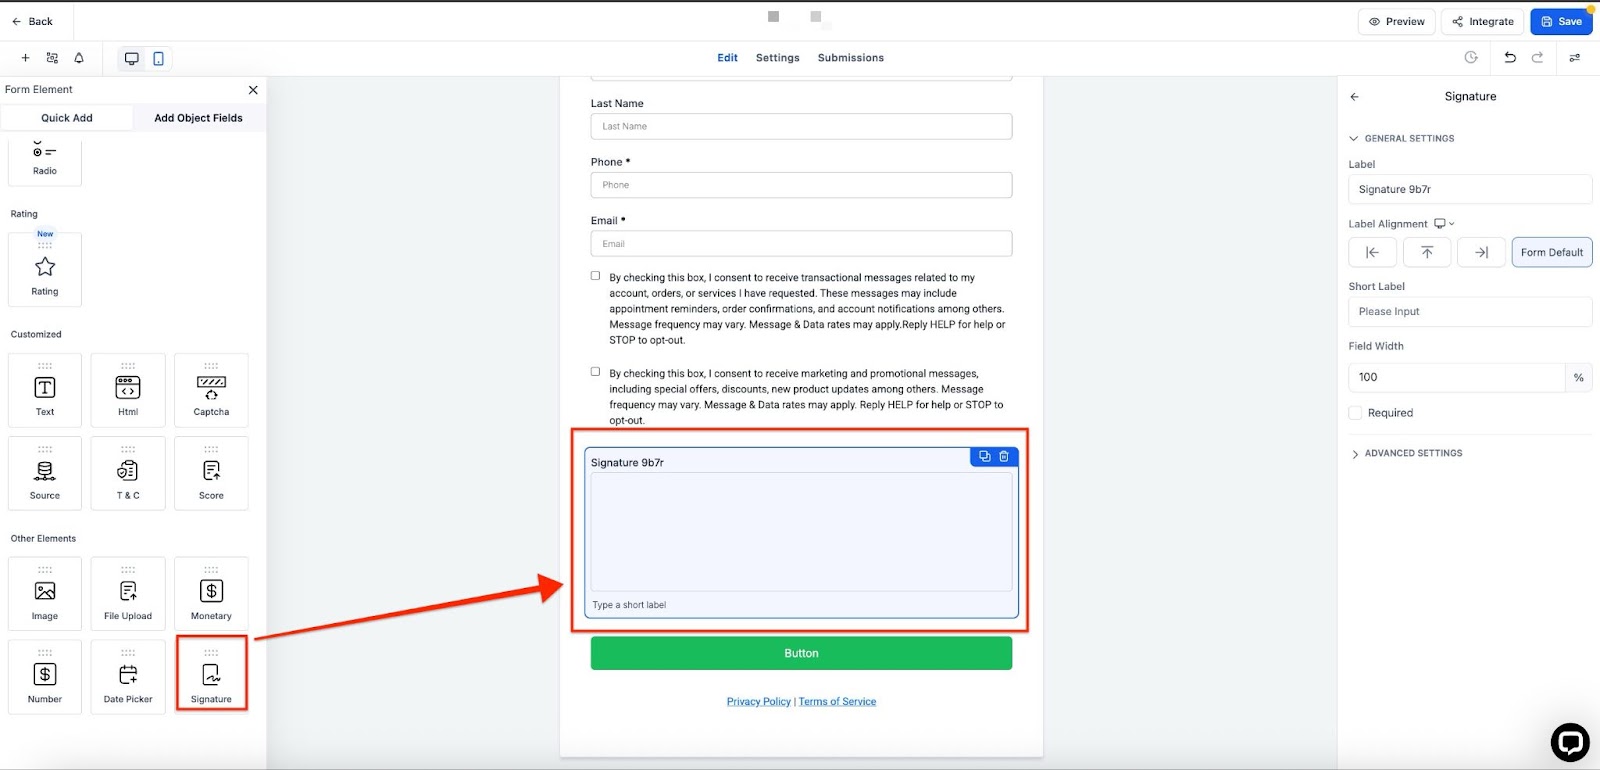
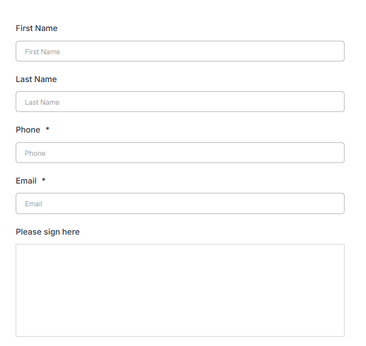
Optionally, you can customize the field name, such as “Sign here,” to provide clearer guidance for users.
Second Option
Step 1:
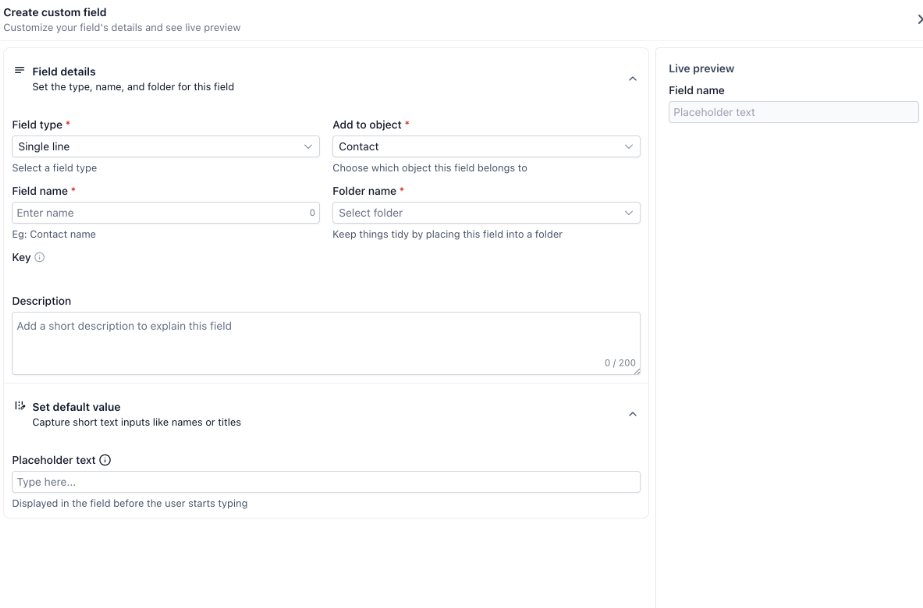
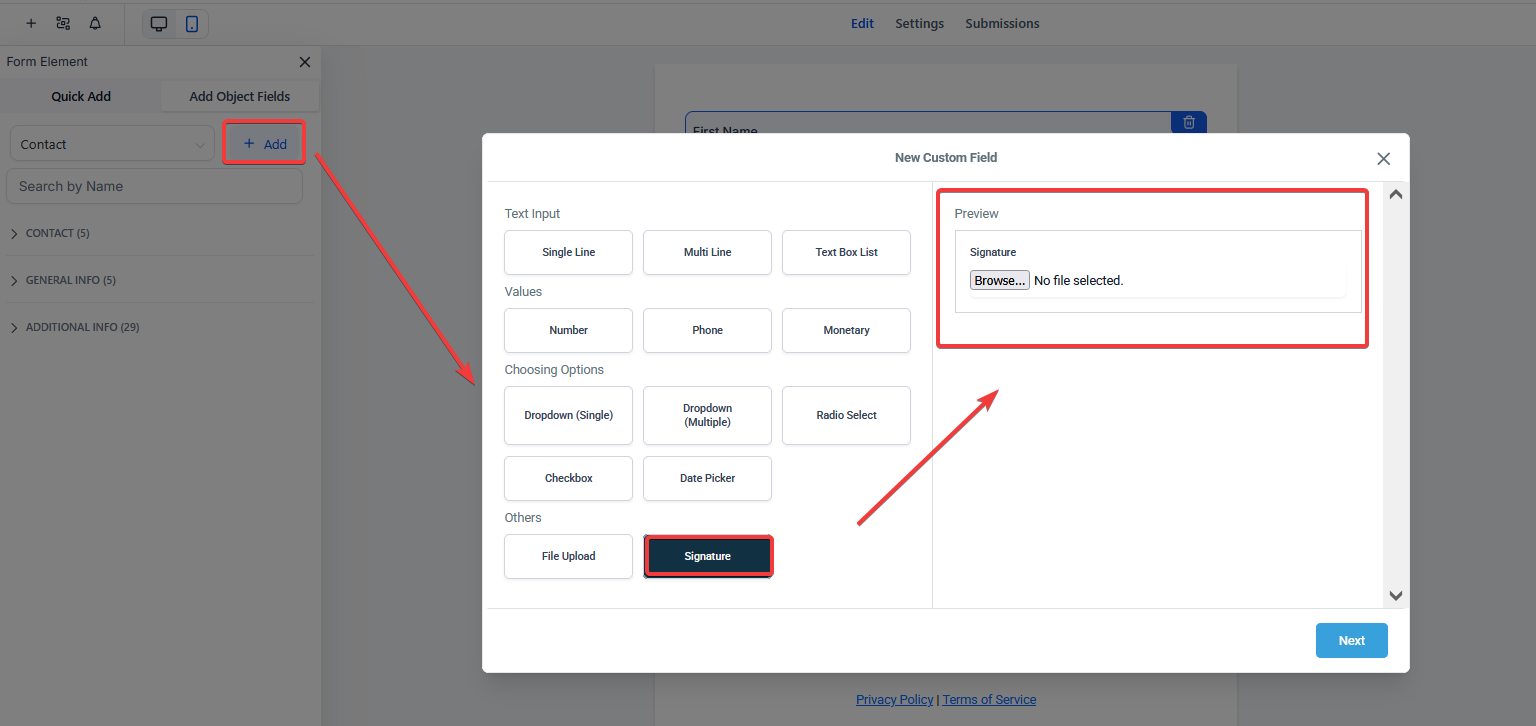
Go to Settings and Navigate to Custom Fields.
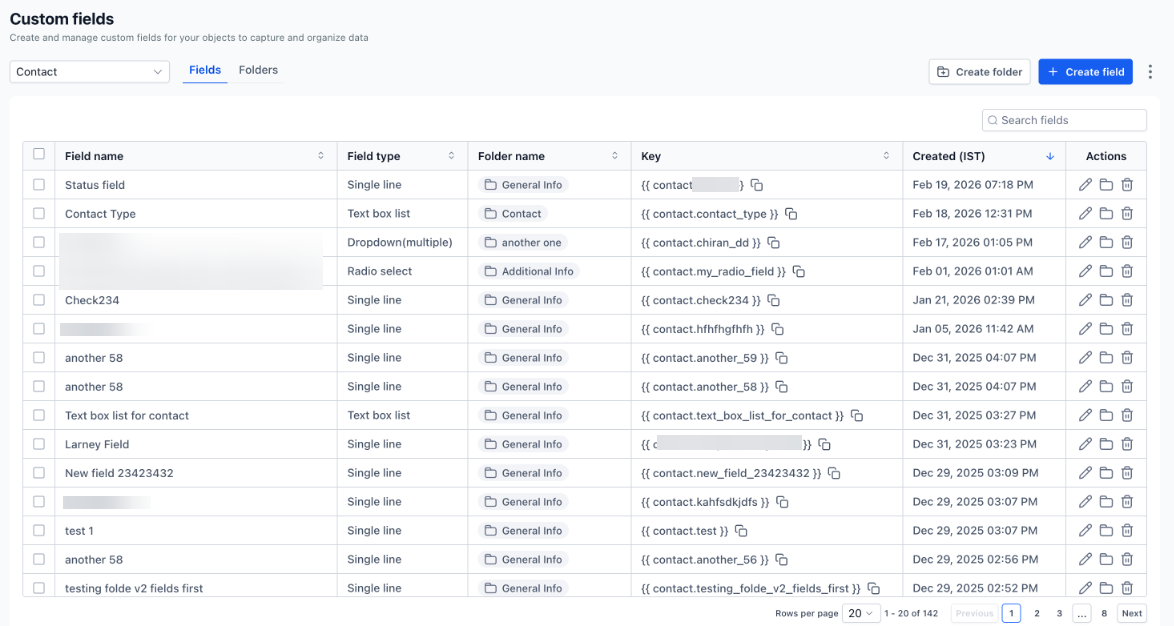
- Click on Create Custom Fields, enter all the required information, and then save.
Step 2: Adding the Signature Custom Field to the form and survey
- Navigate to the Form Builder.
- You’ll see Custom Fields in the menu on the left.
- Click Add Object Fields.
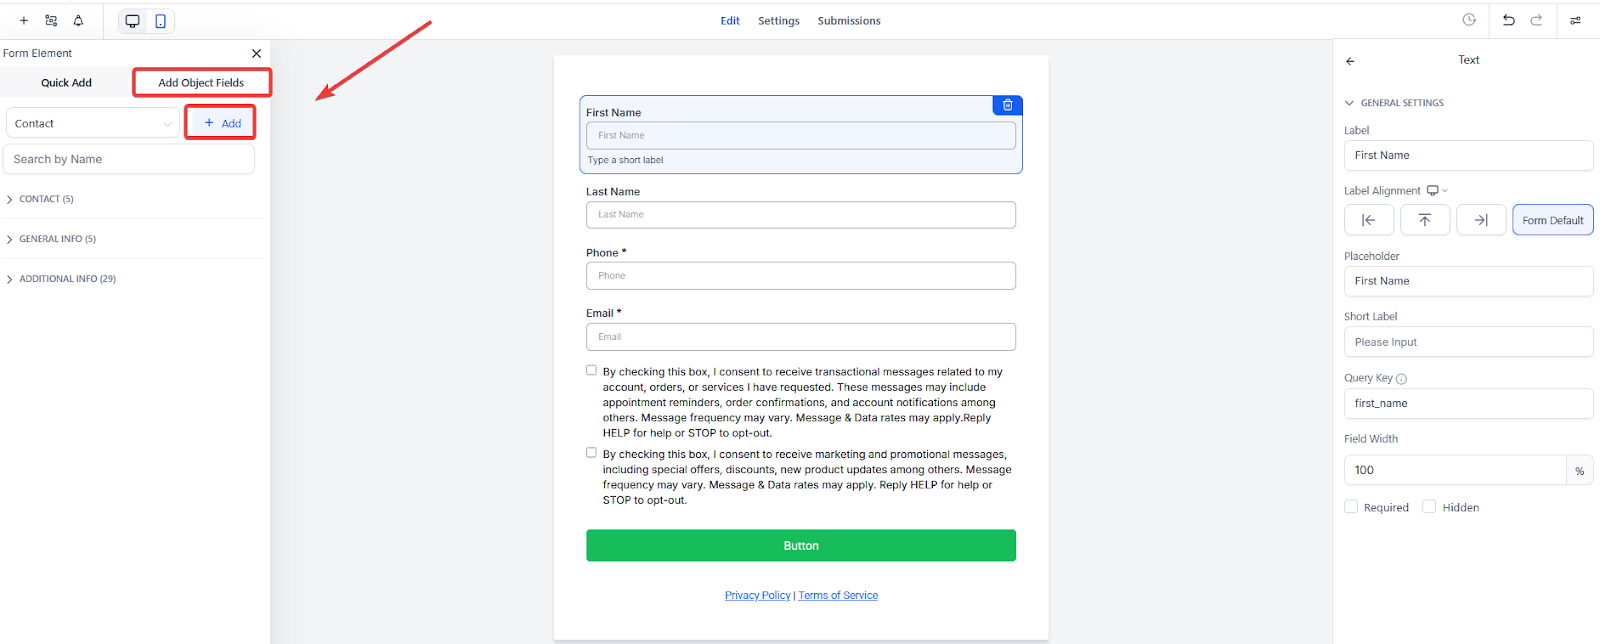
- In the sidebar, search for “Signature” and choose Signature from the options. You can name the field, like “Sign here” if you wish.
- Click and drag the Signature field into the form.
- Click Save Form.
- Click Integrate Form.
- Copy the link and paste it into the browser, or wherever you wish to use it.
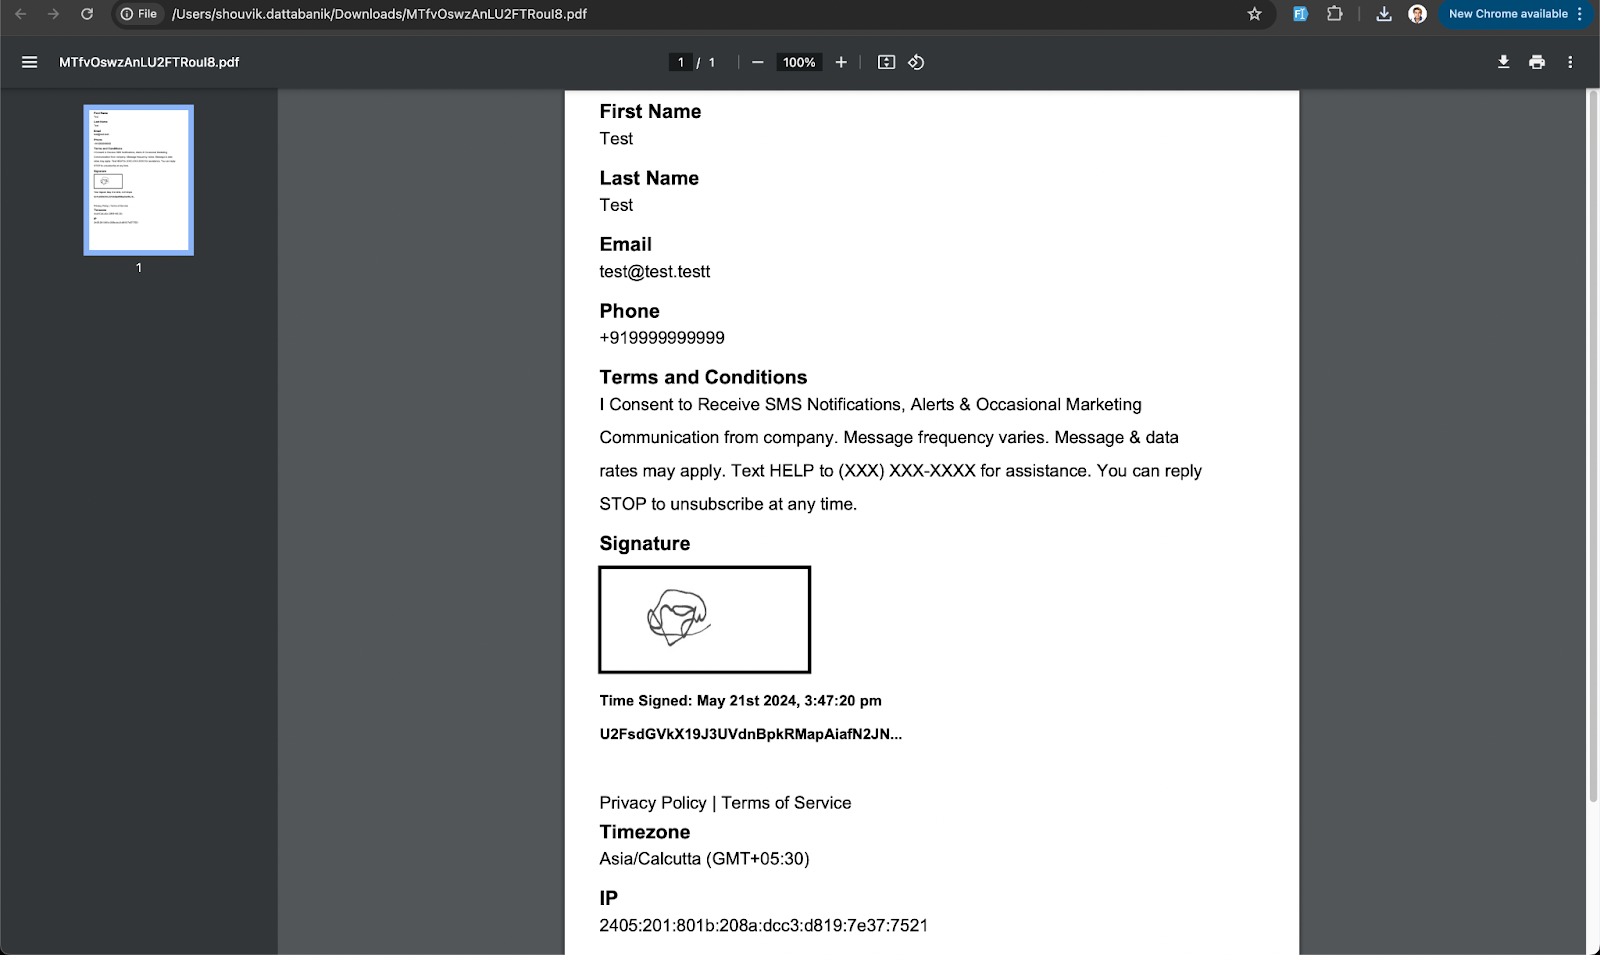
- Enhancing Signature Authenticity and Validation:
1. When a form or survey with a signature field is submitted, an encrypted hash is generated.

2. This hash appears below the signature field in the submission records.

3. When downloading the submission as a PDF, both the time signed and the encoded hash are included for verification purposes.
Step 3: Accessing Signatures
The signatures are integrated into contact records and stored
- Navigate to your Contacts/Smart Lists.
- Click into a Contact Record.
- Under the group you selected the signature to be, you’ll see their signature, captured from a form or survey.
If you anticipate multiple signatures, you can create a signature custom folder to keep track of the information you are collecting. These Folders will also show up in the contact Card to keep your data collection organized.
FAQs
Question: How do I add a signature custom field to my existing forms or surveys?
Answer: Follow the steps under “Adding the Signature Custom Field to Forms and Surveys” to incorporate the signature field into your forms or surveys.
Question: Can I rename the signature field in the form?
Answer: Yes, you can rename the signature field when adding it to the form. For example, you can use “Sign Here” or any other appropriate name.
Question: How is the authenticity of a signature verified?
Answer: Each signature is accompanied by an encrypted hash, which can be viewed in submission records and included in the PDF download for verification purposes.
Question: Where can I view the signatures once they are submitted?
Answer: Signatures are stored within contact records. Navigate to Contacts or Smart Lists and access the specific contact record to view the signature.
Question: Can I organize multiple signatures for a contact?
Answer: Yes, you can create a Signature Custom Folder to manage and organize multiple signatures for better data tracking.
Question: Are signatures stored securely?
Answer: Yes, signatures are encrypted and stored securely, with additional verification information included in submission records and PDF downloads.
Question: Is there a way to add a signature to a form without creating a custom field first?
Answer: Yes. You can use the Signature element available in the Form Builder, which allows you to simply drag and drop a signature field directly into your form for a quick setup.
Question: What exactly is the "encrypted hash" and why is it important?
Answer: The encrypted hash is a unique digital fingerprint generated at the exact moment of submission. It links the signature to the specific form data and timestamp, providing a layer of security that proves the signature hasn't been tampered with or moved from another document.
Question: Where will my signature custom folders appear once I have created them to organize a contact's data?
Answer: If you create signature custom folders to manage multiple signatures, these folders will automatically appear within the Contact Card. This helps keep your data collection organized and allows you to easily track different signatures collected for a specific contact.