How to Use the Dialer Feature (Webapp and Multi User)
Using the Business Hub as a “softphone” for outbound calls is an excellent way to communicate with leads for one-time calls or for calling through lists. This article will cover calling specific contacts for one-time calls. Please see other articles related to calling through a list of leads/customers.
Note: To enhance security and prevent voice call fraud:
- Suspicious users will get blocked from making calls.
- Only two simultaneous calls are allowed to a single phone number from the same sub-account.
Navigation
Step 1: Making a Call from the Contacts Page
- Click on the green call button in the top right. The icon looks like this:

- Choose the phone number you want to call from (limited to the numbers you have set up in settings) and then type in the phone number you want to call. Click Call.

Local Presence Dialing automatically selects the phone number closest to the contact’s area code when making outbound calls. This boosts the likelihood of your calls being answered, as people are more likely to pick up calls from familiar or local area codes.
You can enable it within Settings > Phone Numbers > Advanced Settings > Voice Calls


NOTE: You need to have your speaker on with your microphone so you can hear them and be able to communicate once they pick up. Furthermore, if your call recording option is on mode, you can listen and track the call in the Conversations section for each lead/customer.
Step 2: One-Time Calls from Contact View


- Within contacts, search for the contact you wish to call. Click on the contact and click the call button above the middle conversation section.
Step 3: One-Time Calls from the Inbox/Conversations Section

- You can make calls from the conversations section by clicking on the lead that you wish to call and hitting the call button under their name in the right-hand section.
Incoming Call in WebApp: Step-by-Step Guide
- Configure Call Settings: Navigate to 'My Staff' and edit a user
- Activate Web App Calls: In 'Call & Voicemail Settings'

- Find the 'Forward calls to Web App' option and activate it. This allows incoming calls to be directed to the web application.

How To Ring Multiple Users On Inbound Calls: A Step-by-Step Guide
- Access Phone Numbers Settings: In the Mastermind, go to 'Settings' and select 'Phone Numbers' and go to ‘Edit Configuration’

- Enable Multiple Users for Calls: Look for the option 'Ring Incoming Calls to Selected Users'. Activate this feature.

-
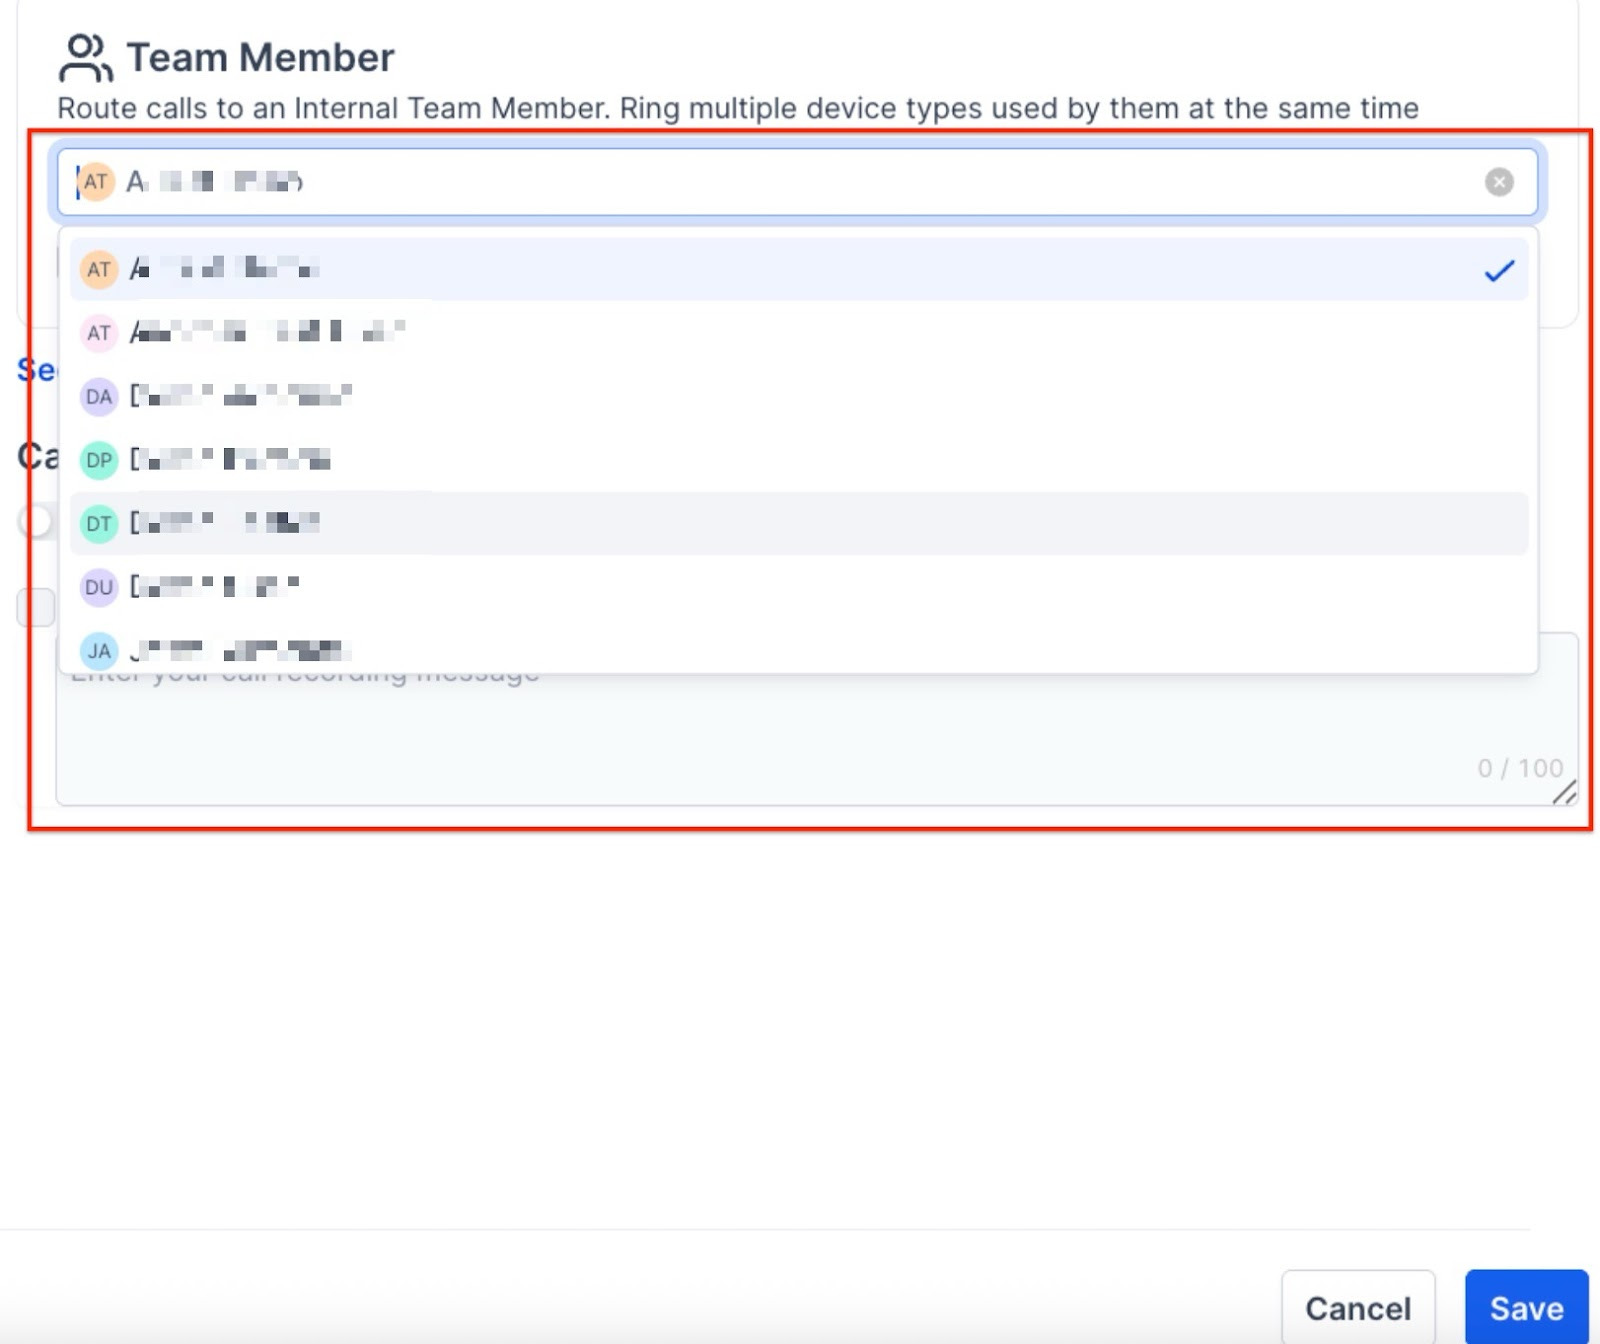
Select Users: Choose up to seven users who will be notified of incoming calls. This ensures that calls are answered promptly by the first available team member.

Please note:
- Complimentary credits (if present) can be applied to incoming call charges as well.
- Users who have been removed from sub-accounts will not receive the calls.
Additional Tips:
- Creating Manual Call Actions with Workflows: To use the power dialer efficiently, you need to set up manual call actions in workflows. Navigate to Automations and create a new workflow. Use the Manual Call Action trigger to add a call action to your workflow, allowing you to initiate calls from the Manual Actions page.
- Assigning Users for Calls: If you're working with multiple users, add an Assign to User action in the workflow. This allows you to assign the call actions to the appropriate team member, ensuring the right person is making the call.
- Triggering the Power Dialer: To activate the power dialer, you need to trigger the workflow. This can be done by adding a tag, importing contacts, or manually adding contacts to the workflow. Once triggered, contacts will appear on the Manual Actions page where you can start dialing.
- Managing Calls and Leads Efficiently: Once your power dialer is set up, navigate to the Manual Actions page in the Conversations section. From here, you can start dialing leads automatically. After each call, you can categorize the call (No Answer, Busy, Voicemail, Completed), add notes, and move on to the next lead.
- Handling Multiple Calls Efficiently: The system provides a progress bar at the top right-hand side, allowing you to track your progress as you work through your list of leads. You can pause the system or simply click Next Lead to continue making calls.
FAQs
Question: How do I make a one-time outbound call using Mastermind from the Contacts page?
Answer: To make a one-time call from the Contacts page, click on the green call button in the top right corner, choose a phone number from the settings, enter the phone number, and click Call. Ensure your speaker and microphone are on for communication. If call recording is enabled, you can listen to the call in the Conversations section under the respective lead/customer.
Question: How can I make a one-time call from a specific contact's view?
Answer: To make a one-time call from a specific contact's view, search for the contact in the Contacts section, open their details, and click the green call button above the middle conversation section.
Question: Can I make one-time calls from the Conversations section?
Answer: Yes, you can make one-time calls from the Conversations section by clicking on the lead you wish to call and then clicking the call button under their name on the right-hand side.
Question: How do I enable incoming calls to be directed to the Web App?
Answer: To enable incoming calls to be directed to the Web App, navigate to My Staff, edit a user, and activate the Forward calls to Web App option in the Call & Voicemail Settings.
Question: How can I configure multiple users to receive inbound calls simultaneously?
Answer: To configure multiple users to receive inbound calls, go to Settings > Phone Numbers, edit the configuration for the desired phone number, enable the Ring Incoming Calls to All Users option, and select up to eight users to be notified of incoming calls.
Question: What should I do to ensure proper communication during calls made through Mastermind?
Answer: To ensure proper communication during calls made through Mastermind, make sure your speaker and microphone are on. If call recording is enabled, you can track and review the call in the Conversations section under the respective lead/customer.
Question: Can I listen to recorded calls, and where can I find them?
Answer: Yes, you can listen to recorded calls in the Conversations section under each specific lead or customer if the call recording option is enabled.
Question: How do I choose which phone number to call from when making a one-time call?
Answer: When making a one-time call from the Contacts page, choose from the phone numbers set up in the settings to pick the most appropriate number for your outbound communication needs.
Question: How many users can be set to receive notifications for incoming calls?
Answer: Up to eight users can be selected to receive notifications for incoming calls when the Ring Incoming Calls to All Users feature is enabled.
Question: What is Local Presence Dialing, and how do I enable it?
Answer: Local Presence Dialing is a feature that automatically selects the phone number closest to the contact’s area code when making outbound calls to increase the likelihood of the call being answered. You can enable it by navigating to Settings > Phone Numbers > Advanced Settings > Voice Calls.
Question: I click the call button but nothing happens. Why is my call not connecting?
Answer: This is usually due to browser permissions. Your web browser (Chrome, Safari, etc.) must have permission to access your Microphone. Look for a small "lock" icon or "camera/mic" icon in your browser’s URL bar to ensure permissions are set to "Allow."
Question: Can I set it up so my whole team’s phones ring at the same time when a lead calls?
Answer: Yes. In Settings > Phone Numbers > Edit Configuration, you can enable the "Route calls to an Internal Team Member" feature and select up to seven specific users to be notified simultaneously.
Question: Is there a limit to how many calls I can make to the same phone number at once?
Answer: Yes. To enhance security and prevent voice call fraud, the system limits you to a maximum of two simultaneous calls to a single phone number from the same sub-account. Additionally, the system may automatically block suspicious users from making outbound calls to maintain platform integrity.