Workflow Action: Send Internal Notification
Internal notifications are essential for staying informed about key activities in Mastermind, such as appointment bookings, form submissions, and more. The "Send Internal Notification" action in workflows allows you to keep team members or yourself up to date by sending automated notifications via email, SMS, or in-app alerts. This article will guide you through setting up internal notifications within workflows and how you can customize them to fit your needs.
Step 1: Create your workflow
- Navigate to Tools & Reporting > Automations section of your platform.
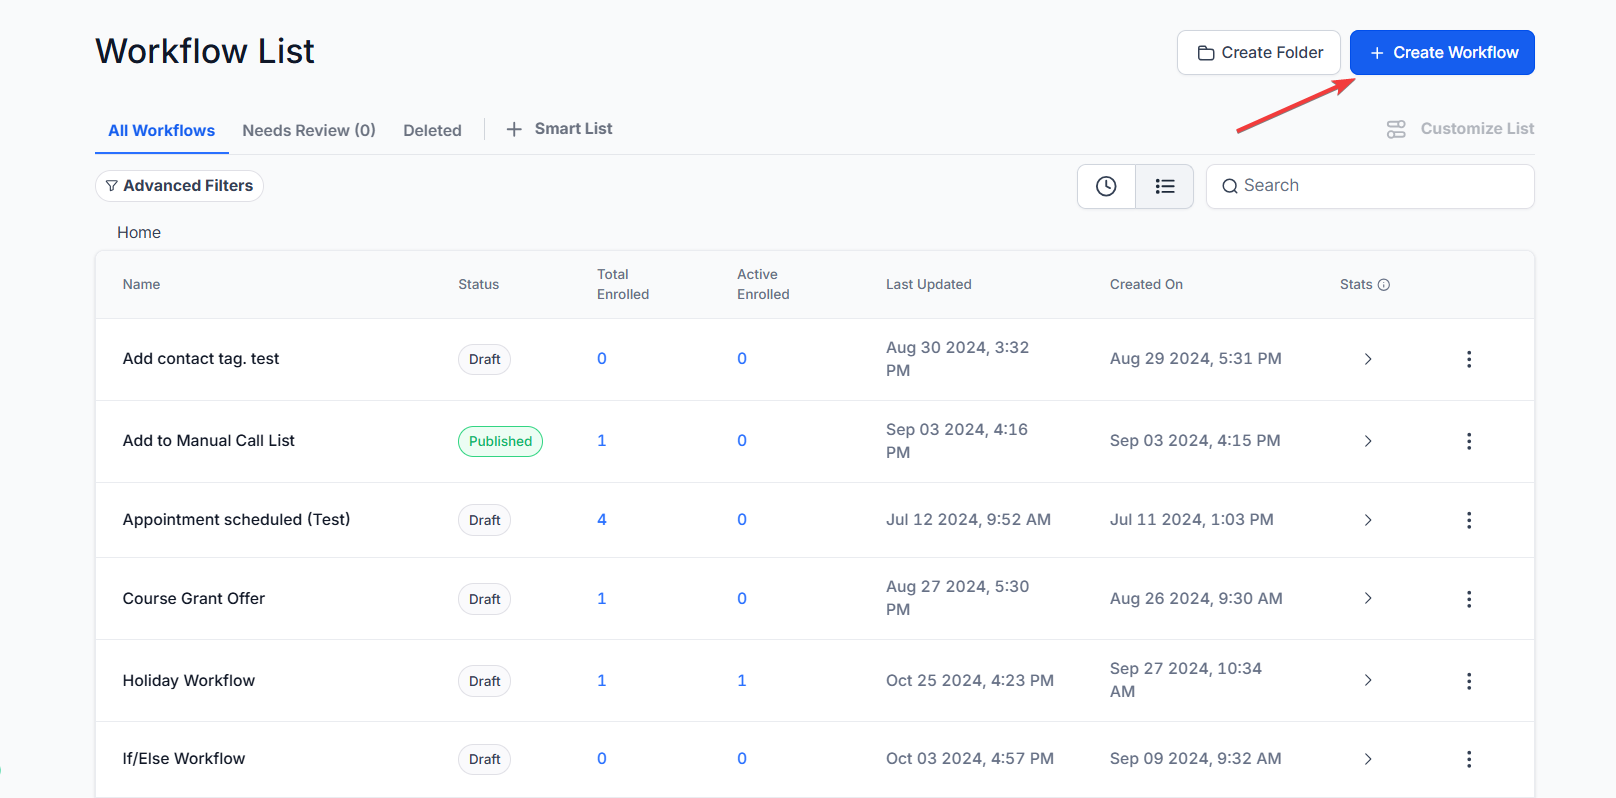
- Click on "Create New Workflow" and set up your desired trigger event (e.g., form submission, appointment booking, etc.).

Step 2: Add the Notification Action
- Click on the “+” button to add a new action.
- From the list of available actions, choose “Send Internal Notification.”
- You will see three notification options: Email, SMS, and Notification.
Set Up Email Notifications
- Choose Email as the notification type.
- Fill in the Subject and Body of the email. You can use custom values to include personalized information (e.g., contact name, appointment date).
- Select the recipient. You can choose a specific user, a user type (like "Assigned User"), or enter a custom email address.
- Save your settings.
Set Up SMS Notifications
- Choose SMS as the notification type.
- Write the SMS message content. Like with emails, you can include custom values to personalize the message.
- Choose the recipient(s) by selecting from the available user options.
- Save your settings.
Please Note: You can select multiple users in Internal Notifications for Email/SMS notifications and need not create multiple actions to select different users. This would be with the Particular user type (see below)
Set Up Internal Notifications
- Choose Notification (in-app as the notification type.
- Give the notification a title. You can include custom values to make the title more dynamic.
- Write the notification message in the Message field.
- In the Redirect Page option, select where the user will be redirected when they click the notification. Typically we recommend the Contact or Conversation.
- Select the recipient(s). You can choose a specific user or notify multiple users simultaneously.
- Save your settings.
Test and Publish Your Workflow
- Once you’ve set up your notifications, click "Save Action."
- Test the workflow to ensure everything is functioning correctly.
-
Publish the workflow when you’re satisfied with the setup.
FAQ
-
Can I customize the content of these notifications?
Yes, you can use custom values and format the content according to your needs.
-
Who can receive these notifications?
You can send notifications to specific users, assigned users, or even enter custom email addresses for email notifications.
-
What actions can trigger these notifications?
Any workflow trigger, such as form submissions, bookings, or purchases, can initiate these notifications.
-
How do I ensure the notifications are set up correctly?
Test the workflow before publishing, and double-check your custom values and recipient settings.
-
Can I use multiple notification types in the same workflow?
Yes, you can set up email, SMS, and internal notifications all within a single workflow.
