Workflow Trigger: Contact Created
The Contact Created Workflow Trigger will add a contact to this workflow whenever one is created. This can be a very helpful trigger for many applications, such as customer onboarding processes and lead nurturing. This article will outline how to set up a workflow using the Contact Created Workflow Trigger.
Step 1: Start a new workflow or edit an existing one
- Navigate to Tools & Reporting > Automations on the left > Workflows on the top and create a new workflow or edit an existing one.

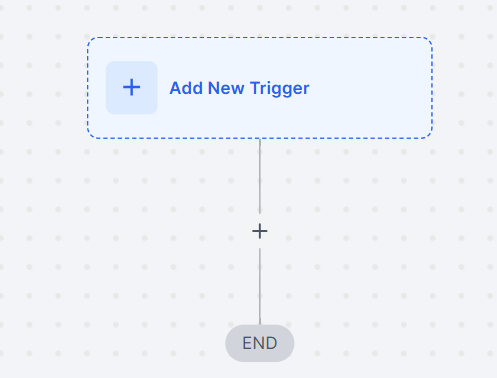
- Click “Add New Workflow Trigger”
- Select Contact Created in the Contact section of the Workflow Triggers Menu or use the search feature. This will open the Contact Created Trigger setup menu.
.jpg)
- (Optional) Change the Workflow Trigger display name under Workflow Trigger Name.
Note: this will only impact the trigger’s display name within the workflow builder and not the functionality.
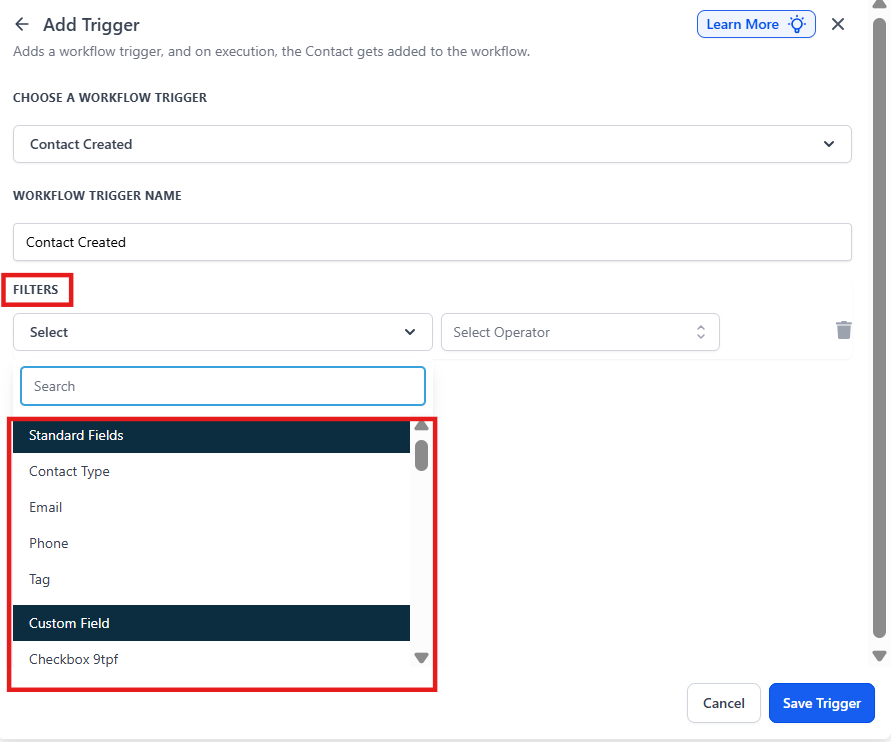
- In its base form, any newly created contact will be added to this workflow, but you can filter this to only include specific contacts
-
Tag will only add contacts to this workflow that have a particular tag assigned to them
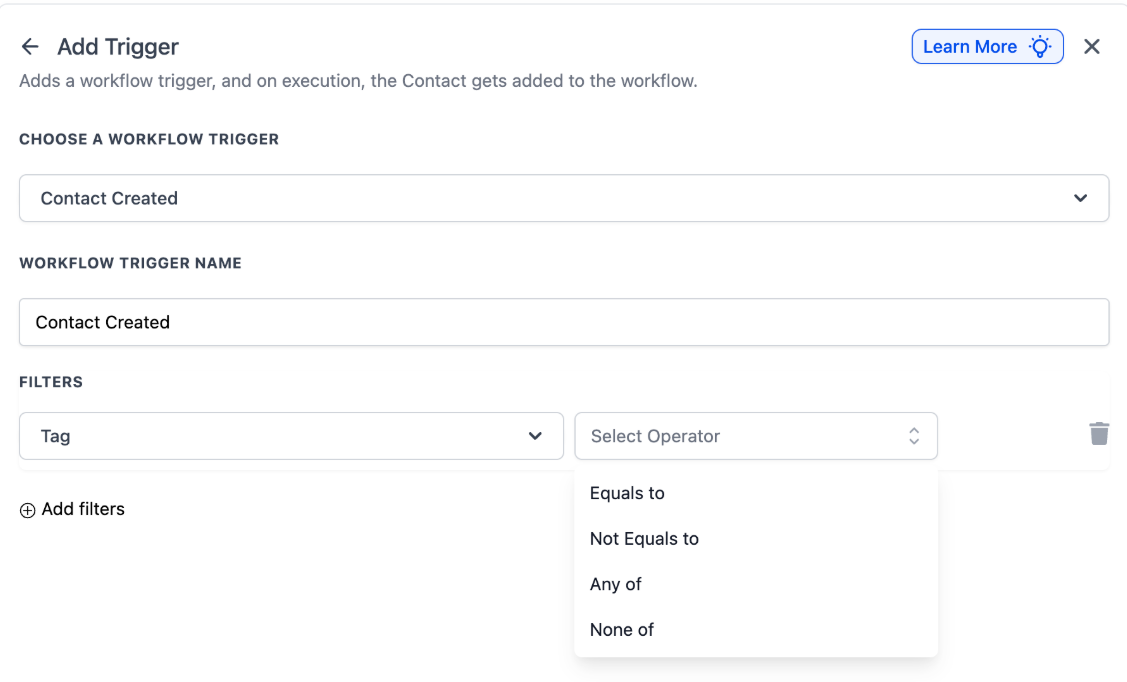
Tag:Select specific tags to include or exclude contacts.You have access to advanced operators:
- Any of: Fires when any one of the selected tags is present.
- None of: Fires when none of the selected tags are present.
- Equals to / Not equals to: Supports selecting multiple tags simultaneously.
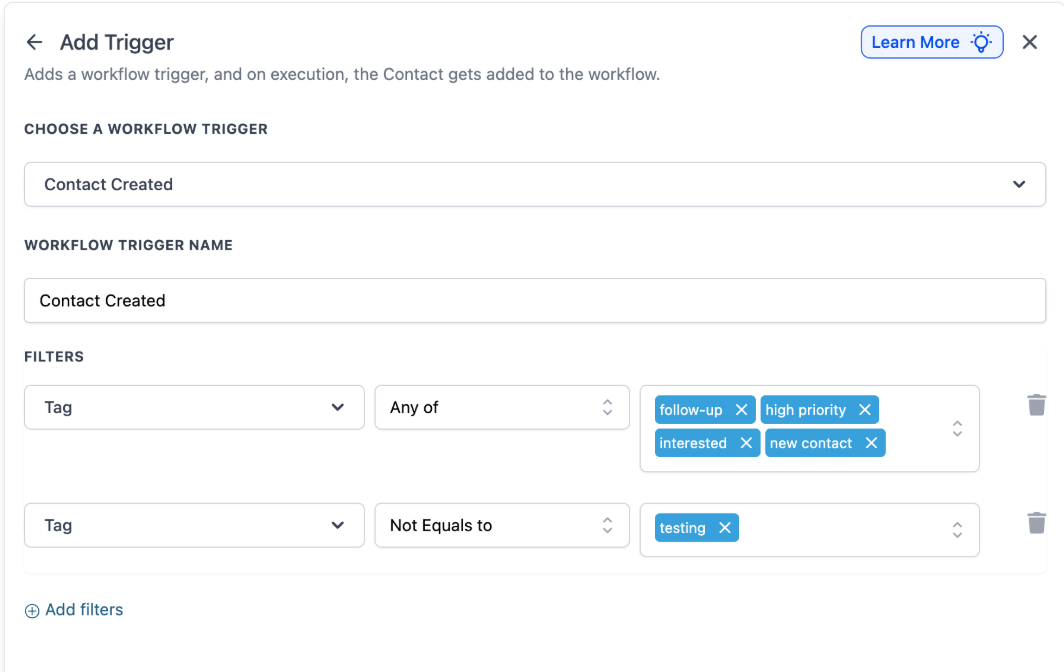
Multiple Tag Instances: You can add multiple "Tag" filter rows within one trigger. These use AND logic, allowing you to create precise exclusions (e.g., Tag Equals "Lead" AND Tag Not equals "Low Quality").
- Has Tag will only add contacts to this workflow that have a particular tag assigned to them
- Custom Fields are also available to only include contacts that meet custom parameters that you have set up elsewhere
- Created via Source: This filter allows you to distinguish contacts based on their method of entry into the system. You can define whether the workflow should activate only for contacts manually added, submitted through a form, or imported via API. This ensures that automation is not triggered for contacts that don't need immediate attention, such as those from bulk imports.
- Press Save Trigger in the bottom right corner of the Trigger setup menu
Step 3: Set up applicable Workflow Action(s). We have multiple articles available to explain the setup of each of the Workflow Actions. Feel free to review our articles on these for more information on setting these up.
Pro Tip: You can use any Workflow Actions to be set into action by the trigger or you can leave this workflow without any actions.
Step 4: Press Save in the top right corner of your browser to save the workflow
- Enable Workflow: Ensure the toggle switch under "Save" is set to "Publish" to activate your workflow.
- Test Workflow: Use the "Test Workflow" button next to the "Publish" toggle switch to simulate the workflow and confirm its functionality.
- Review Testing Features: For a detailed overview of how to test your workflow, refer to our article, “Using the Testing Features in Workflows.”
.jpg)
Now your workflow is set up and ready to go with the Contact Created Workflow Trigger.
FAQs
Question: Will this trigger activate for contacts imported in bulk?
Answer: No, the Contact Created trigger only activates when a contact is manually added, submitted through a form, created via API, or added through an integration. Bulk imports do not trigger the workflow to avoid overwhelming automation. For imported contacts, consider using a separate workflow with manual enrollment to automate actions.
Question: Can I set conditions to trigger this workflow only for specific contacts?
Answer: Yes, you can apply filters to ensure the workflow runs only for specific contacts. Filters can target contacts based on tags, custom fields, or sources. For example, the workflow can activate only for contacts tagged as "New Lead" or those originating from a "Web Form Submission," ensuring the workflow triggers only for relevant contacts.
Question: What happens if a contact is added multiple times? Will the workflow trigger again?
Answer: If a contact with the same email or phone number is added again, the system may recognize it as an existing contact, depending on duplicate detection settings. If merged with an existing record, the workflow won't trigger. However, if treated as a new contact, the workflow will execute as normal.
Question: Can I use this trigger to automatically assign new contacts to team members?
Answer: Yes, you can set up the workflow to automatically assign new contacts to a sales representative or team member based on criteria such as location, tags, or lead source. A round-robin assignment can also be implemented to distribute leads evenly among team members.
Question: How can I track the effectiveness of this workflow?
Answer: You can monitor workflow execution logs to track how often the trigger fires and which contacts are processed. For email actions, metrics like open rates and response rates can provide engagement insights. Reviewing follow-up completion rates for assigned contacts will help assess the workflow’s impact, and regular analysis will improve automation efficiency.
Question: How do I ensure the workflow is active after setup?
Answer: Make sure to toggle the workflow to Publish after saving. You can also use the Test Workflow button to simulate and confirm functionality before going live.
Question: Does changing the "Workflow Trigger Name" affect how the trigger works?
Answer: No. Changing the display name only affects how the trigger appears within the workflow builder for your own organization; it has no impact on the actual functionality or logic of the trigger.
Question: Can I stop this workflow from running during non-business hours?
Answer: While the trigger fires the moment a contact is created, you can add a "Wait" step or use "Condition" branches immediately after the trigger to hold actions until your preferred business hours.
Question: How can I use multiple tags to filter my trigger?
Answer: You can use the "Any of" operator to trigger for any one of several tags, or use multiple "Tag" filter instances to combine conditions with AND logic. For example, you can set the trigger to fire only if a contact has "Tag A" but does NOT have "Tag B."
Question: What are the tag operators available?
Answer: In addition to Equals to and Not equals to, you can use Any of (triggers if any selected tag is present) and None of (triggers only if none of the selected tags are present). All operators support multiselect, so you can choose multiple tags at the same time.
Question: If I create a contact from a "CSV Import," will this trigger fire?
Answer: By default, no. Bulk imports are excluded from the Contact Created trigger to prevent you from accidentally sending thousands of "Welcome" emails at once. If you want to trigger a workflow for an import, you can add a specific tag during the import process and use the "Contact Tag" trigger instead, or manually add them to the workflow after the import is finished.
Step 2: Creating and Editing the Trigger