How To Export Opportunities
The CRM has always been at the forefront of providing efficient and user-friendly tools for businesses. One such feature is the enhanced opportunities export, which now offers more customization and flexibility than ever before. In this article, we'll guide you step-by-step on how to utilize this feature to its fullest potential.
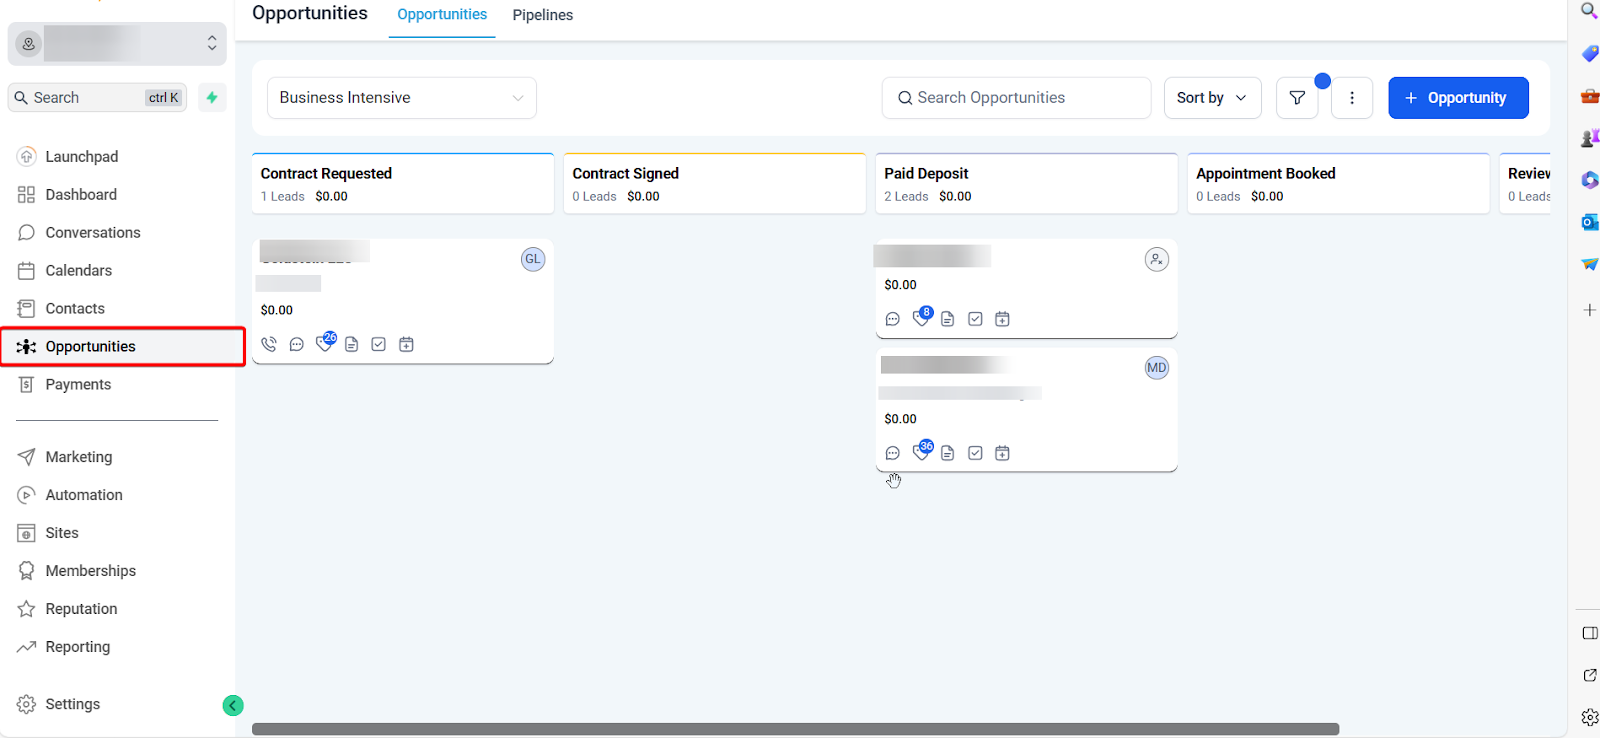
1. Accessing Opportunities
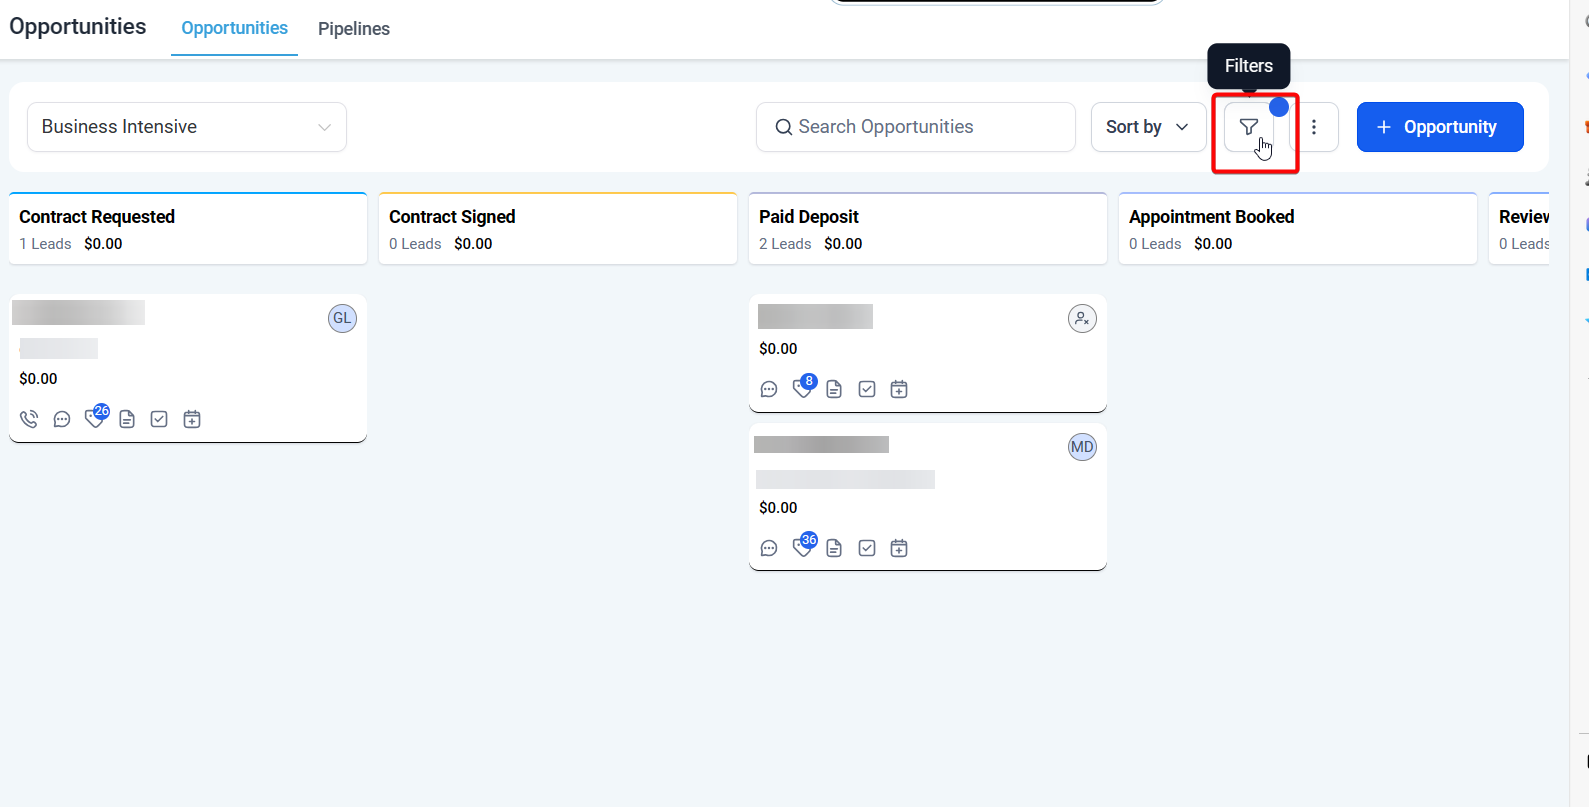
2. Using Filters (Optional)
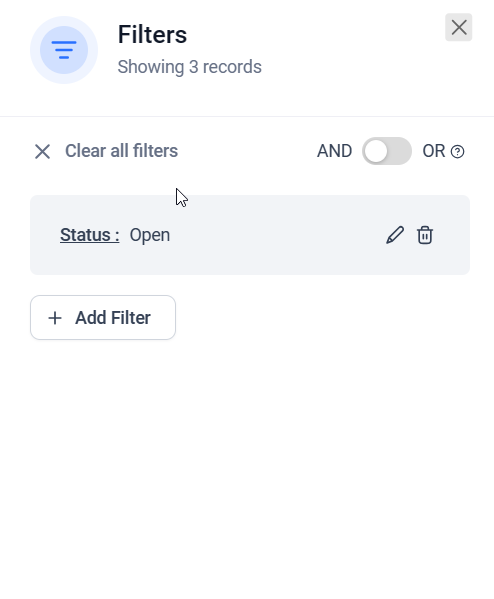
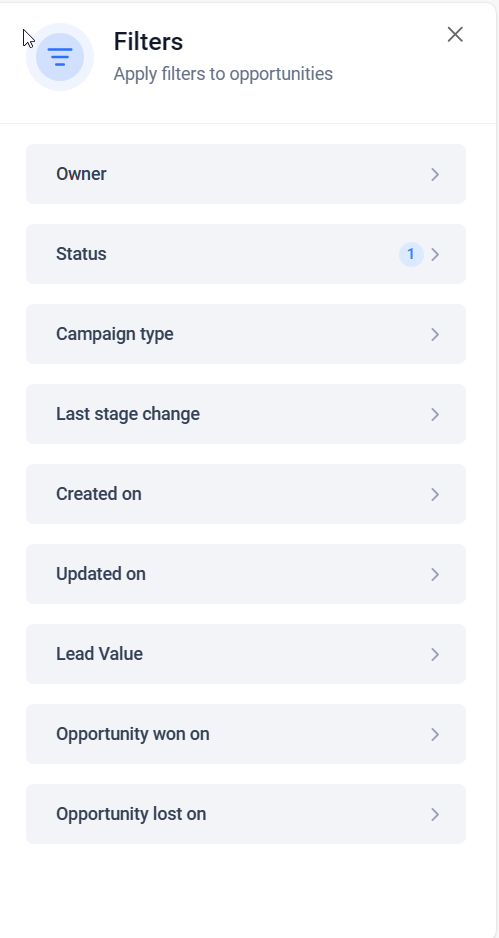
Click on Add Filter to choose your desired filters:
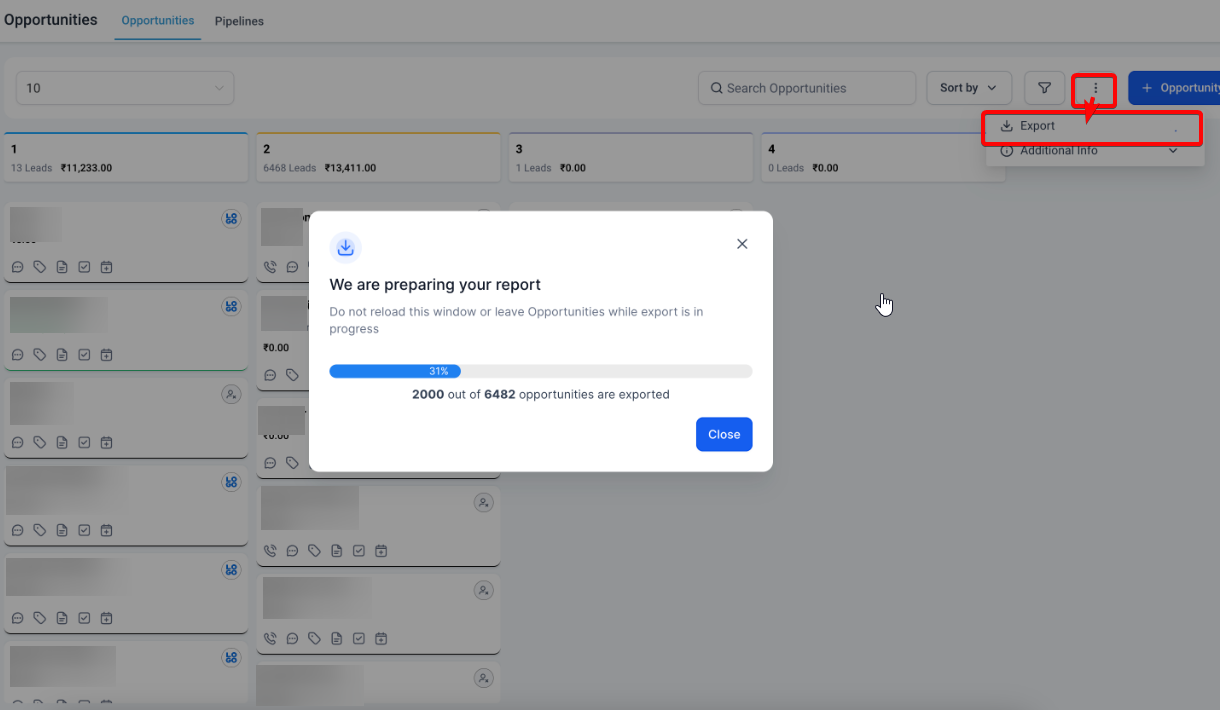
3. Exporting Opportunities
4. Understanding the New Enhancements
Here are the three key enhancements in the CRM's export feature:
- Export of Custom Fields: The CRM now seamlessly integrates all custom fields associated with opportunities into the exported data. This means if you've created any custom fields tailored to your business needs, they will be included in your exported file.
- Filter Based Export: Instead of exporting all opportunities, the CRM now respects the filters you've set. Only the opportunities that match your specified filters will be exported.
- No Limit on Opportunities Exported: Previously, there might have been constraints on the number of opportunities you could export at once. But now, the CRM has removed all such limits. All visible opportunities on the board can be exported in one go.
5. Wait and Download
After clicking the "Export" button, a progress bar will appear, showing the status of your export. It's important to avoid reloading the page or navigating away from the "Opportunities" section during this process. Once the export is complete, you'll receive a downloadable file containing all the exported data.
Note on Permissions
It's essential to note that to access and utilize the export feature, one needs admin permissions. Always ensure you have the required access rights before attempting to export data.